- Created Date : 05 January 2025
- Support Email: support@pixelnx.com
Introduction
PixaBooking
Pixabooking is a smart and flexible booking and appointment management tool that helps businesses and professionals handle scheduling with ease. From managing calendars and confirming appointments to sending automated reminders and reducing no-shows, Pixabooking streamlines your entire booking process so you can focus more on delivering exceptional services.
To make your operations seamless, Pixabooking integrates with popular autoresponder Mailchimp. It also supports direct SMTP email settings, giving you full control over sending professional emails from your own server. For payments, Pixabooking connects with trusted gateways such as PayPal, Stripe, Razorpay, and FastSpring, ensuring smooth and secure transactions. Plus, with built-in support for Google Meet, Zoom, and Google Calendar, virtual meetings and schedule synchronization are just a click away.
By combining booking tools, email marketing integrations, video conferencing, and secure payments in one platform, Pixabooking provides everything you need to manage appointments efficiently. Whether you run a salon, clinic, consultancy, fitness studio, or any service-based business, Pixabooking saves you time, improves client communication, and helps grow your business with ease.
Demo Login Details
Admin Login Details
- URL : https://pixabooking.pixelnx.com/
- Email : demoadmin@pixabooking.com
- Password : demoadmin@123
User Login Details
- URL : https://pixabooking.pixelnx.com/
- Email : demouser@pixabooking.com
- Password : demouser@123
Key Features
Pixabooking tool has following key features :
1. Easy Appointment Management - Accept and manage bookings online with a simple and user-friendly dashboard.
2. Automated Reminders & Notifications - Reduce no-shows with instant emails reminders for clients.
3. Email Marketing Integrations - Connect seamlessly with top autoresponder Mailchimp.
4. SMTP Support - Use your own SMTP settings to send professional emails directly from your server.
5. Secure Payment Options - Accept payments through trusted gateways such as PayPal, Stripe, Razorpay, and FastSpring.
6. Video Conferencing Integration - Schedule and manage virtual meetings easily with Google Meet and Zoom.
7. Calendar Synchronization - Sync bookings effortlessly with Google Calendar to avoid double bookings.
8. Customizable Scheduling - Set flexible time slots, buffer times, and service durations according to your business needs.
9. Client-Friendly Experience - Offer a smooth booking process that enhances customer satisfaction and trust.
10. Multi-Industry Support - Perfect for salons, clinics, consultancies, fitness centers, coaches, and any service-based business.
Script Installation
Note
1. Before installing the script please make sure that you have nodejs installed on your server and for Database MongoDB is neccessary.
2. You can check the node version from the terminal/cmd just type node -v.
How To Install Script
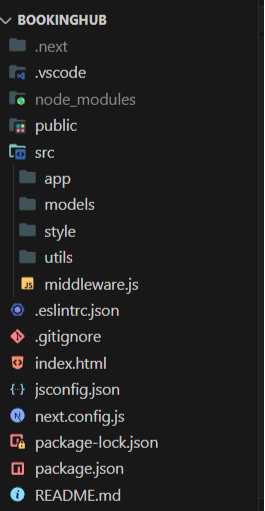
Step 1 Extract the (BookingHub)file that you have received from the Codecanyon. Inside that you will get code file and documentation
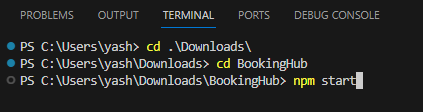
Step 2 Open the terminal or Command Line Prompt (cmd) on the system.
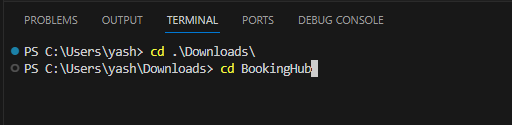
Step 3 Navigate to the folder where you have extracted the file through commands.
3.1 Run Command "Cd Extract_file_location" (BookingHub).

3.2 Run Command "Cd file_name" (BookingHub).
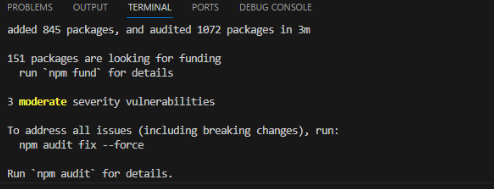
Step 4 Then install npm modules. Run command npm install
Step 5 Run command
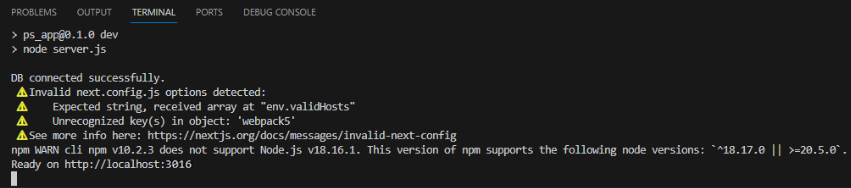
If Setup on local server (localhost)
Step 5.1 Run command npm run dev
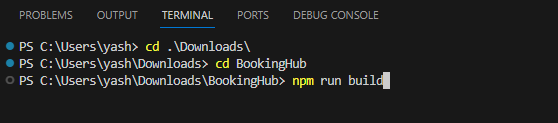
If Setup on live server
Step 5.1 Run command npm run build
Step 5.2 Run command npm start
Step 6 Then Navigate to env file and then update the following mention fields below
If Setup on local server (localhost)
App URL : Set the variable AppURLLocal.
Api URL : Set the variable ApiUrlLocal (Domain-url/api).
Database URL : Set the variable dbUrlLocal.
If Setup on live server
App URL : Set the variable AppURLLive.
Api URL : Set the variable ApiUrlLive (Domain-url/api).
Database URL : Set the variable dbUrlLive.
App Logo : Set the variable LOGO_IMG (provide path of logo image).
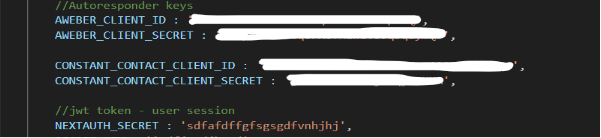
jwt token - user session : NEXTAUTH_SECRET (any string to generate jwt token)
metadata : APP_NAME, META_KEYWORDS, APP_DESCRIPTION and META_AUTHOR
Autoresponder keys : AWEBER_CLIENT_ID, AWEBER_CLIENT_SECRET, CONSTANT_CONTACT_CLIENT_ID and CONSTANT_CONTACT_CLIENT_SECRET


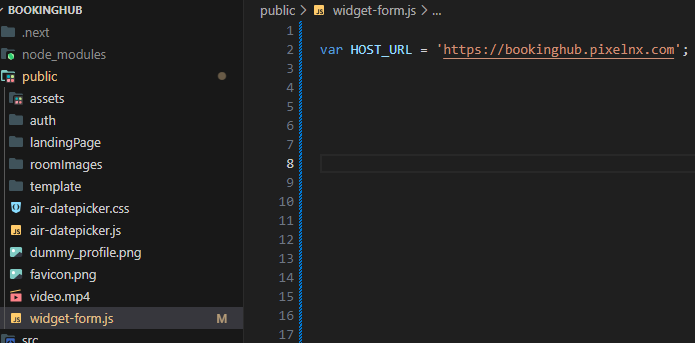
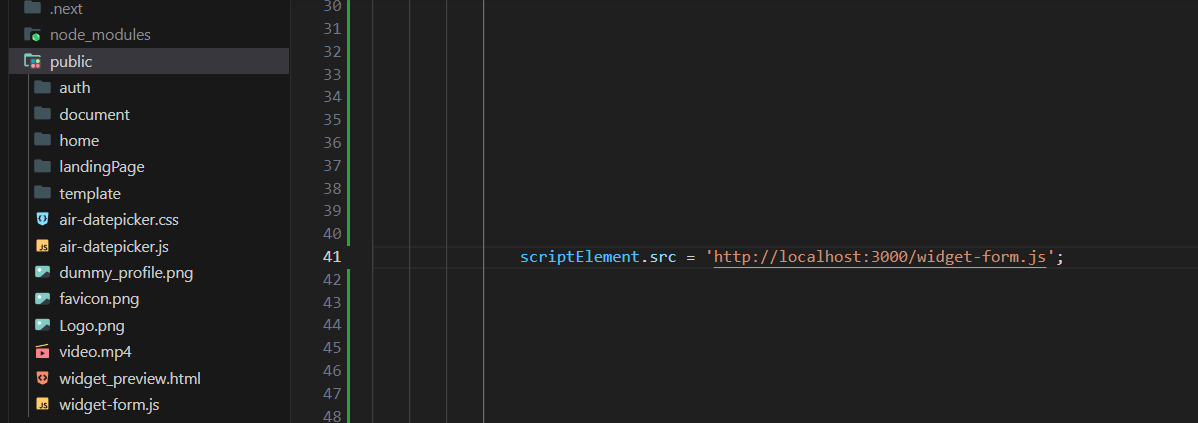
Step 7 To add the widget form in your site, change the host URL with AppURLLive in the widget-form.js file.
Step 8 For getting widget preview, change the localhost:3000 with domain URL in the widget_preview.html file.
Step 9 After that, open the Mongo DB and paste the "MONGODB_CONNECTION_URL" in the field.
Note: How to get MongoDB Connection URL Check here .
Step 10 To Import the demo data. Please go to the import section. click here
Demo Import
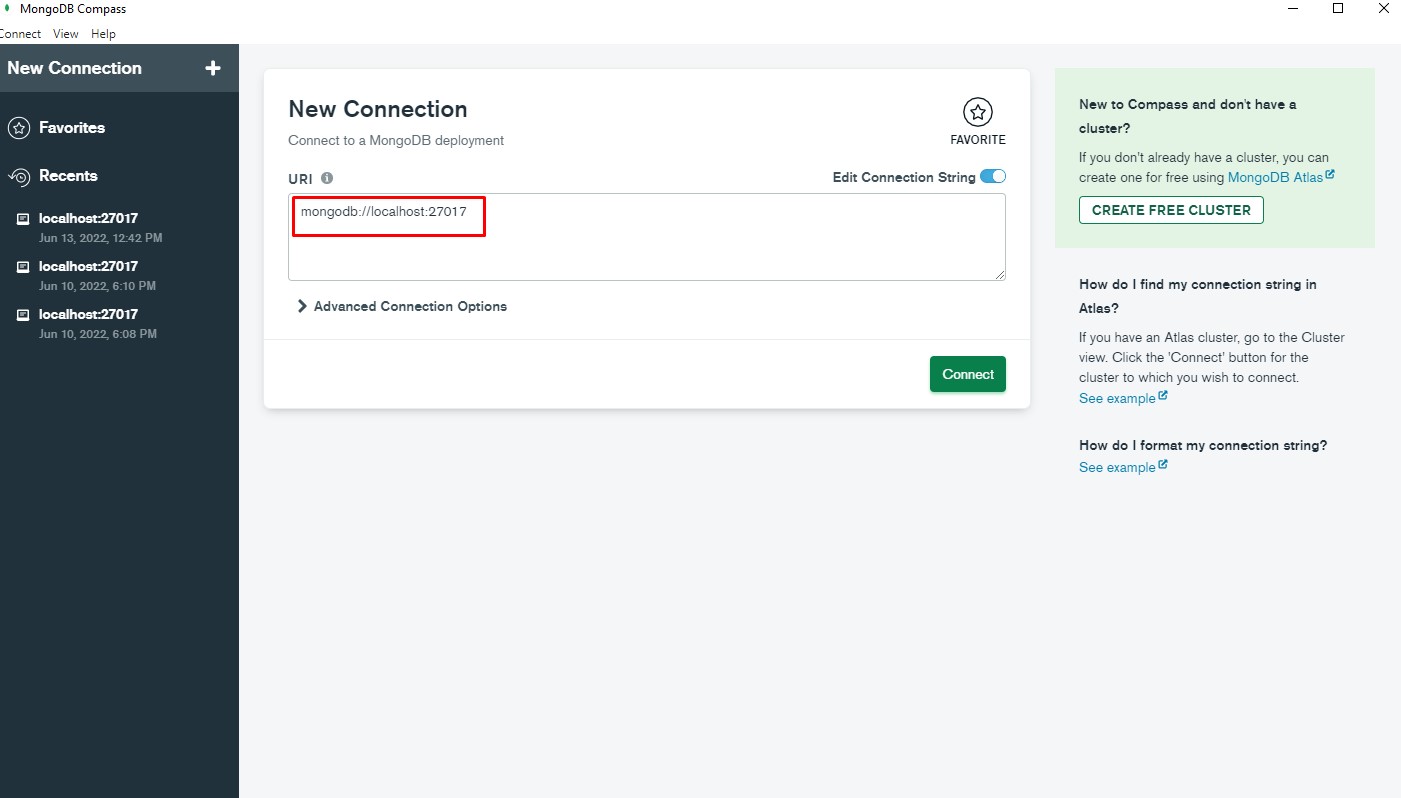
Step 1 : Open Mongodb compass and past Mongodb connection URL, and then connect.
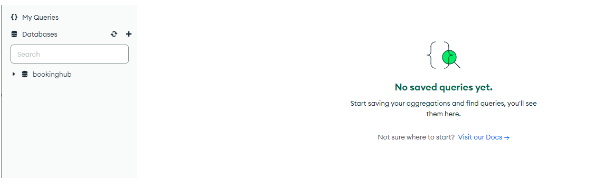
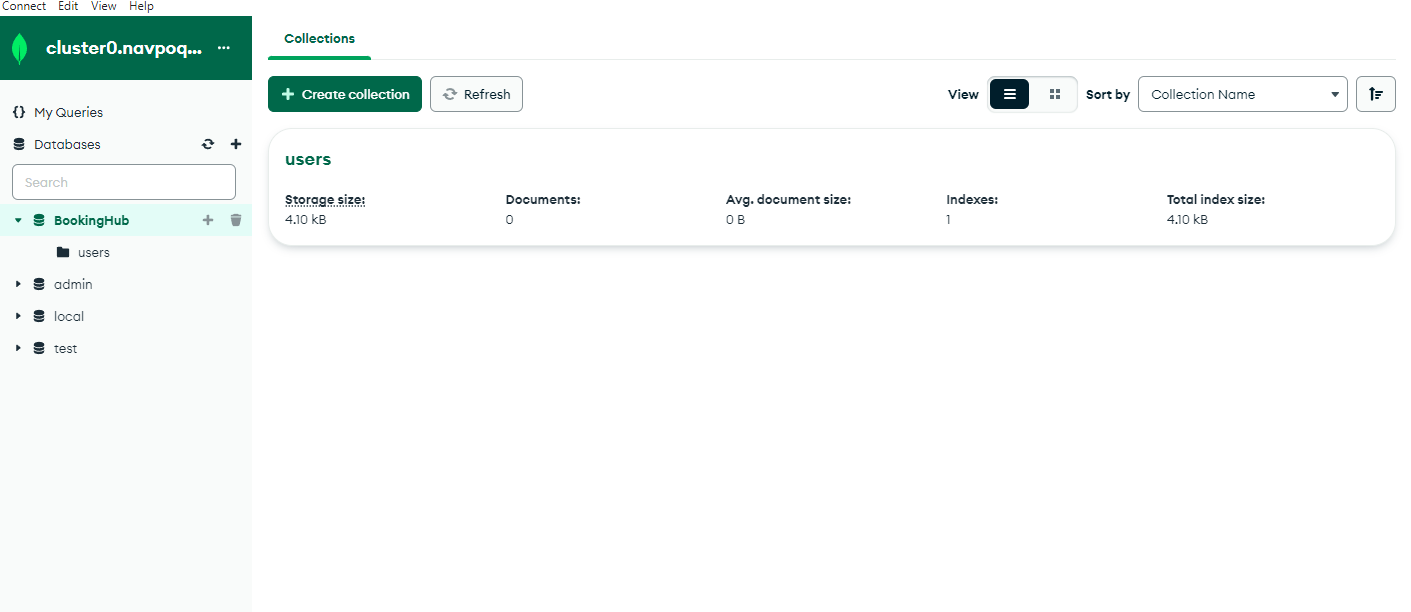
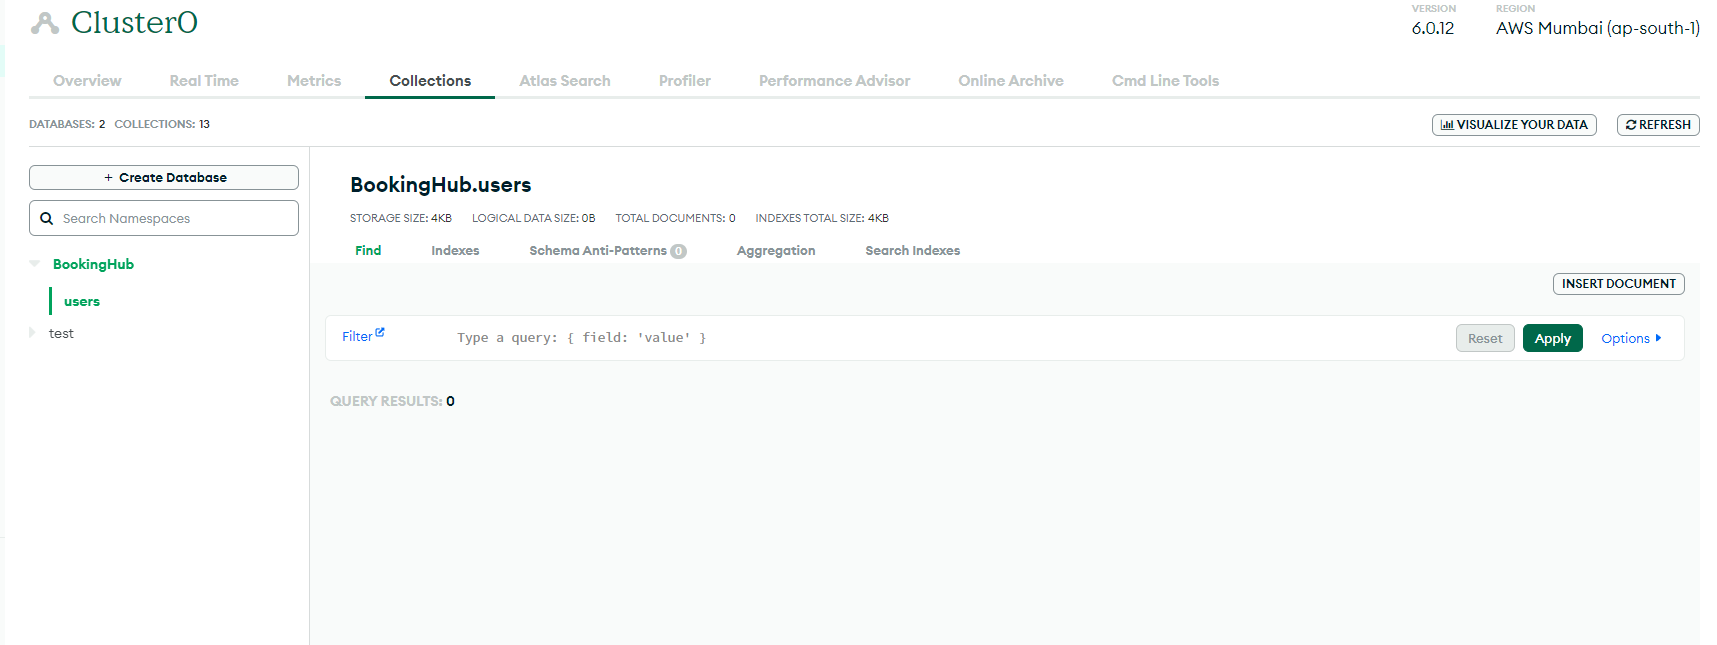
Step 2 : Please click on the database name. In our case is, "BookingHub" .
There is initially only one collection (users) in the database.
1. users (Shown in the screenshot)
Note : For above collection "BookingHub_" prefix is used but please match and use the same prefix as you added in the next.config.js file
Note : Do not use any prefix for users collection.
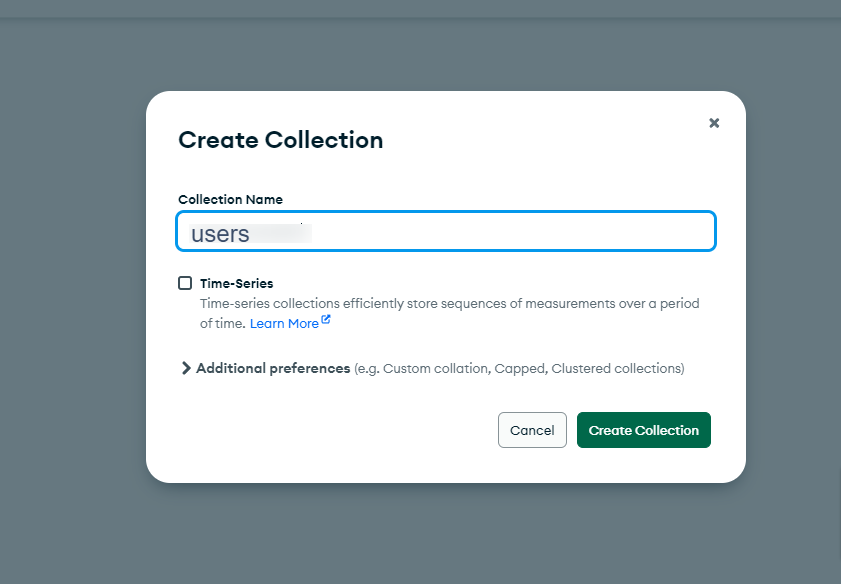
Step 3 : Click on the "Create collection" option.
Step 4 : Enter the collection name. then click the "create collection button" .
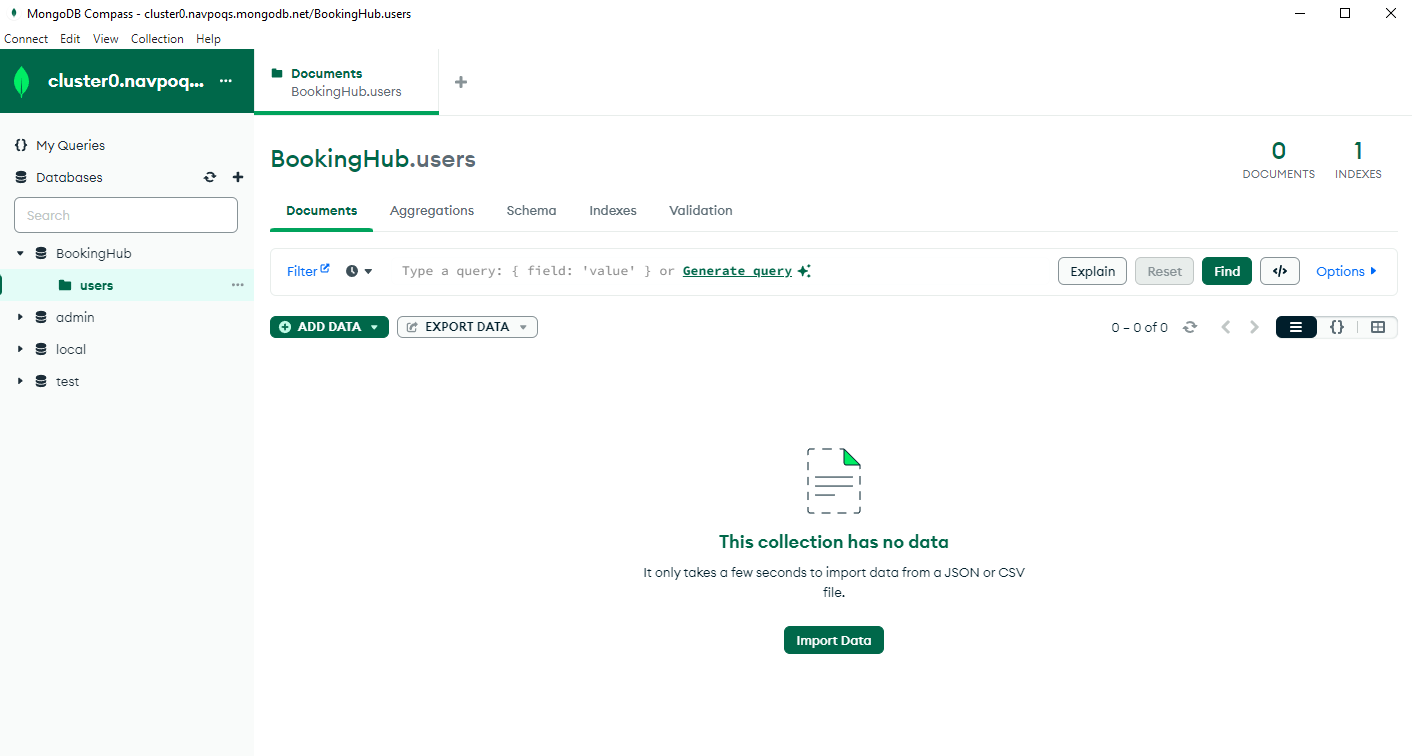
Step 5 : Import the user data in the users collection. To download the pixabooking.users.json file click here
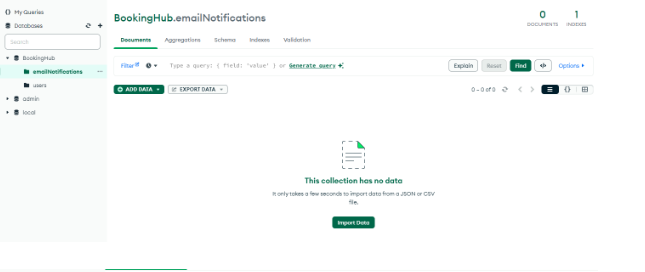
2. emailNotifications (Shown in the screenshot)
Note: Same as users collection, create another collection emailNotifications.
Step 6 : Import the data in the emailNotifications collection. To download the pixabooking.emailnotifications.json file click here
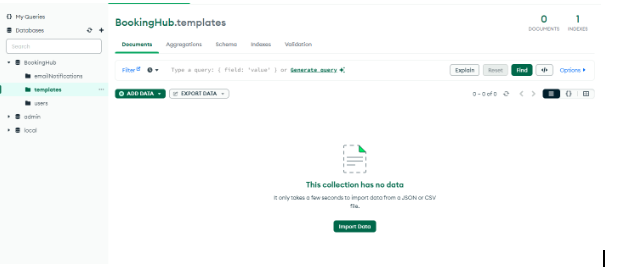
3. templates (Shown in the screenshot)
Note: Same as users collection, create another collection templates.
Step 7 : Import the data in the templates collection. To download the pixabooking.templates.json file click here
Step 8 Once the demo data has been imported successfully, then type the domain-name/login/ on browser's address bar, like : https://domain-name.com/login and you will get login page of the admin panel. For login use the credentials mentioned below
-
Admin details
- Email : demoadmin@pixabooking.com
- Password : demoadmin@123
-
User details
- Email : demouser@pixabooking.com
- Password : demouser@123
Mongodb Setup
1. How do you get MongoDB connection URL.
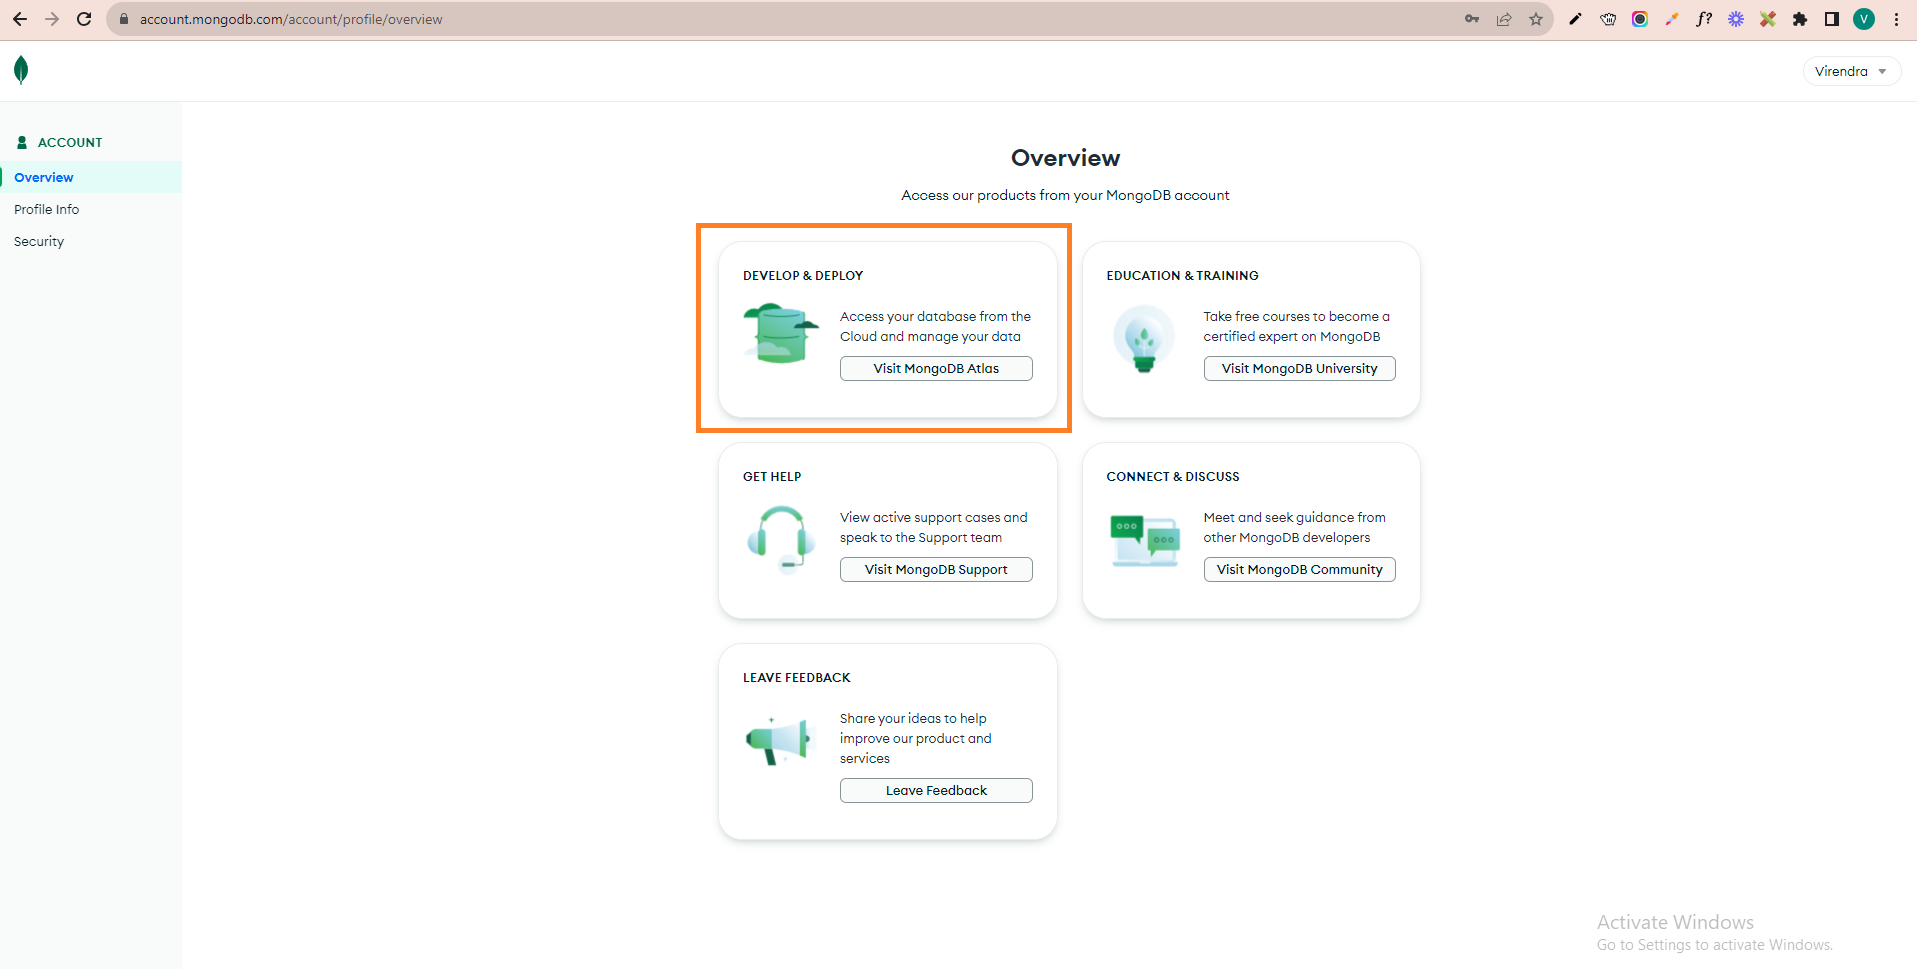
Step 1 : Sign Up in MongoDB, or if you already have an account, then Login.
Step 2 : Login on Mongodb, then you will see the below screen. At this screen, you click on the first "visit MongoDB Altas" option.
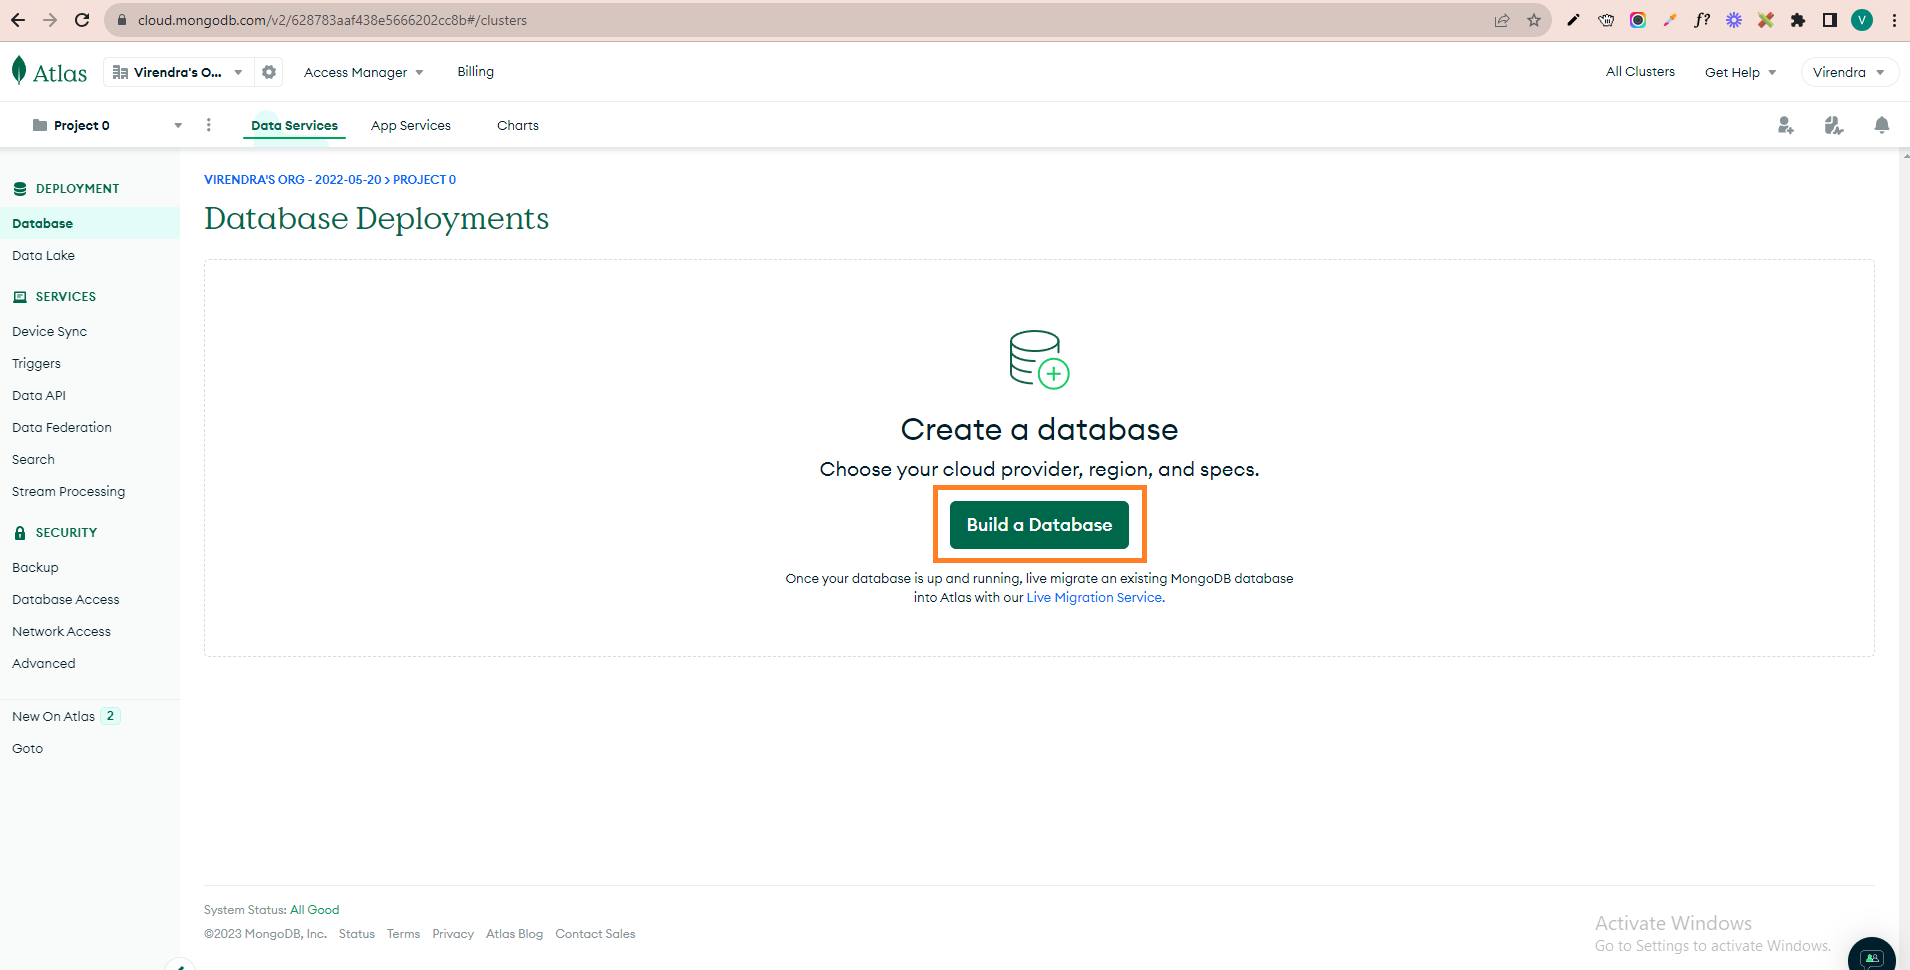
Step 3 : Now at this step, you have to create a database. Please click on "Build a Database," as shown in the screenshot.
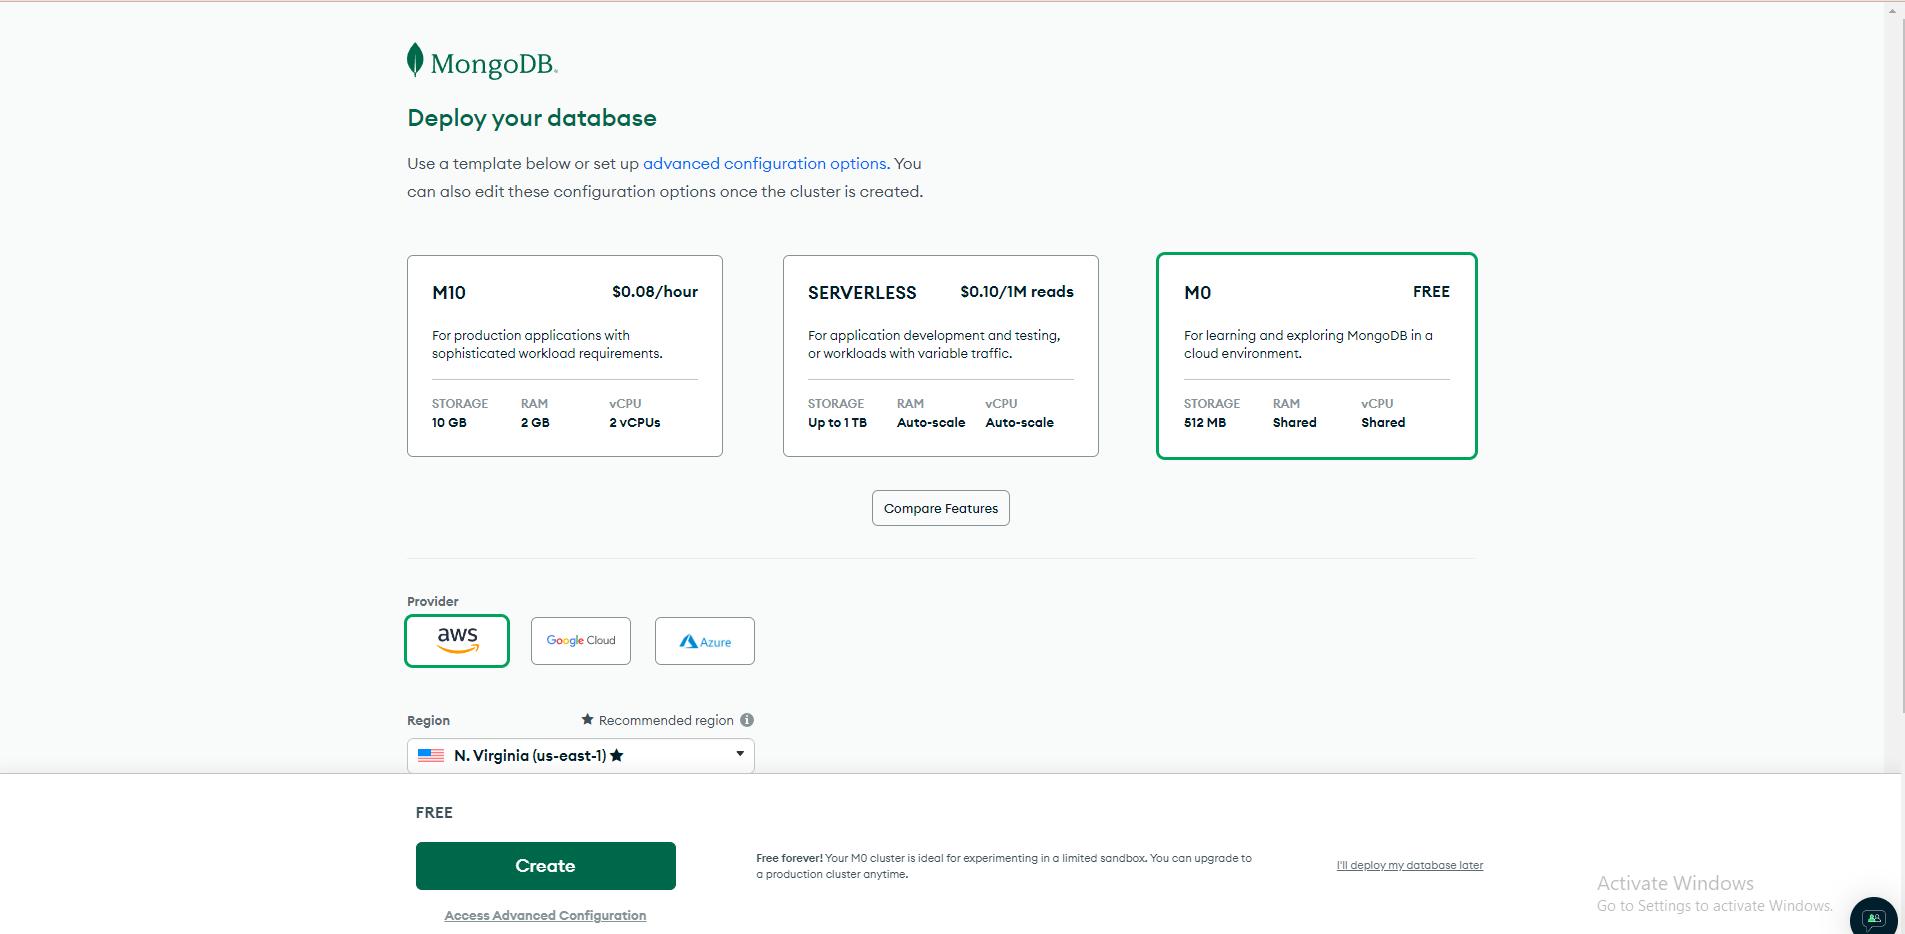
Step 4 : After that, select the free plan and click the Create button for the database. (later, you can upgrade your database plan as needed).
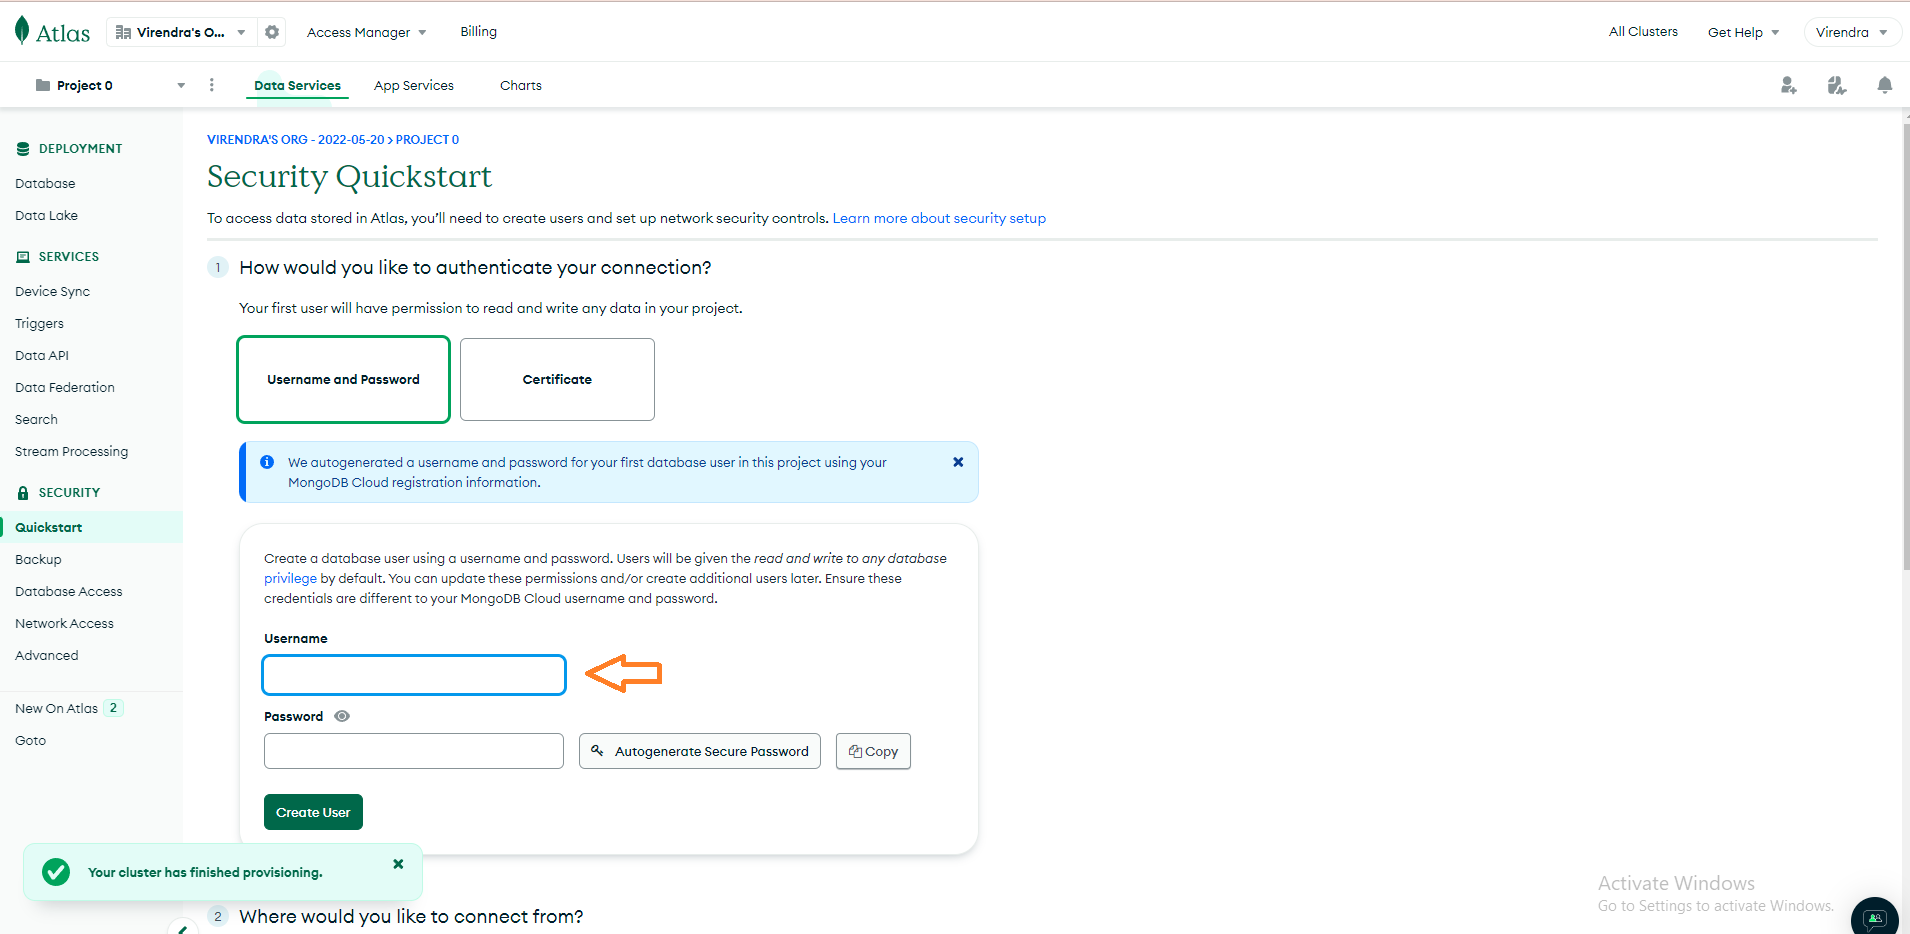
Step 5 : Firstly, create a user for the database at this step, update the details and create the user.
Step 6: Once you create a user, you will see this screen.
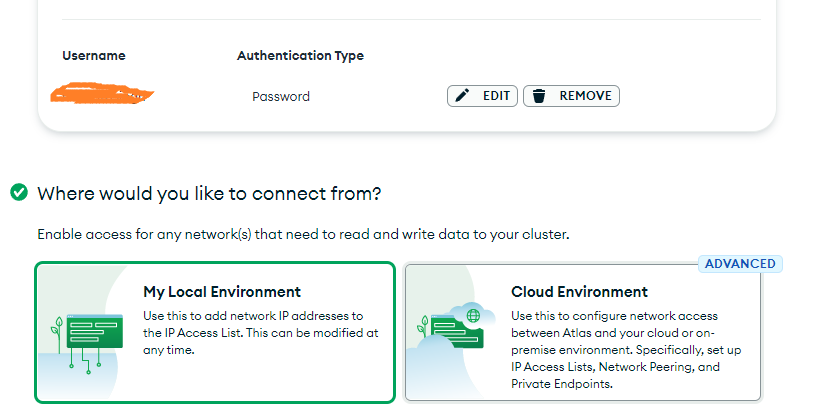
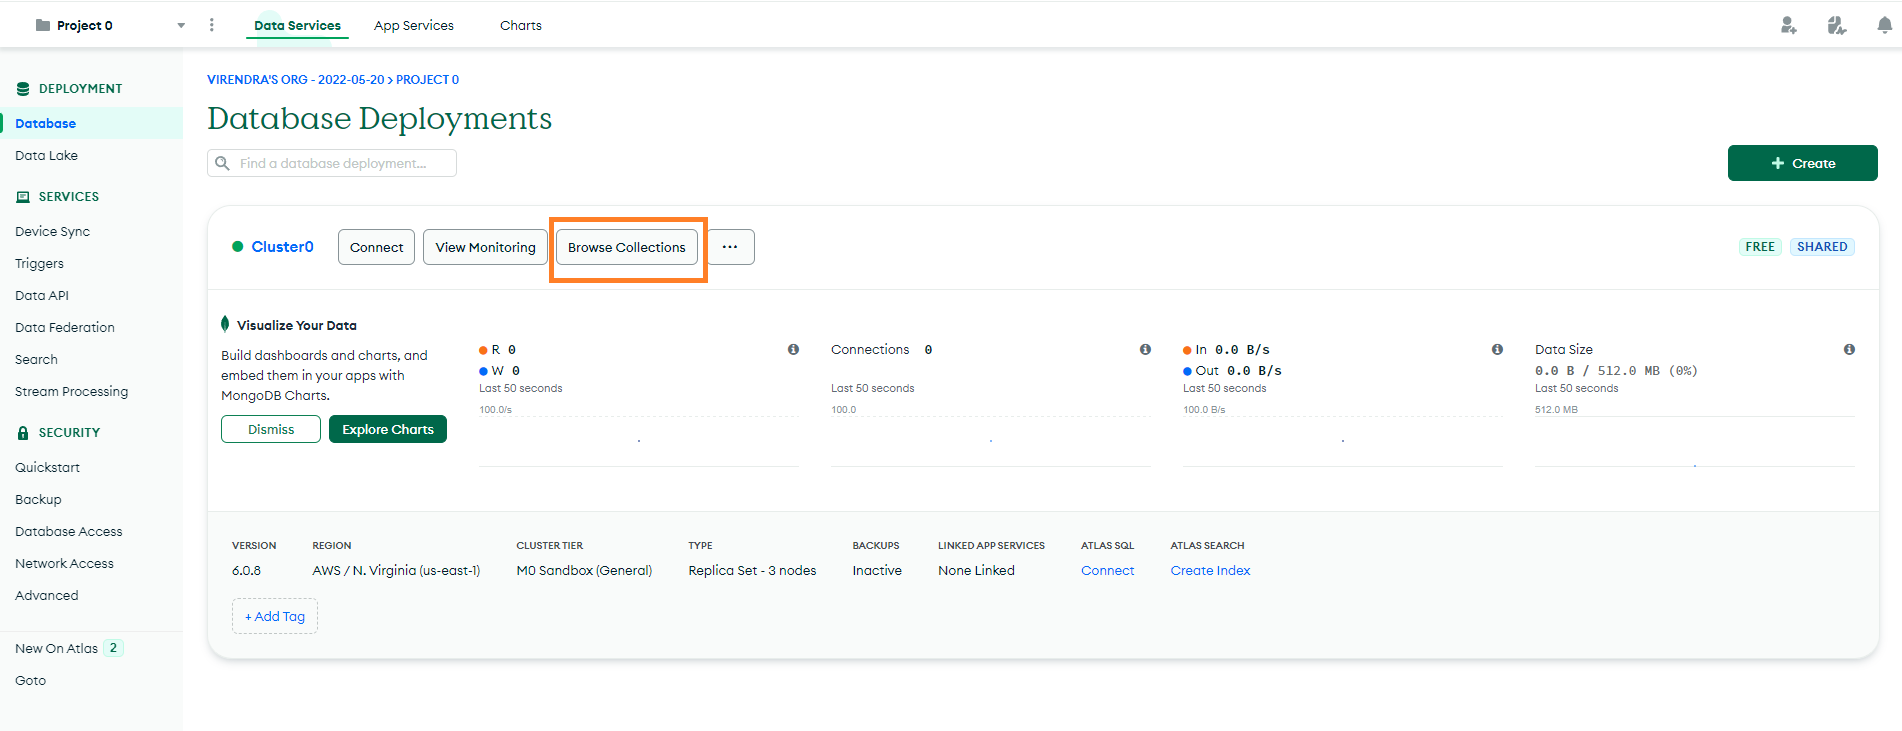
Step 7: Now click on the database showing in the left sidebar. Then click on the "Browse Collections" option.
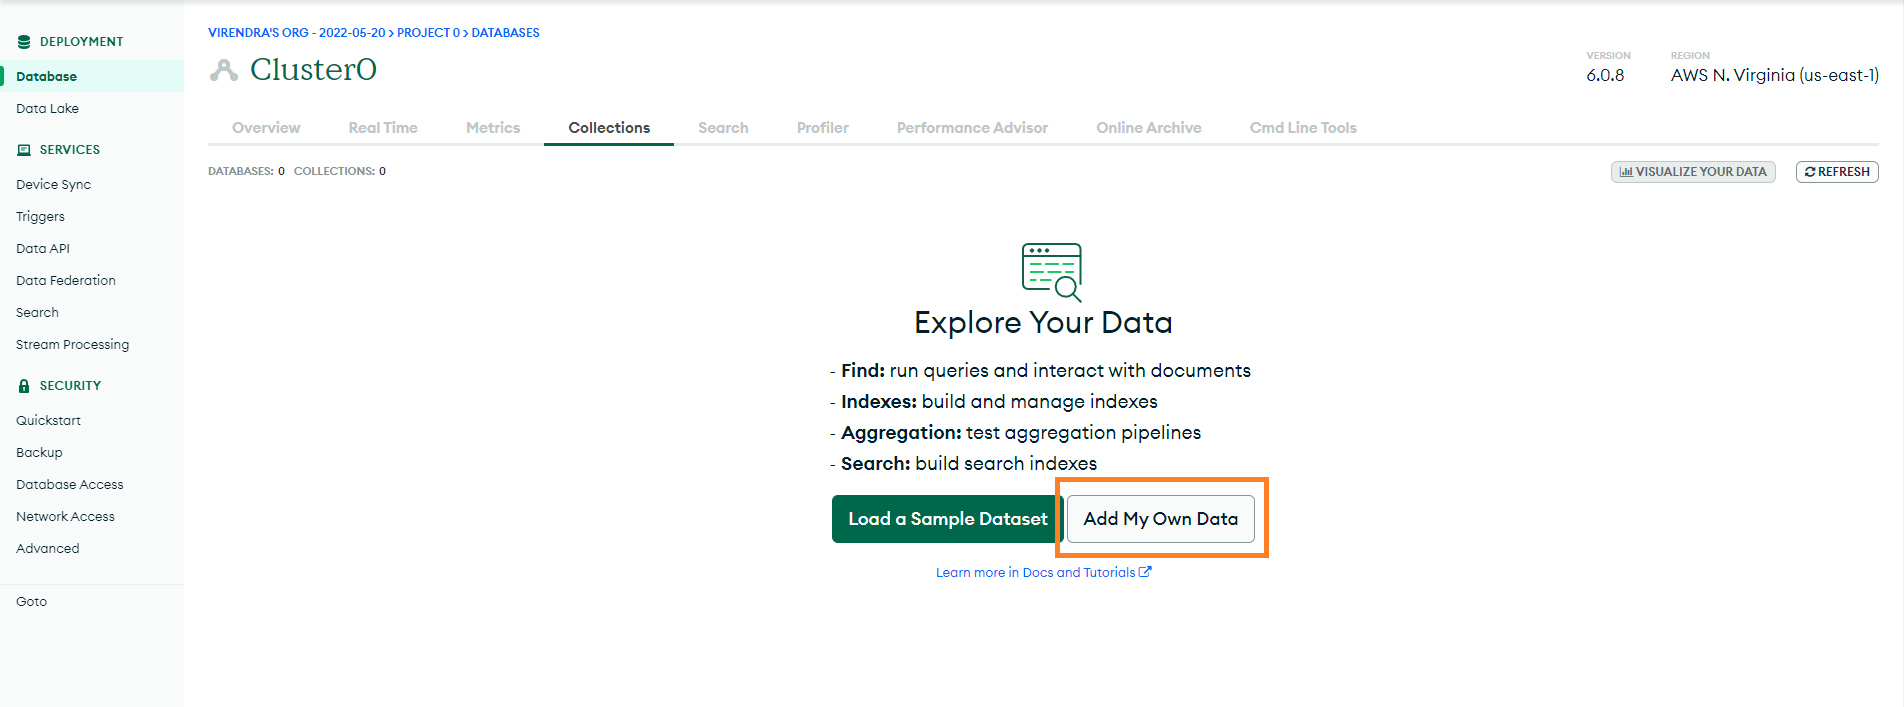
Step 8: Click on the "Add My Own Data" option at this step.
Step 9: Now add your database information.

Step 10: Once the database has been created, you will get this screen.
Step 11: Now click on the "database" menu, then click on the "connect" option.
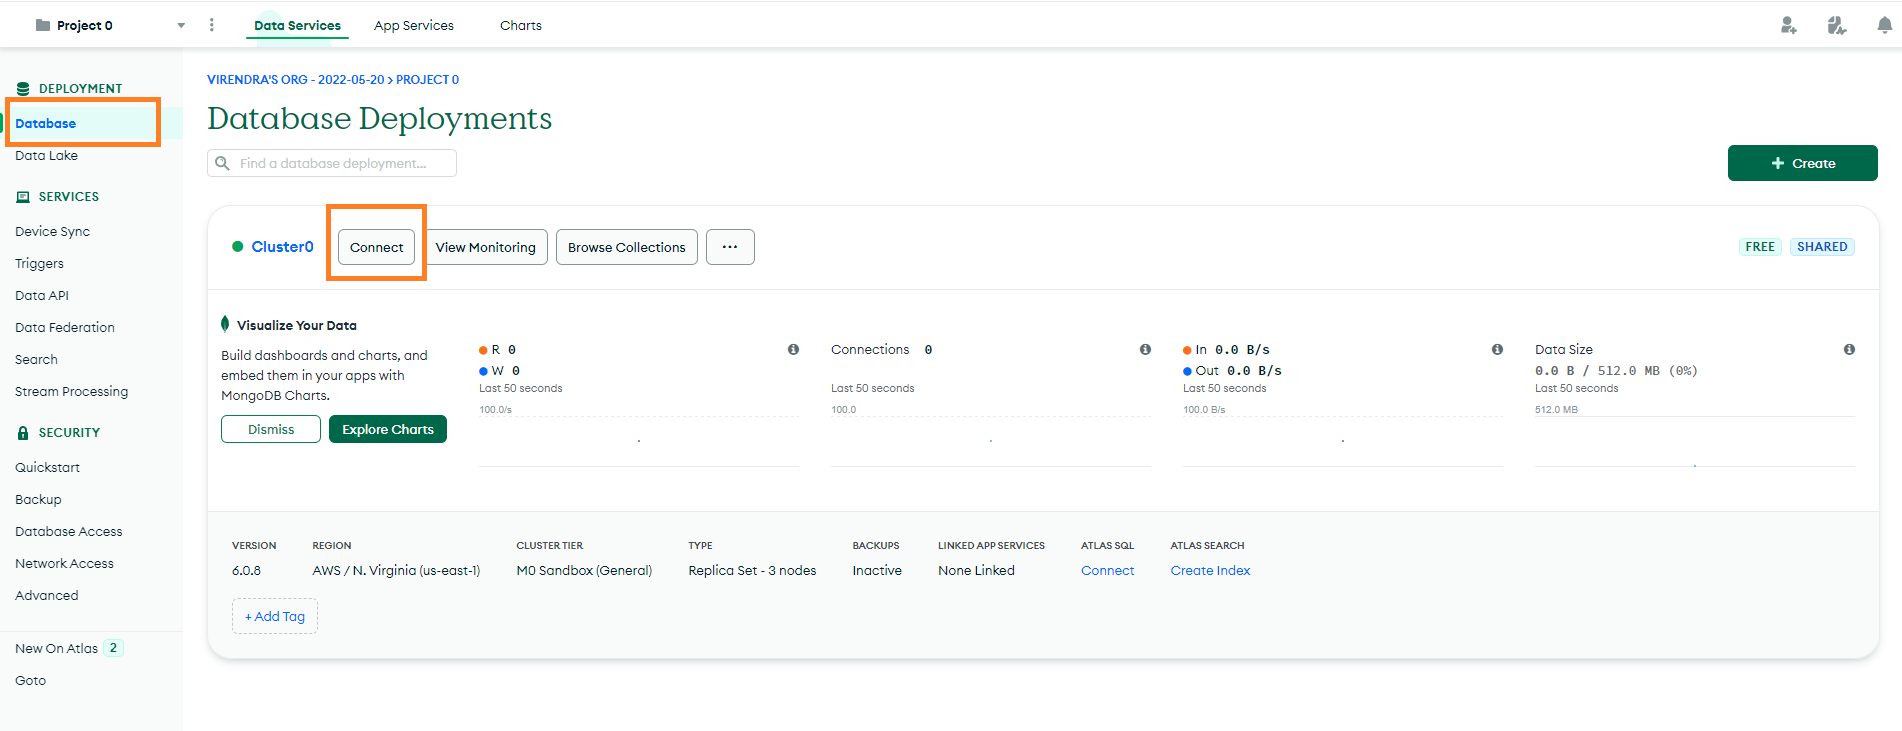
Step 12 : In this model, please click on the compass option.
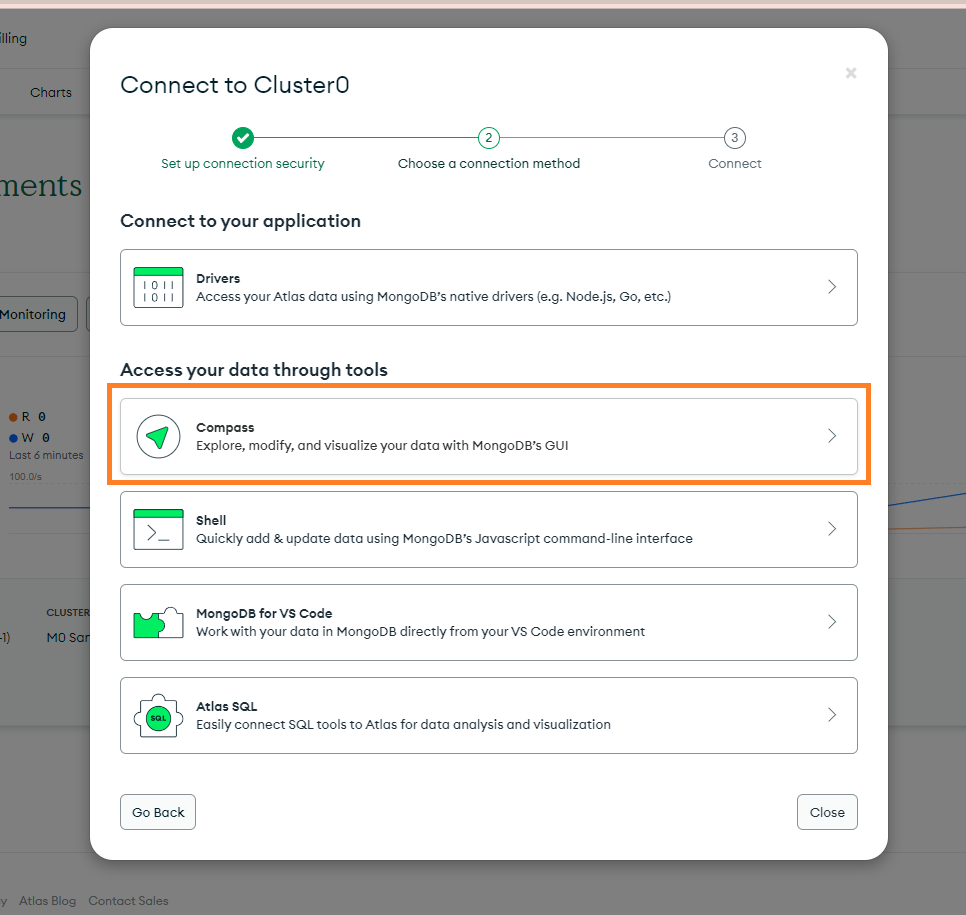
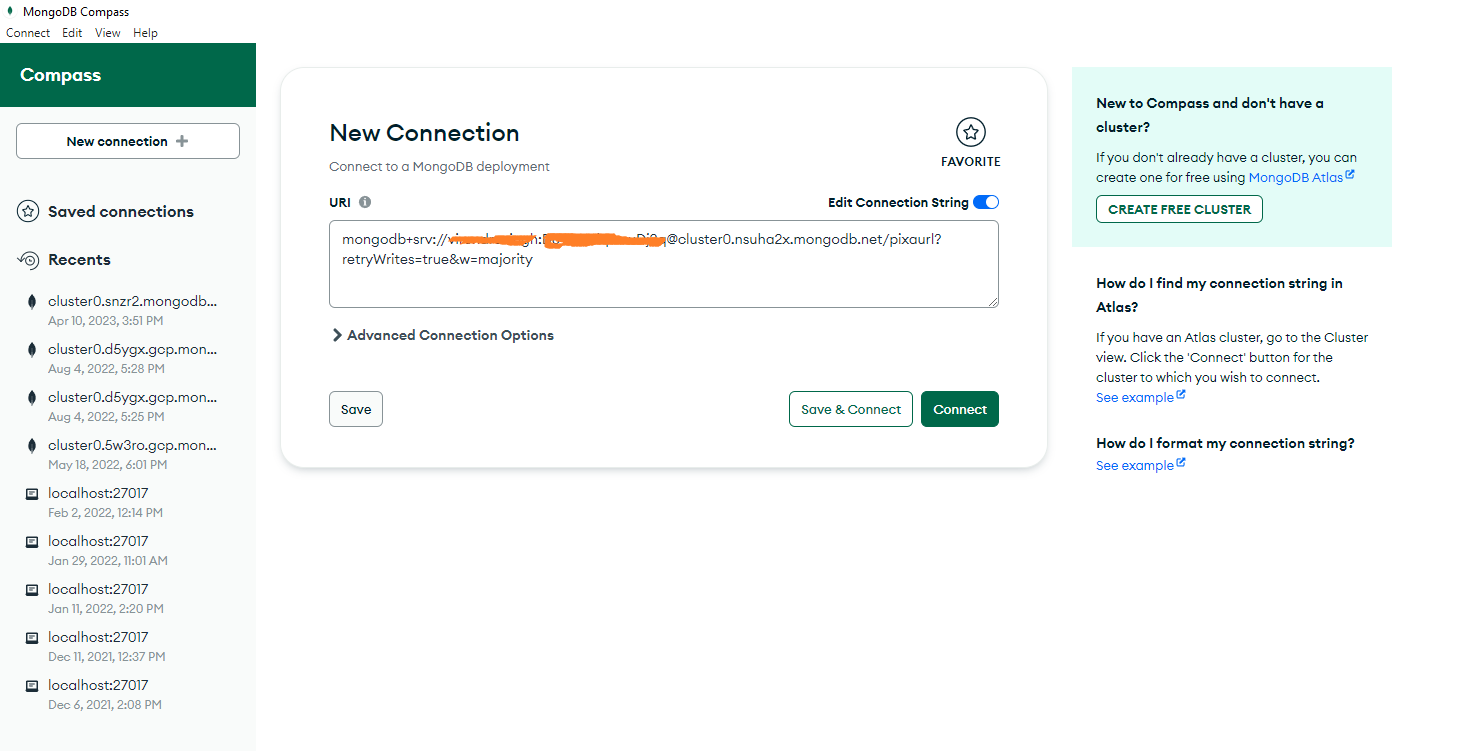
Step 13 : In this model, you will see the connection URL. Copy this URL.
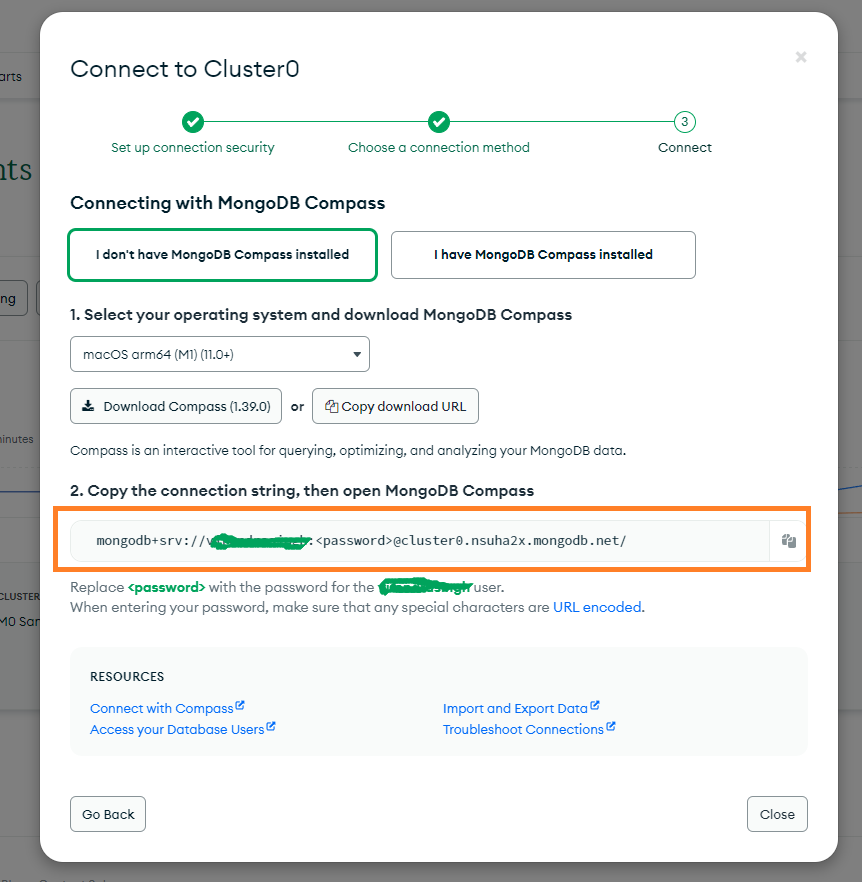
Step 14 : Now you will have your MongoDB connection URL.
| mongodb+srv://pixabooking:<password>@cluster0.nsuha2x.mongodb.net/ |
In this URL you have to add your username, password, and database name.
For Example :
Username = pixabooking, password = pixabooking@123 , Database name = pixabooking
The final MongoDB connection URL will be like this (Please update the correct details in this connection URL).
| mongodb+srv://pixabooking:pixabooking@123@cluster0.nsuha2x.mongodb.net/pixaurl?retryWrites=true&w=majority |
You have to add the MongoDB connection URL to the next.config.js file.
Admin Dashboard
The Admin Dashboard is designed to provide a comprehensive overview and management of the entire booking system. It offers a user-friendly interface that allows administrators to efficiently monitor and control various aspects of the platform.
Dashboard
The Dashboard provides a quick snapshot of key metrics such as total users, total plans, active users, and revenue generated. Also, shows the list of recent users.

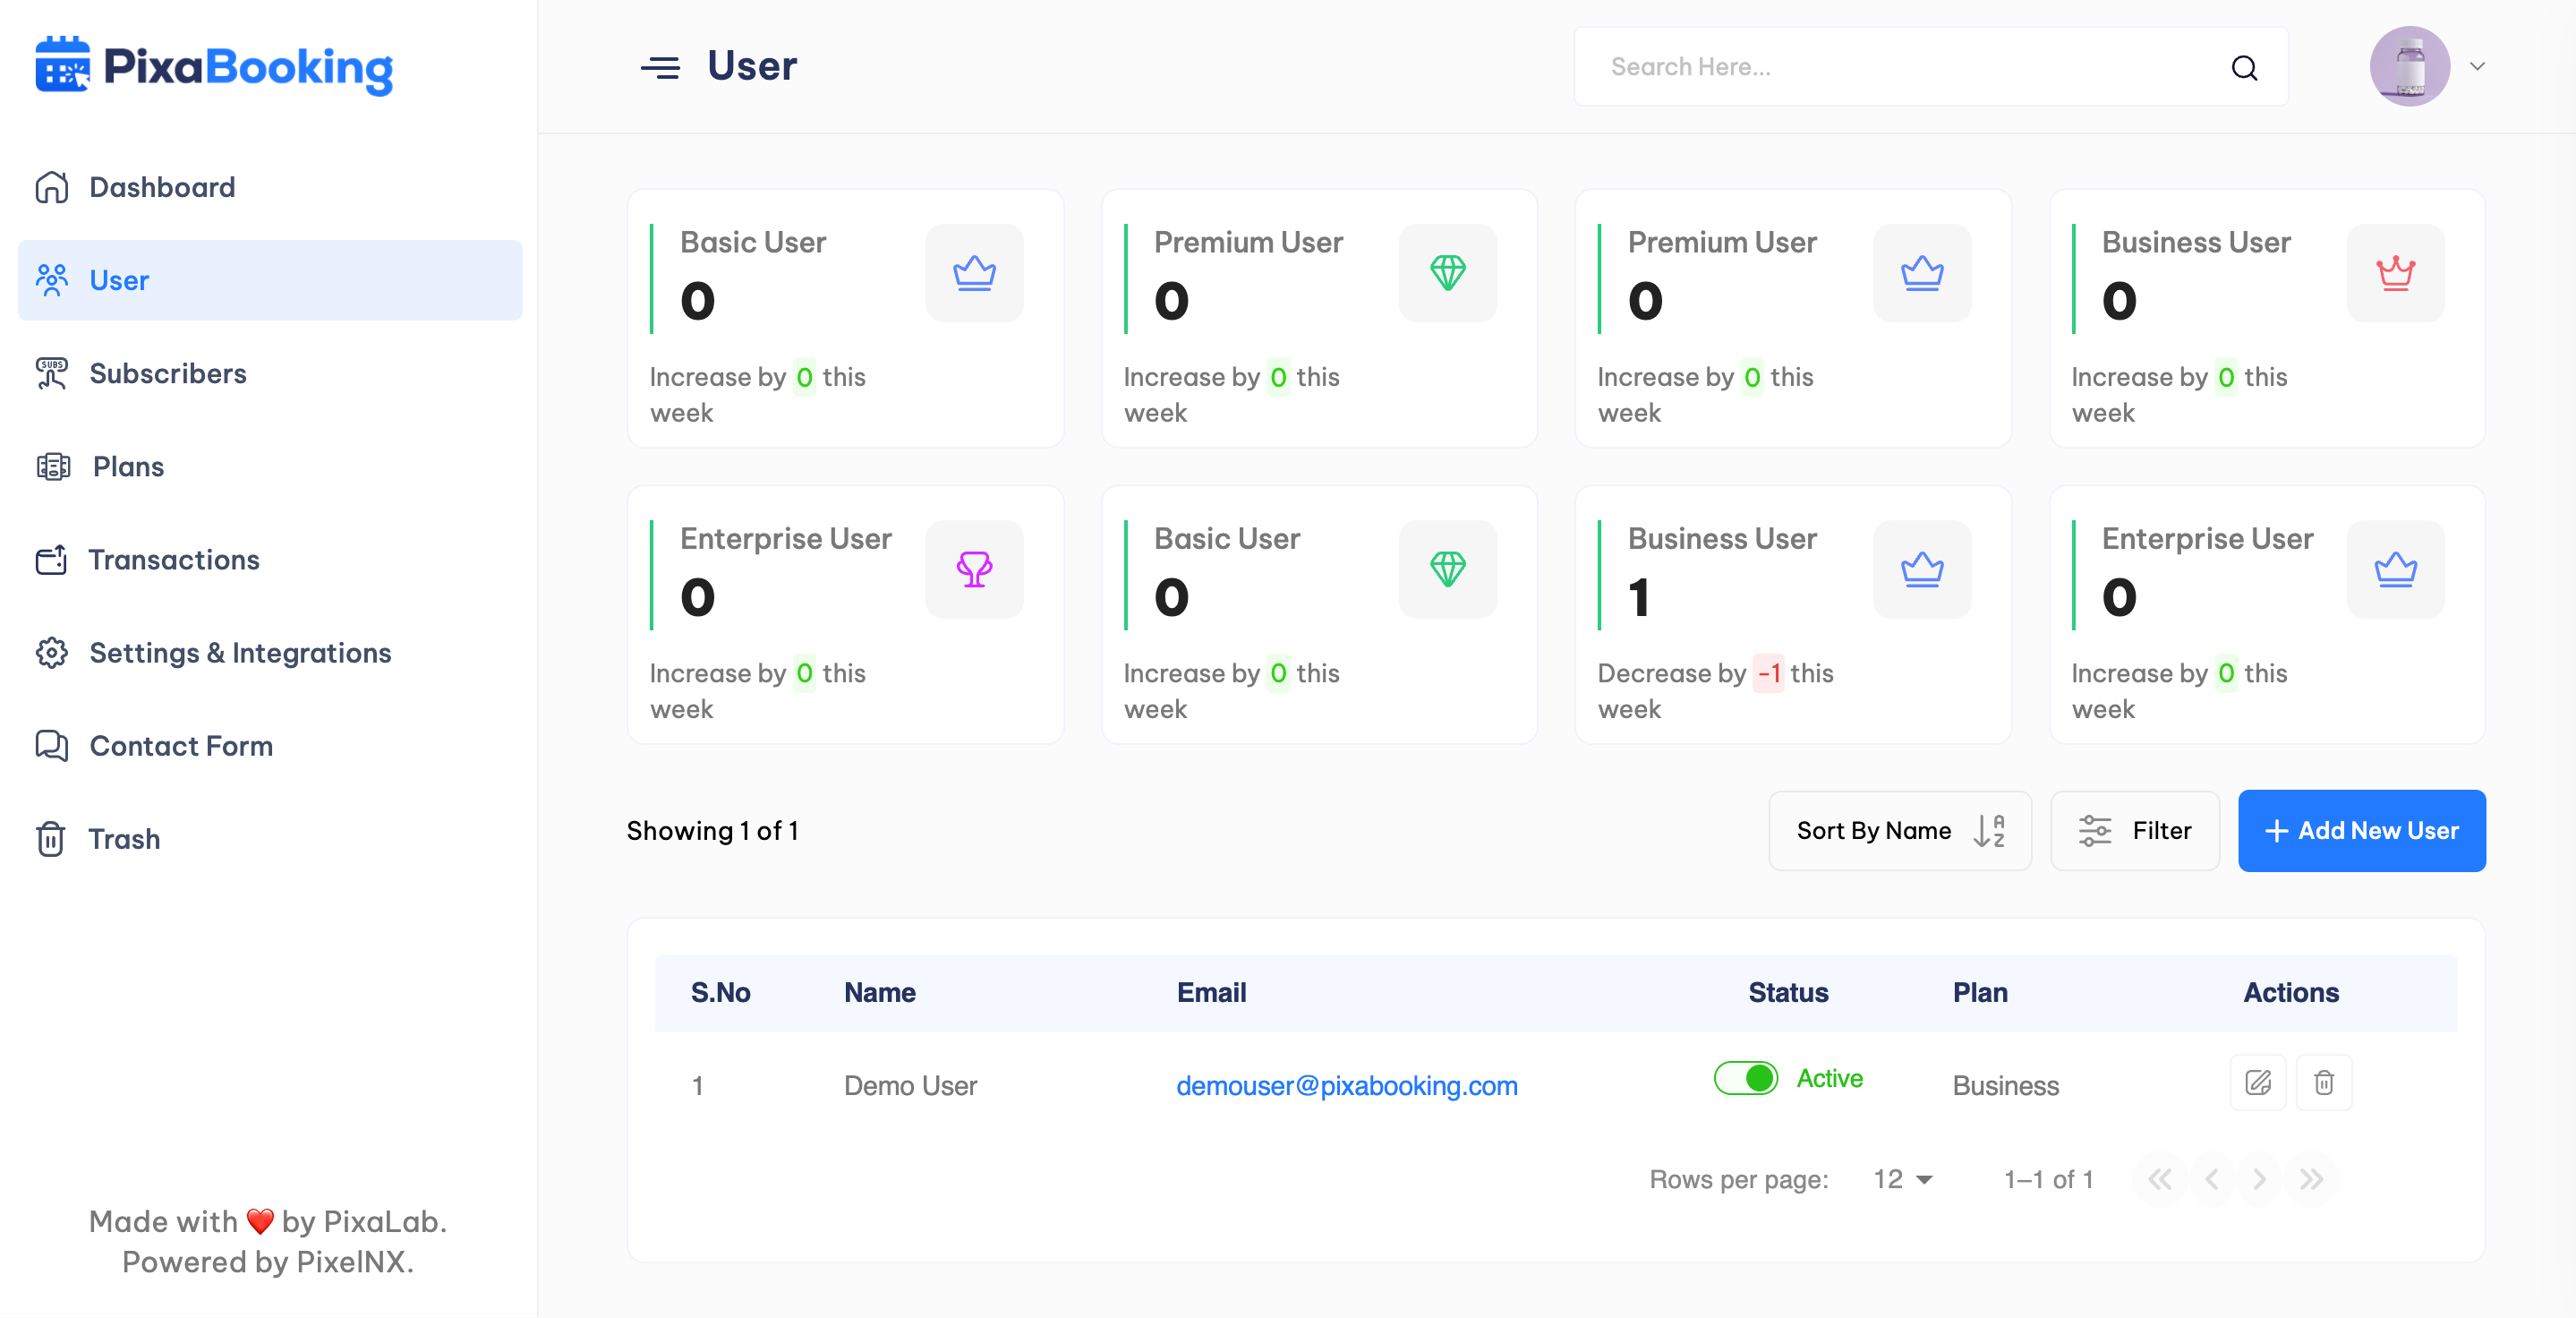
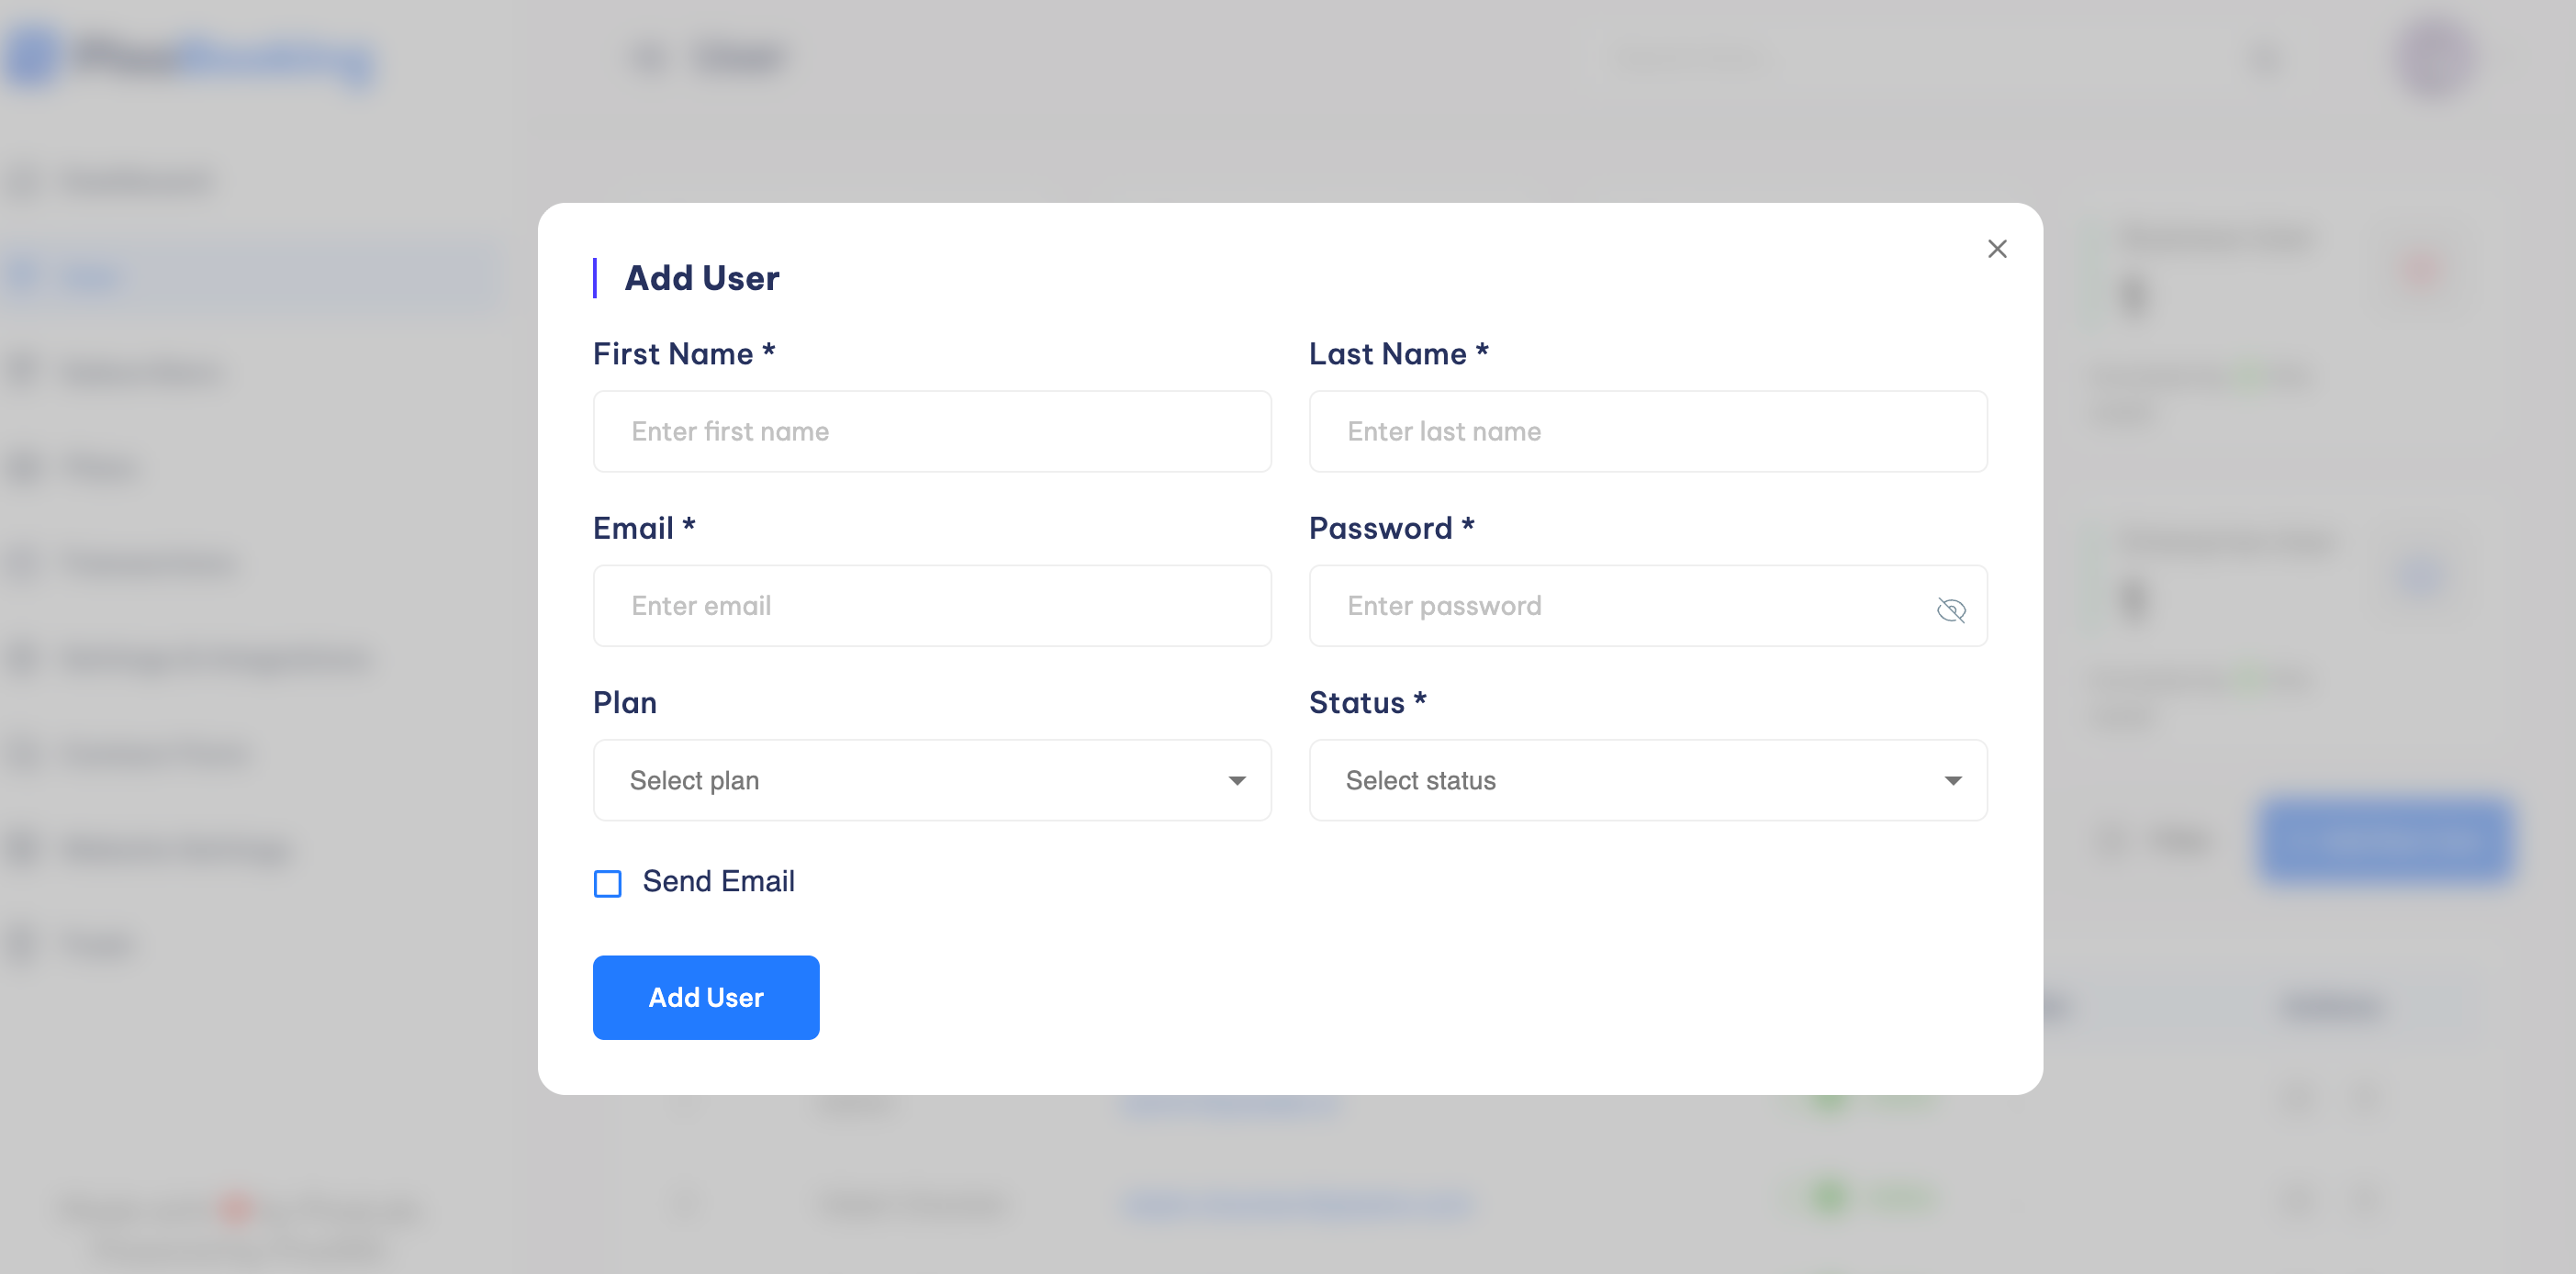
Users
Admin can view, edit, add or delete the users.
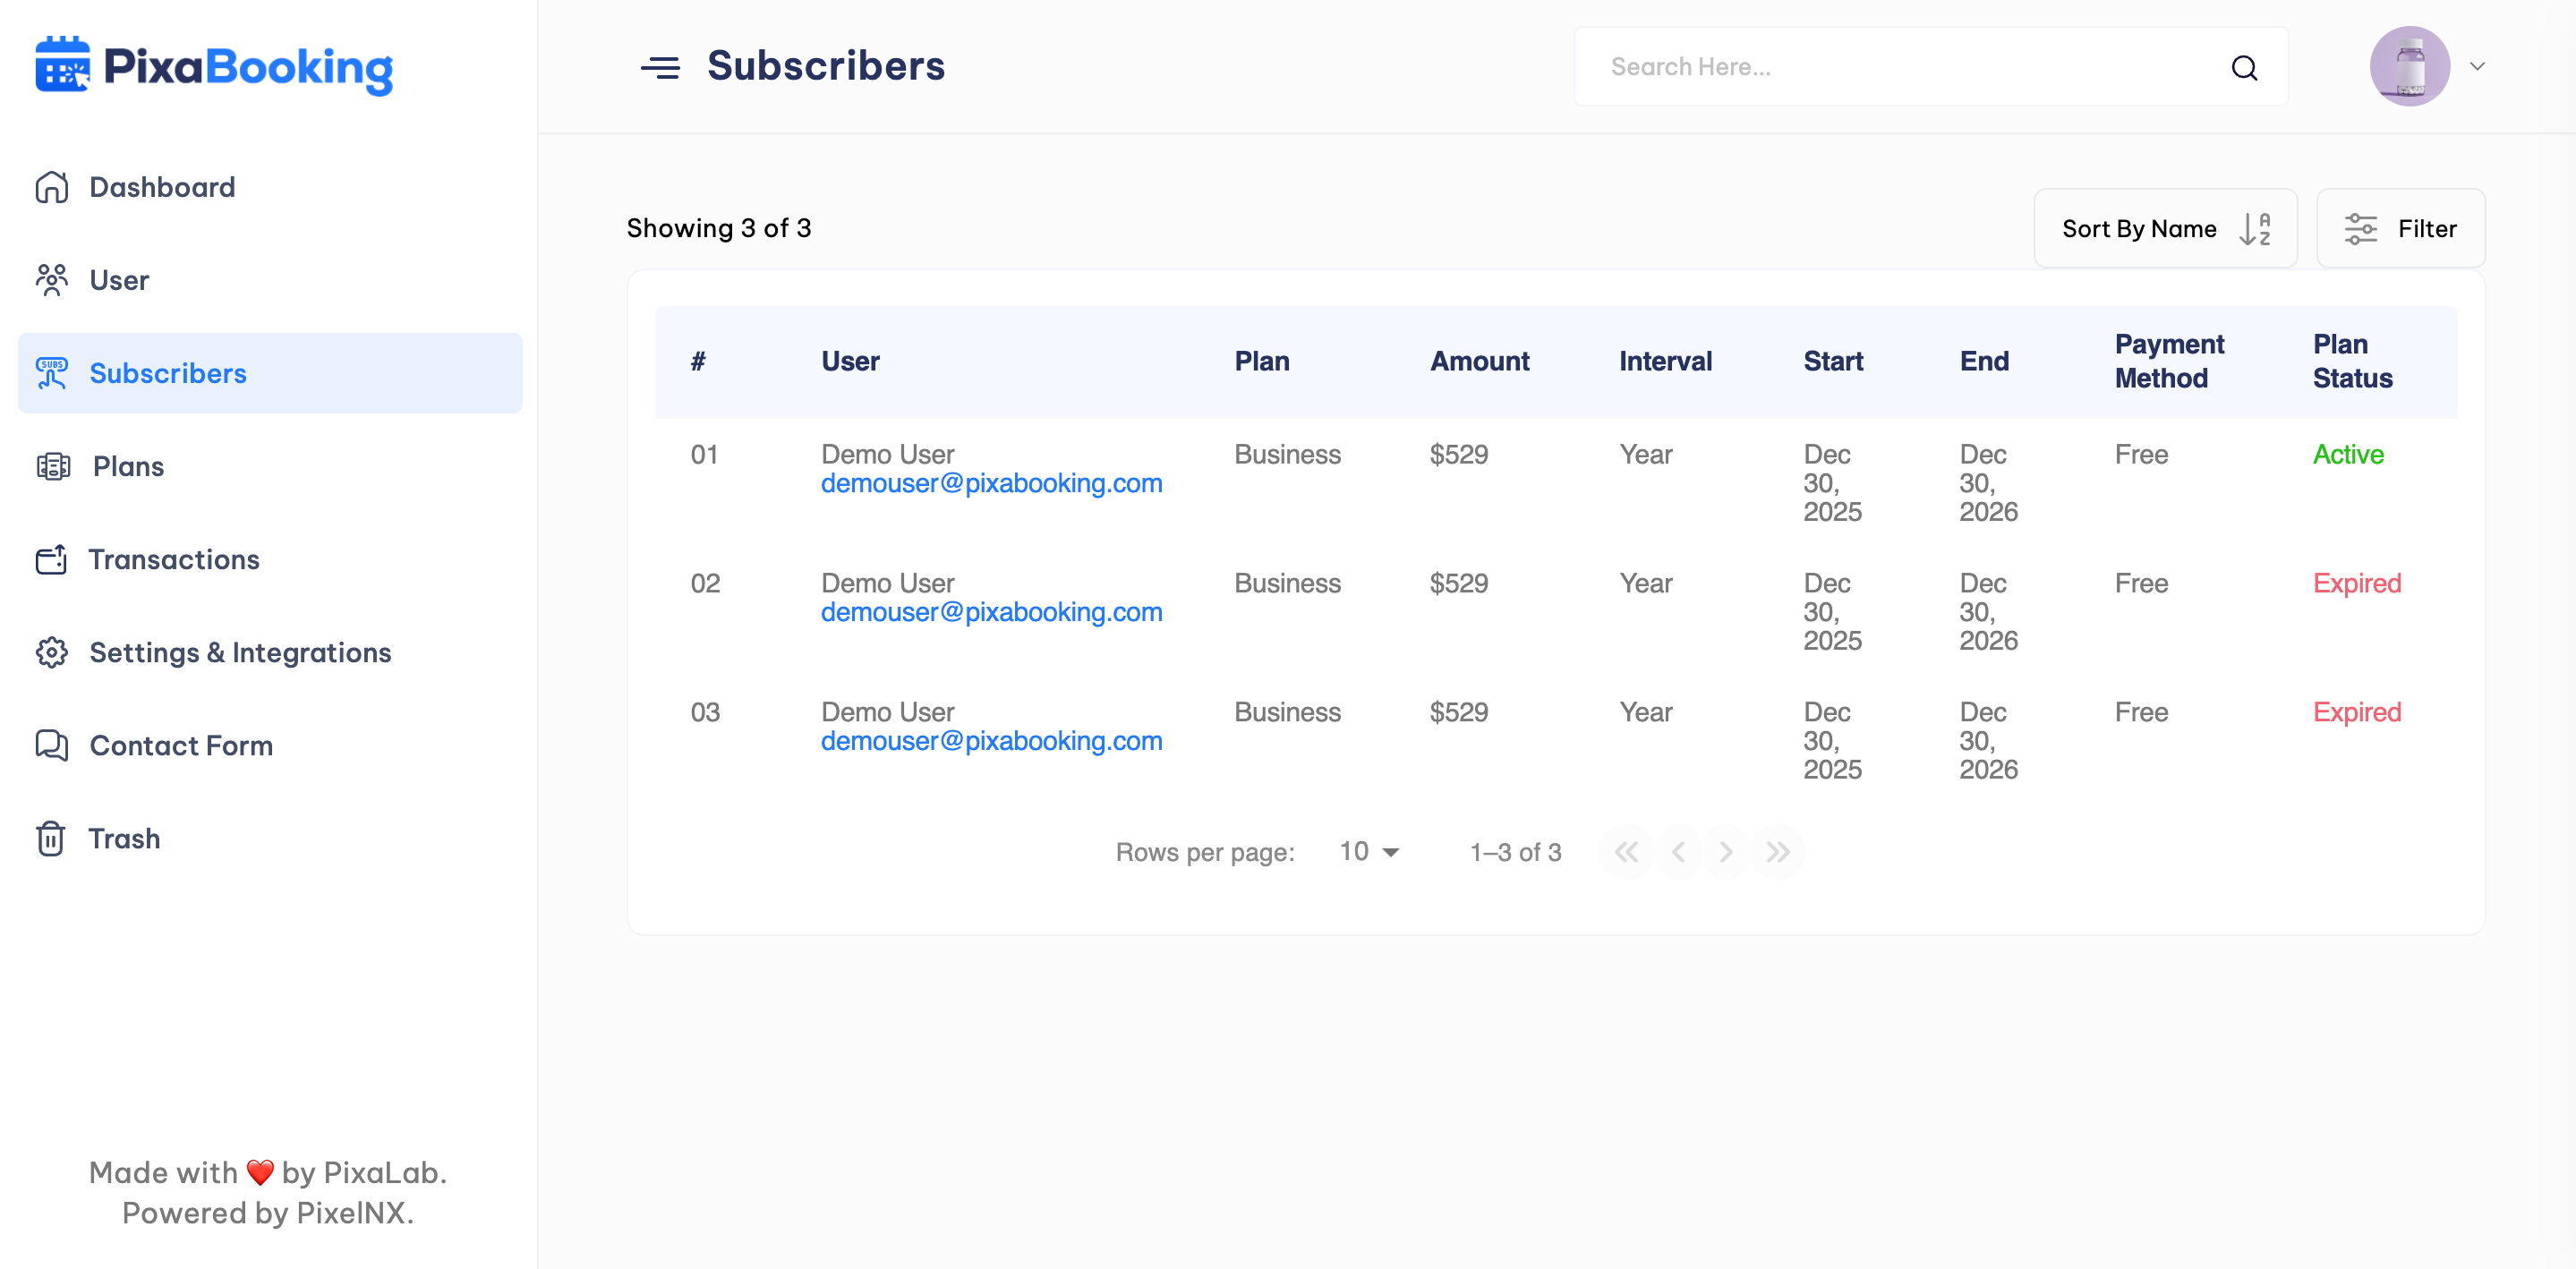
Subscribers
Admin can view the list of subscribers along with plan name, amount, Time Interval, Start Date, End Date, Payment Method, and Plan Status.
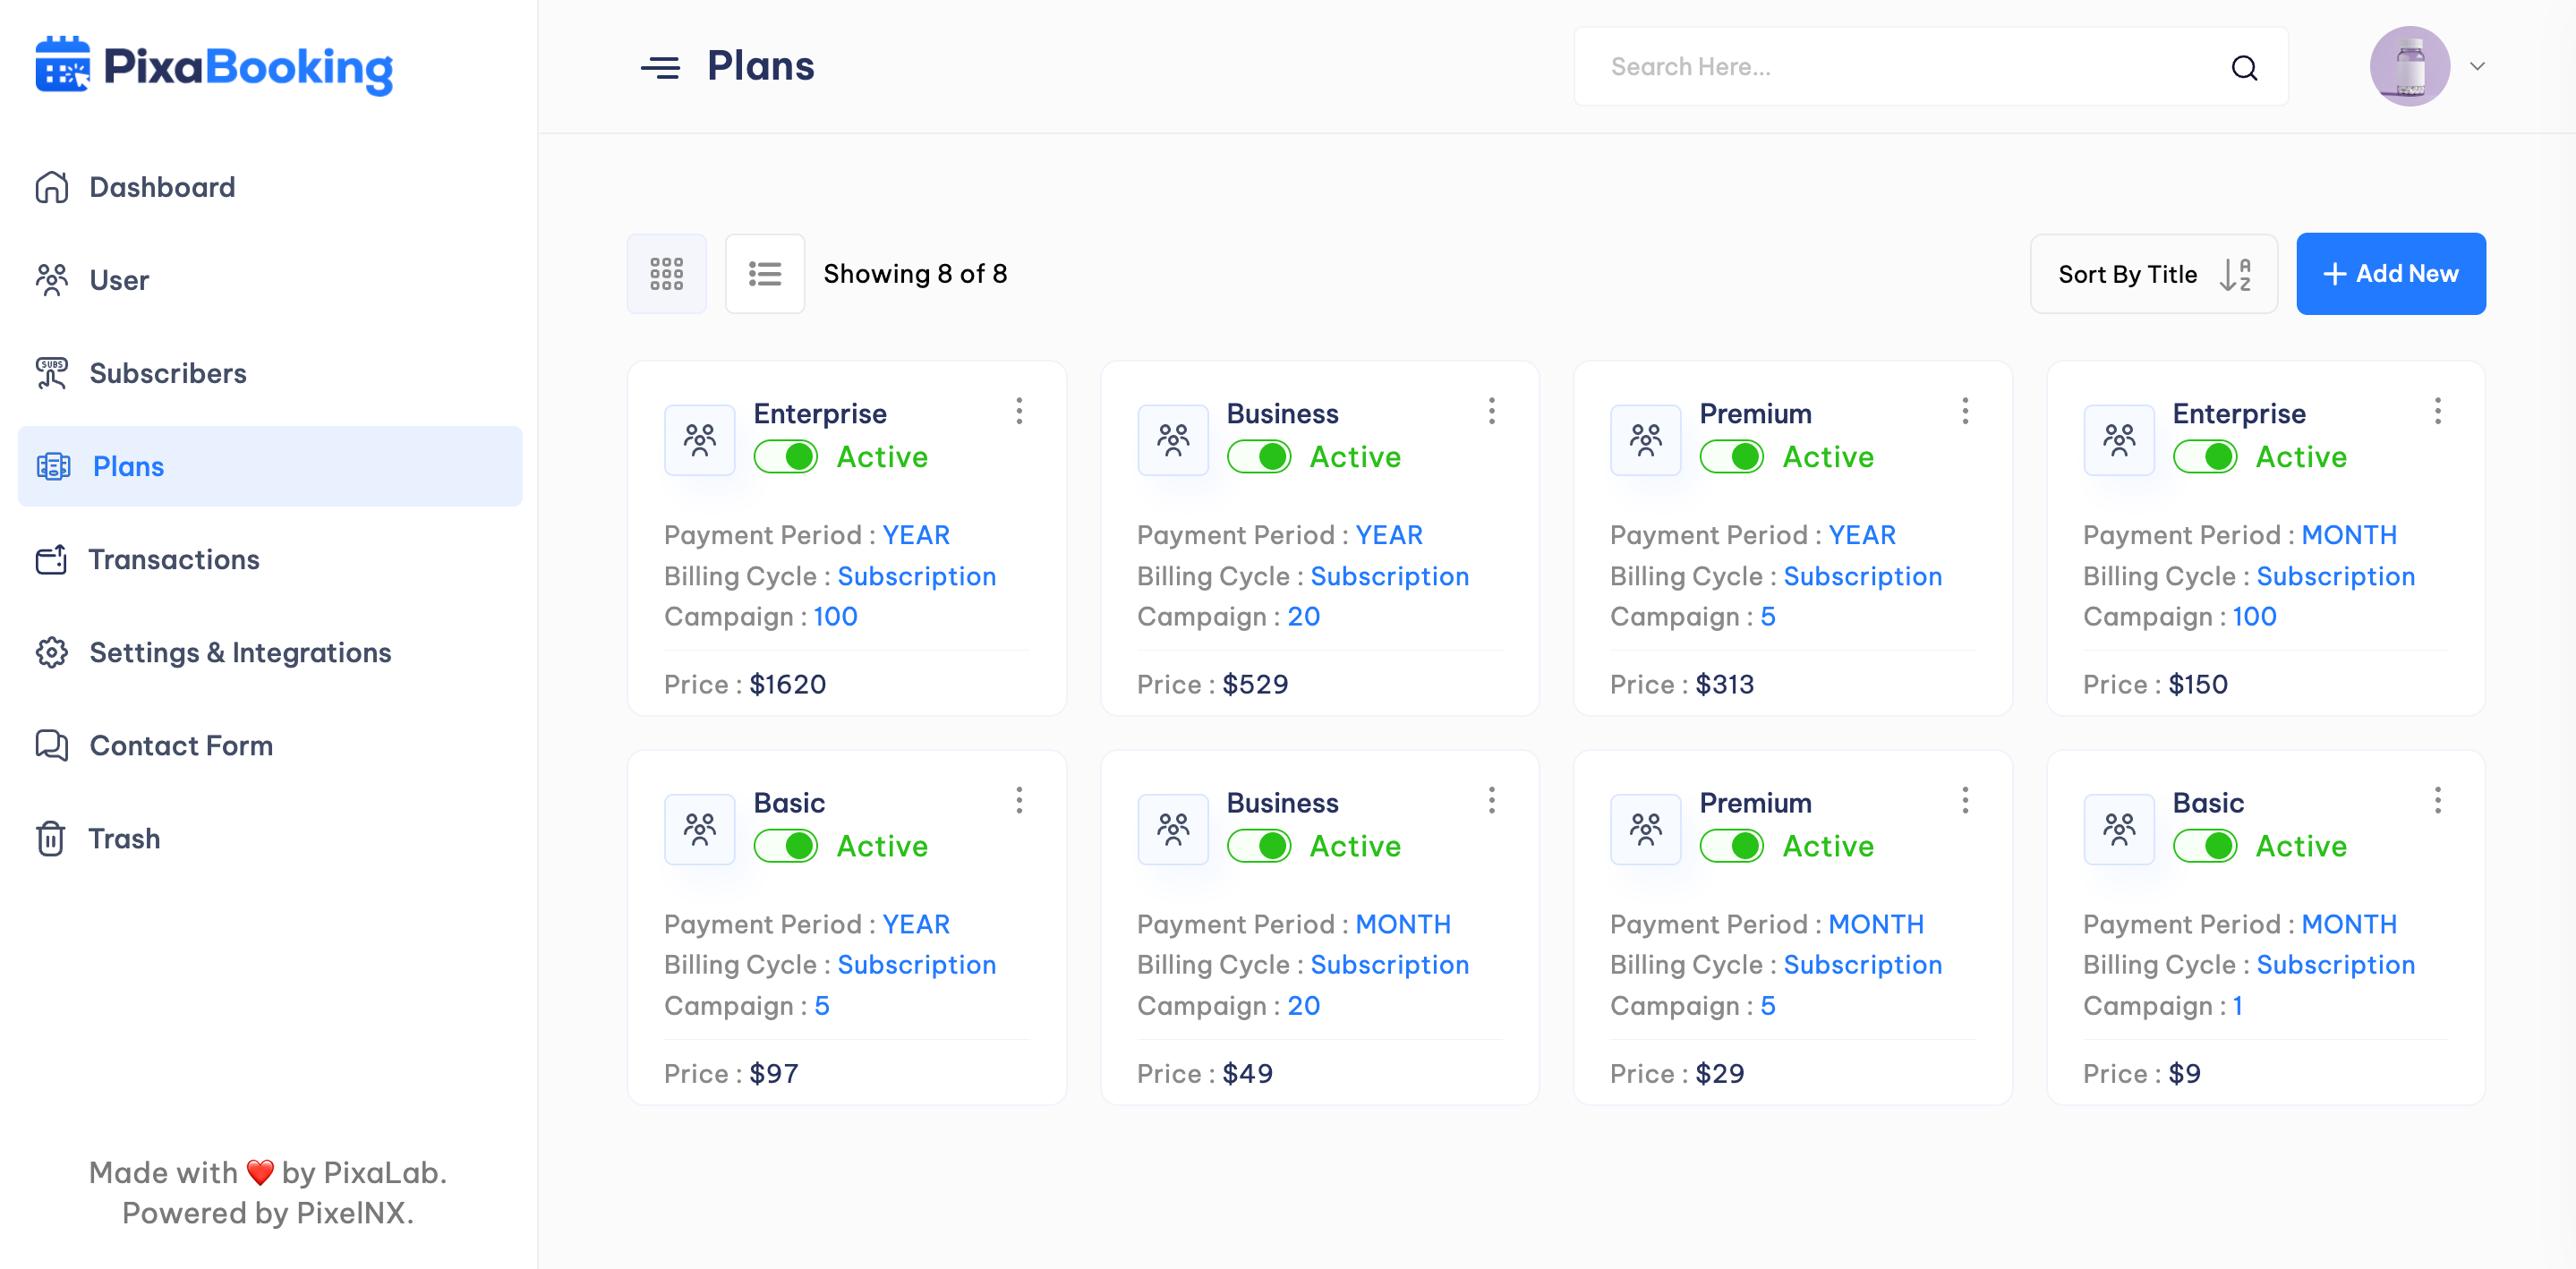
Plans
Admin can view, edit the existing plans and add new plans.
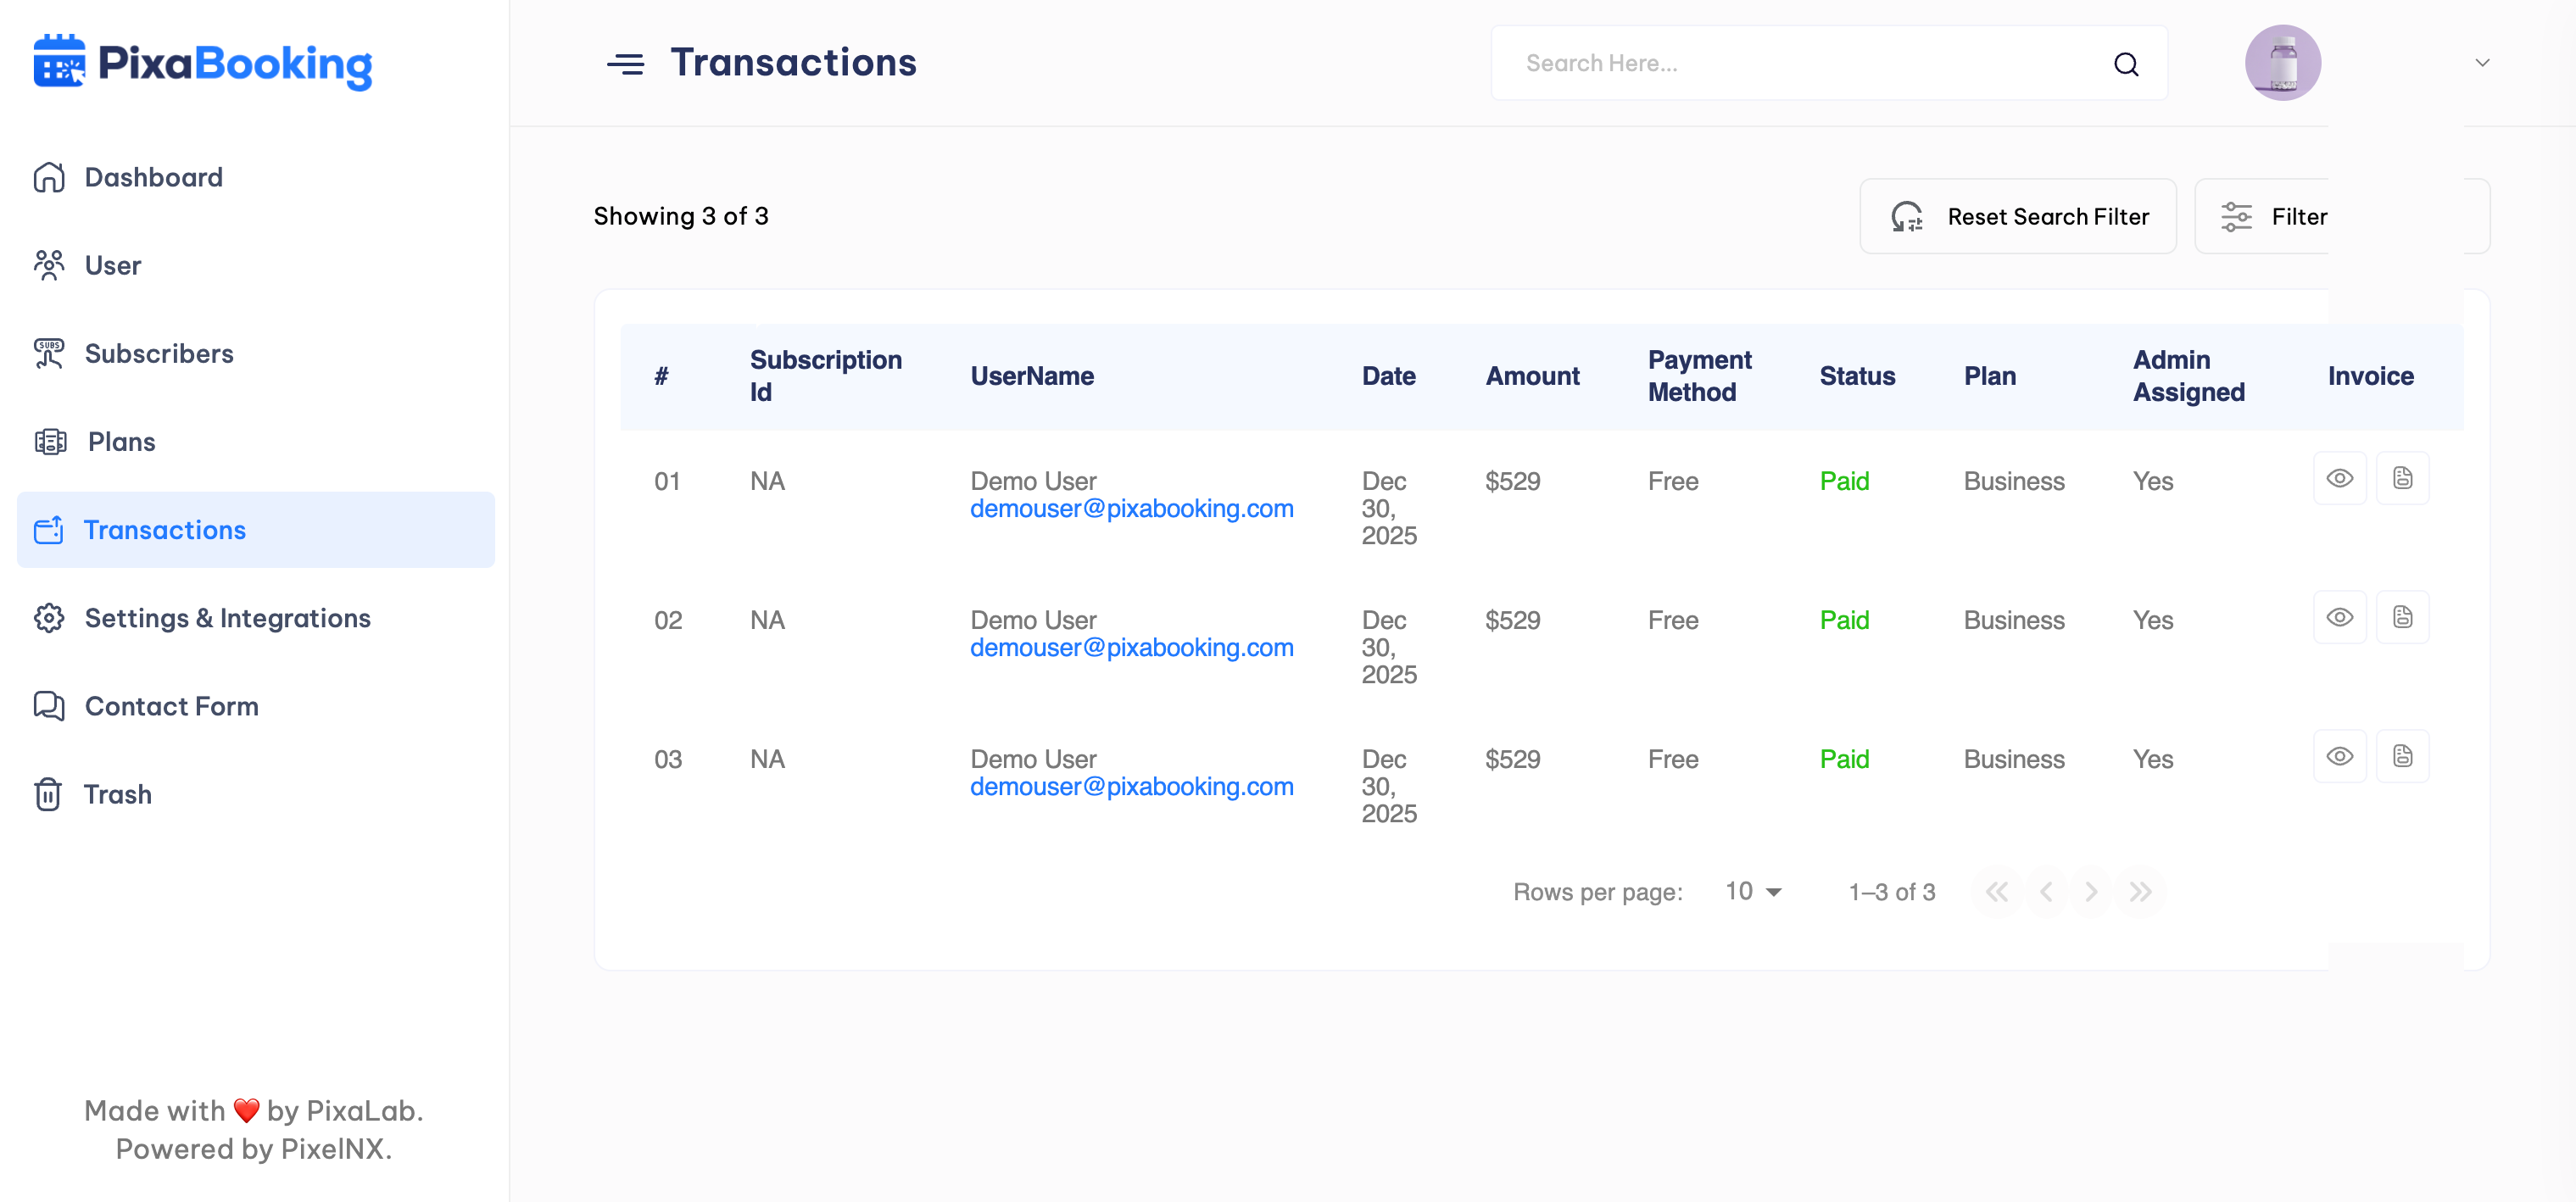
Transactions
Admin can view the list of all transactions along with subscription ID, user name, Date, Amount, payment method, status, Plan name, and admin assigned status.
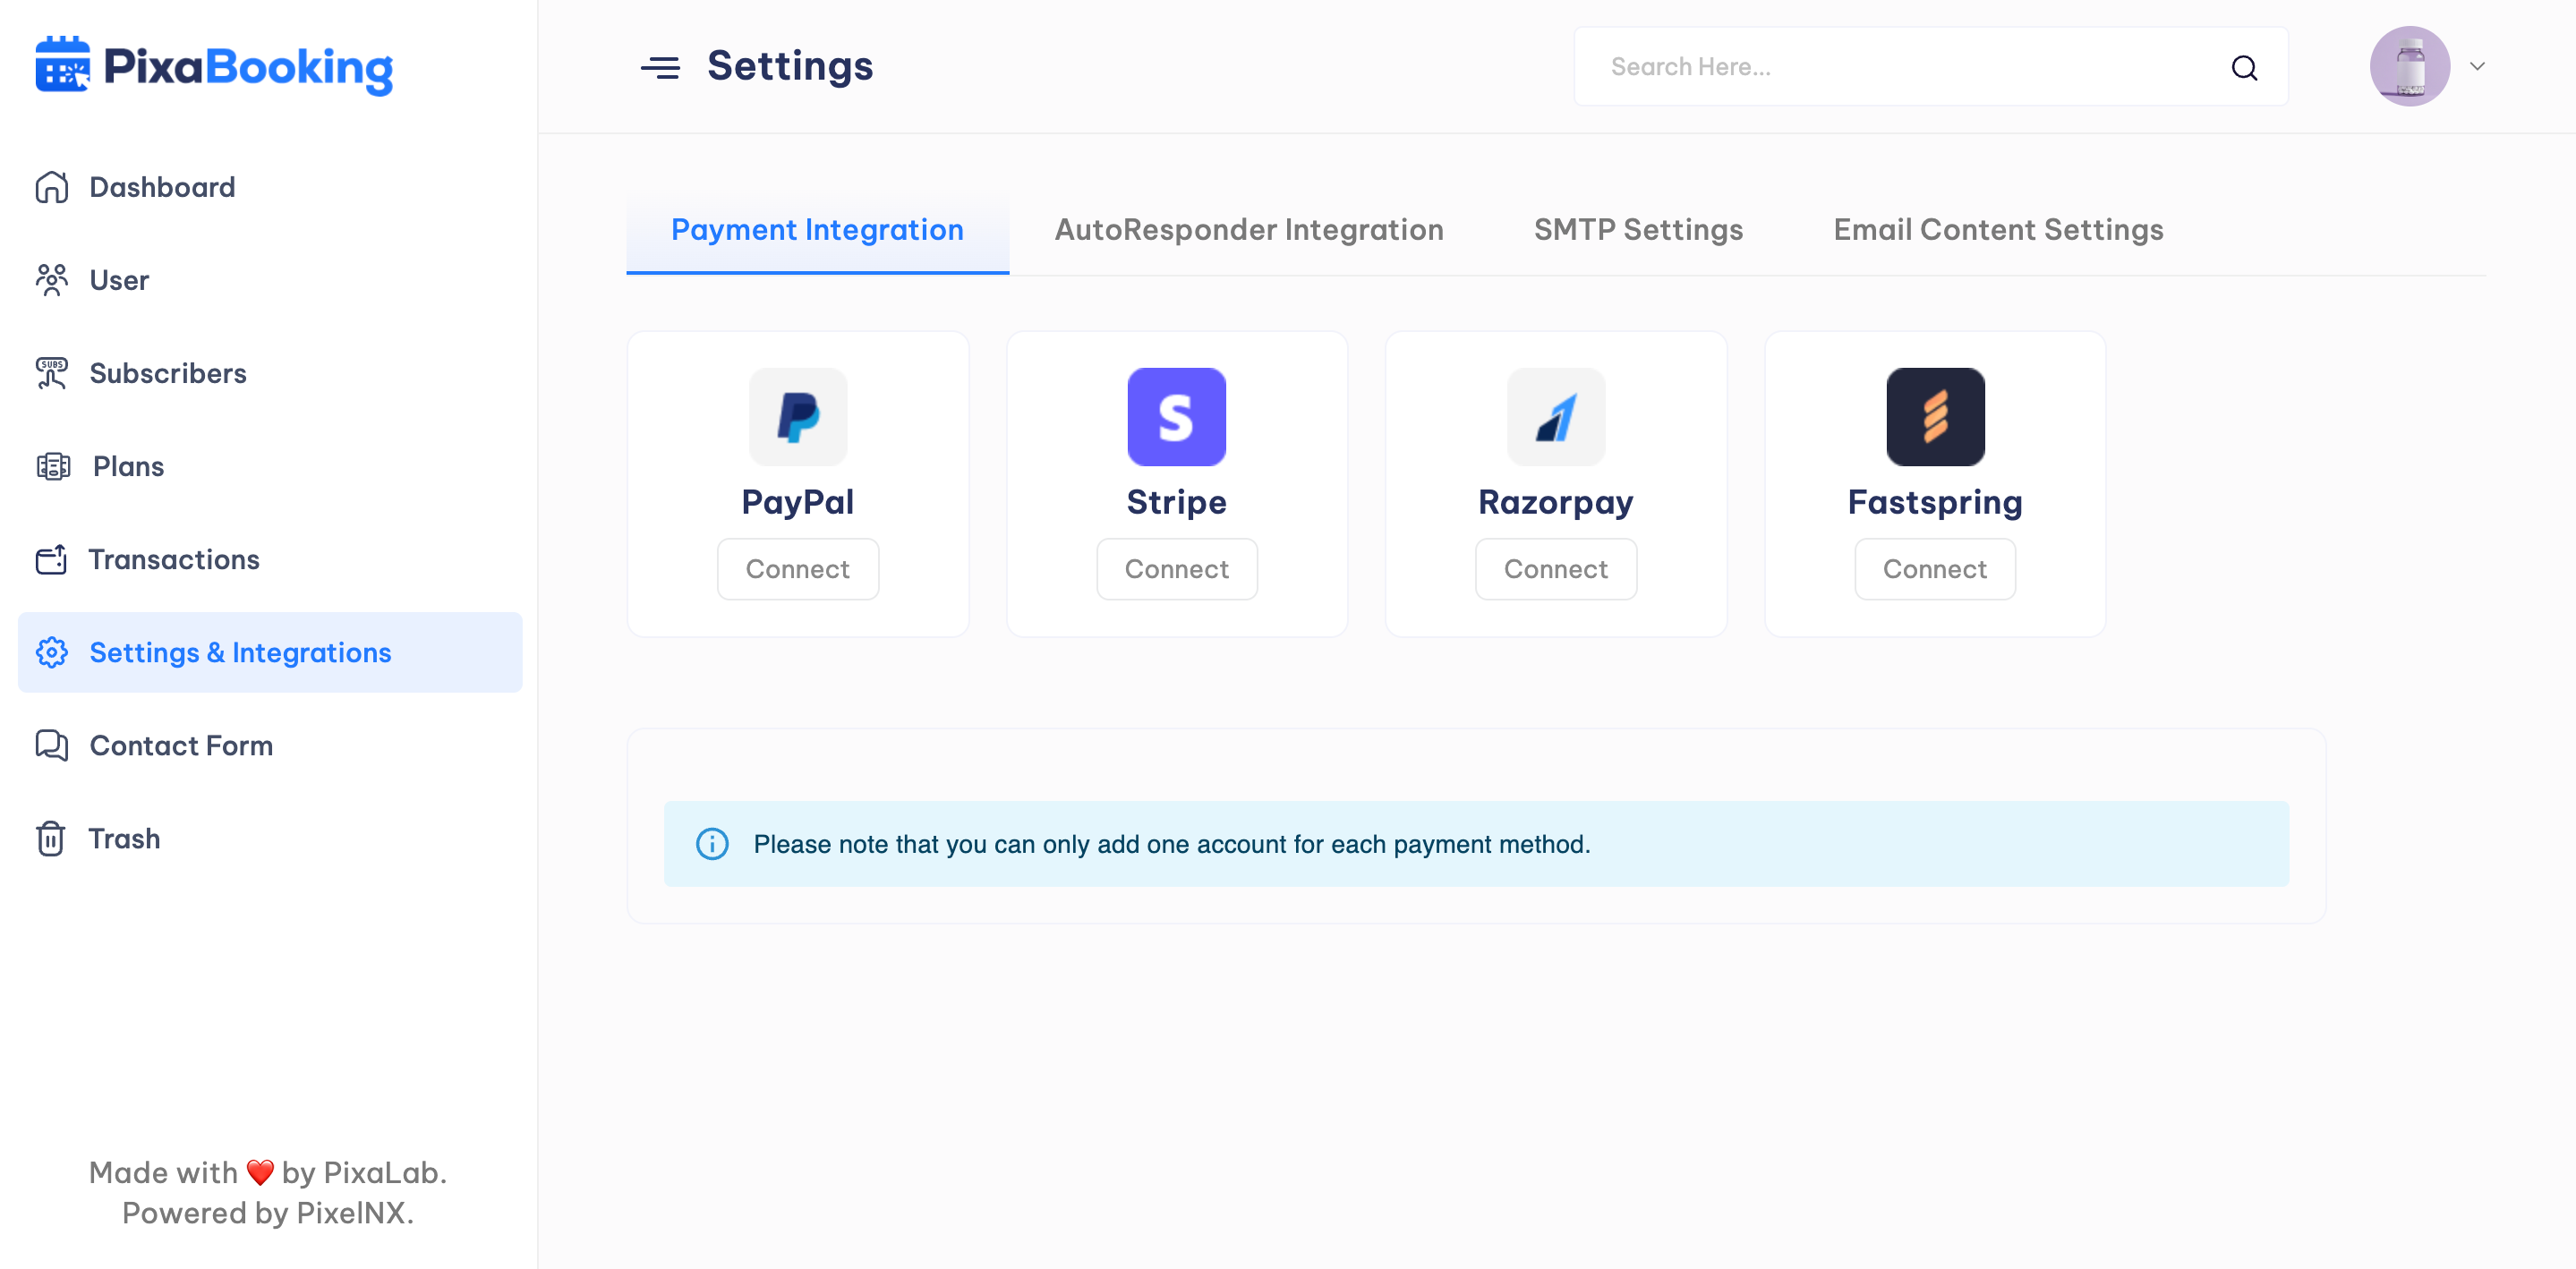
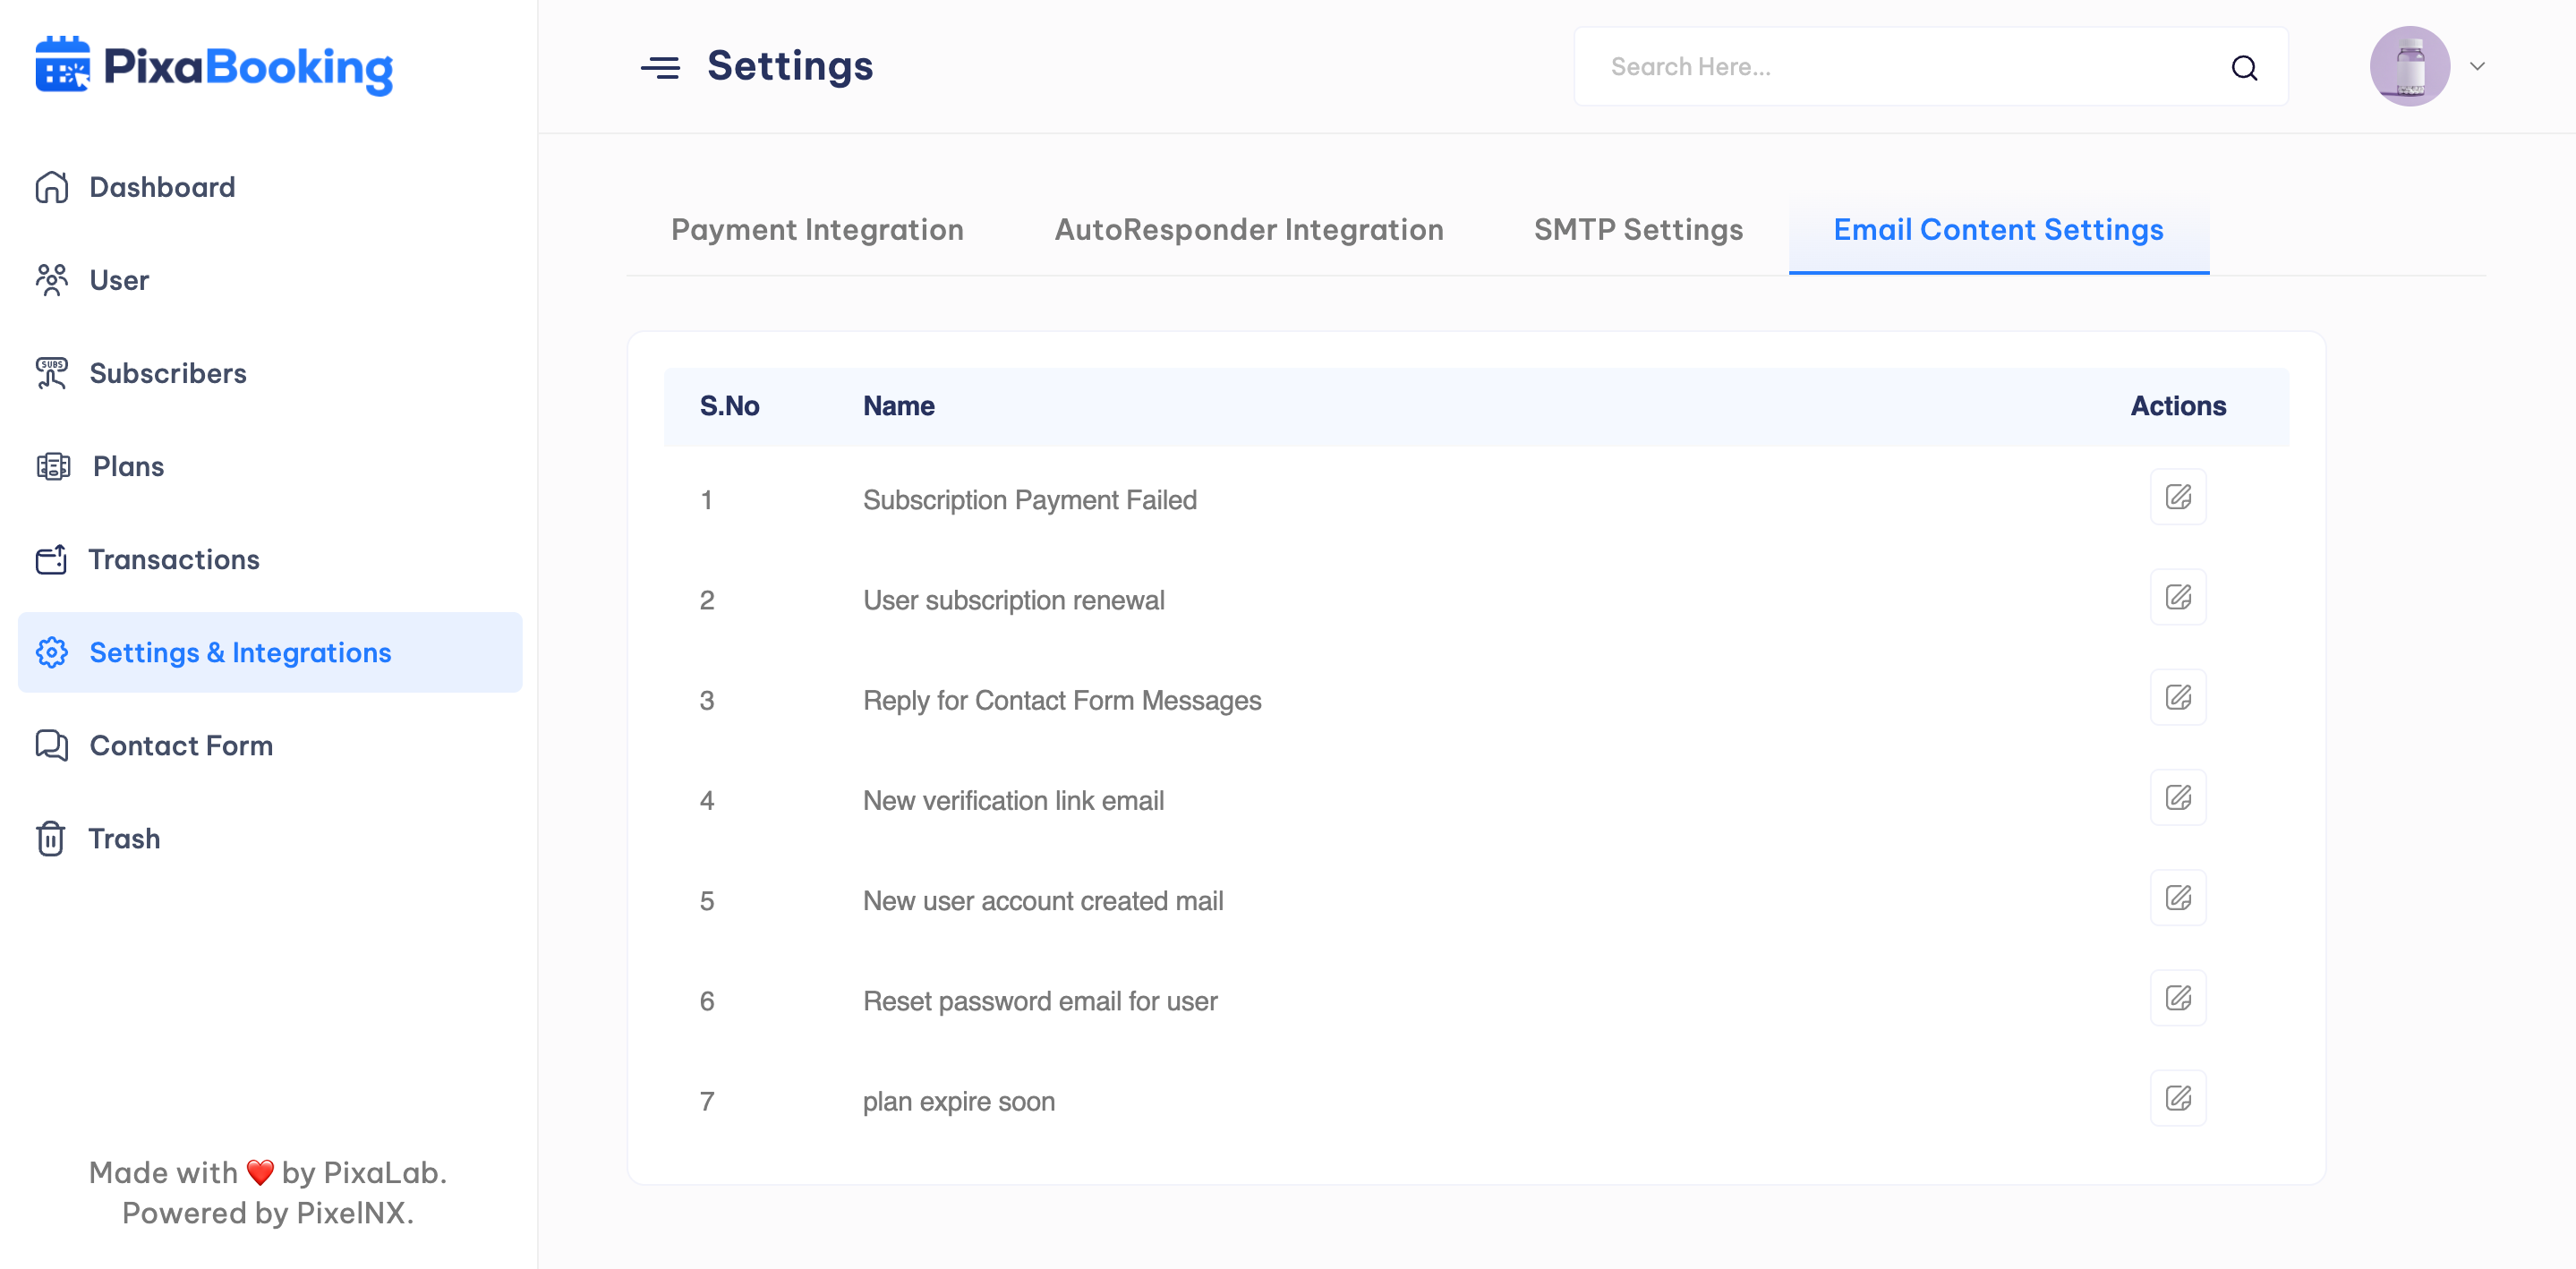
Settings and Integrations
Settings and Integrations option consist of four sub settings : Payment Integration, AutoResponder Integration, SMTP Settings, EmailContent Settings.
Payment Integration - Admin can configure PayPal, Stripe, Razorpay, Fastspring payment methods.
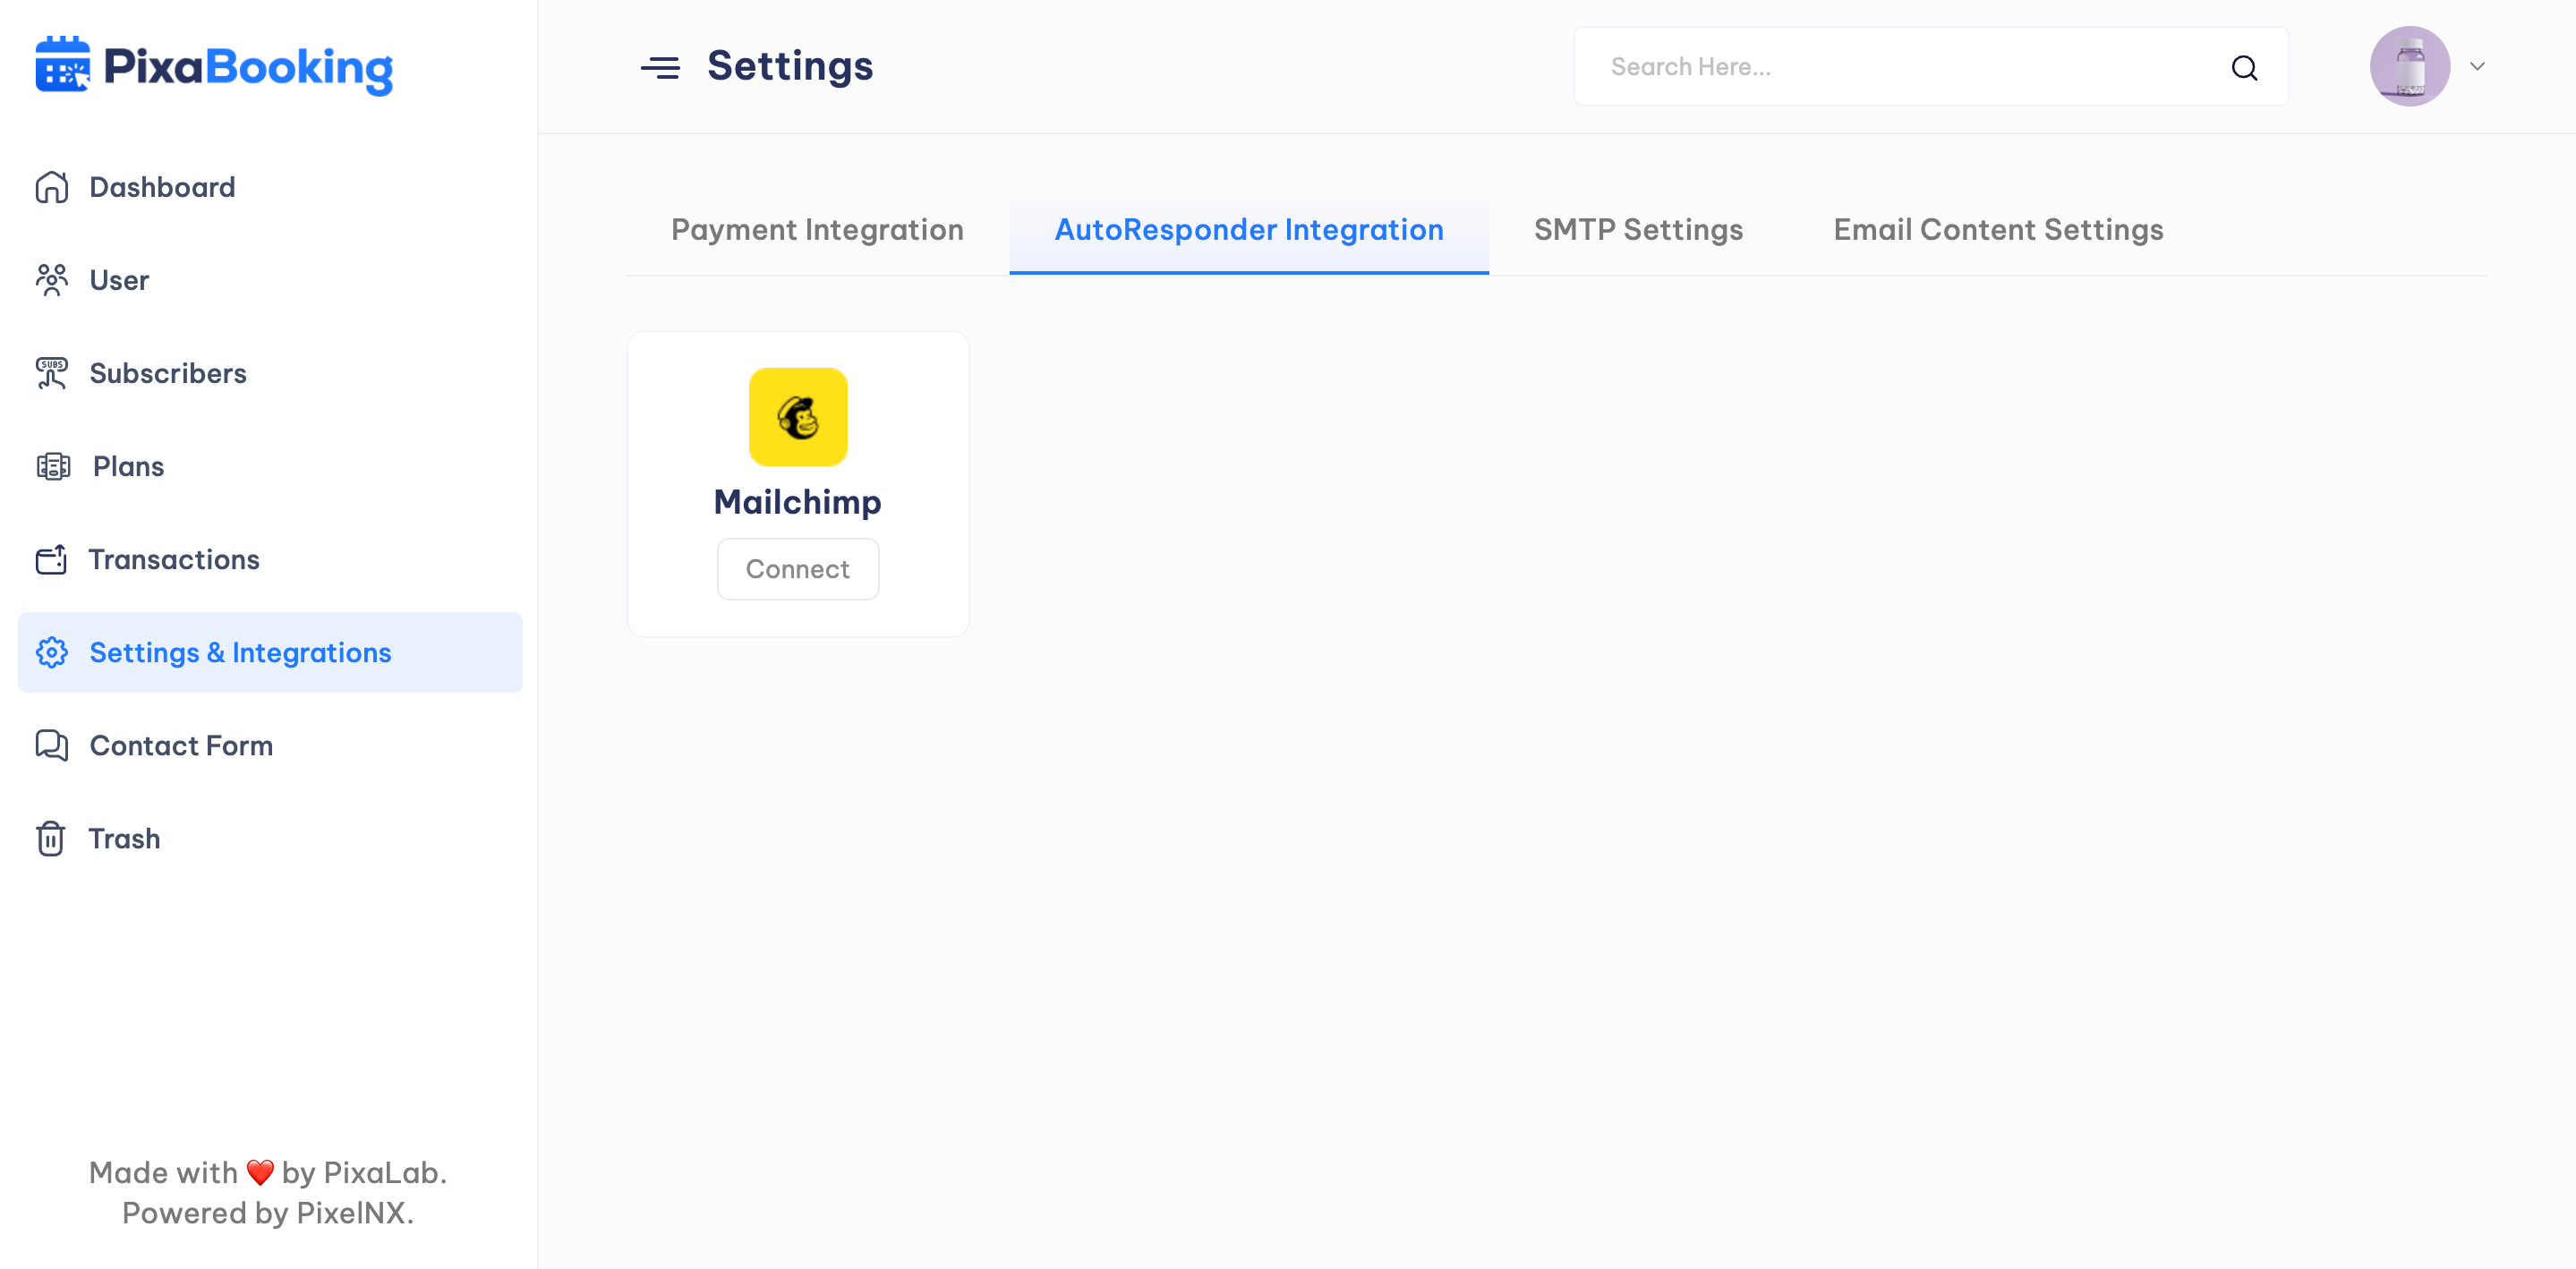
AutoResponder Integration - Admin can configure Mailchimp autoresponder.
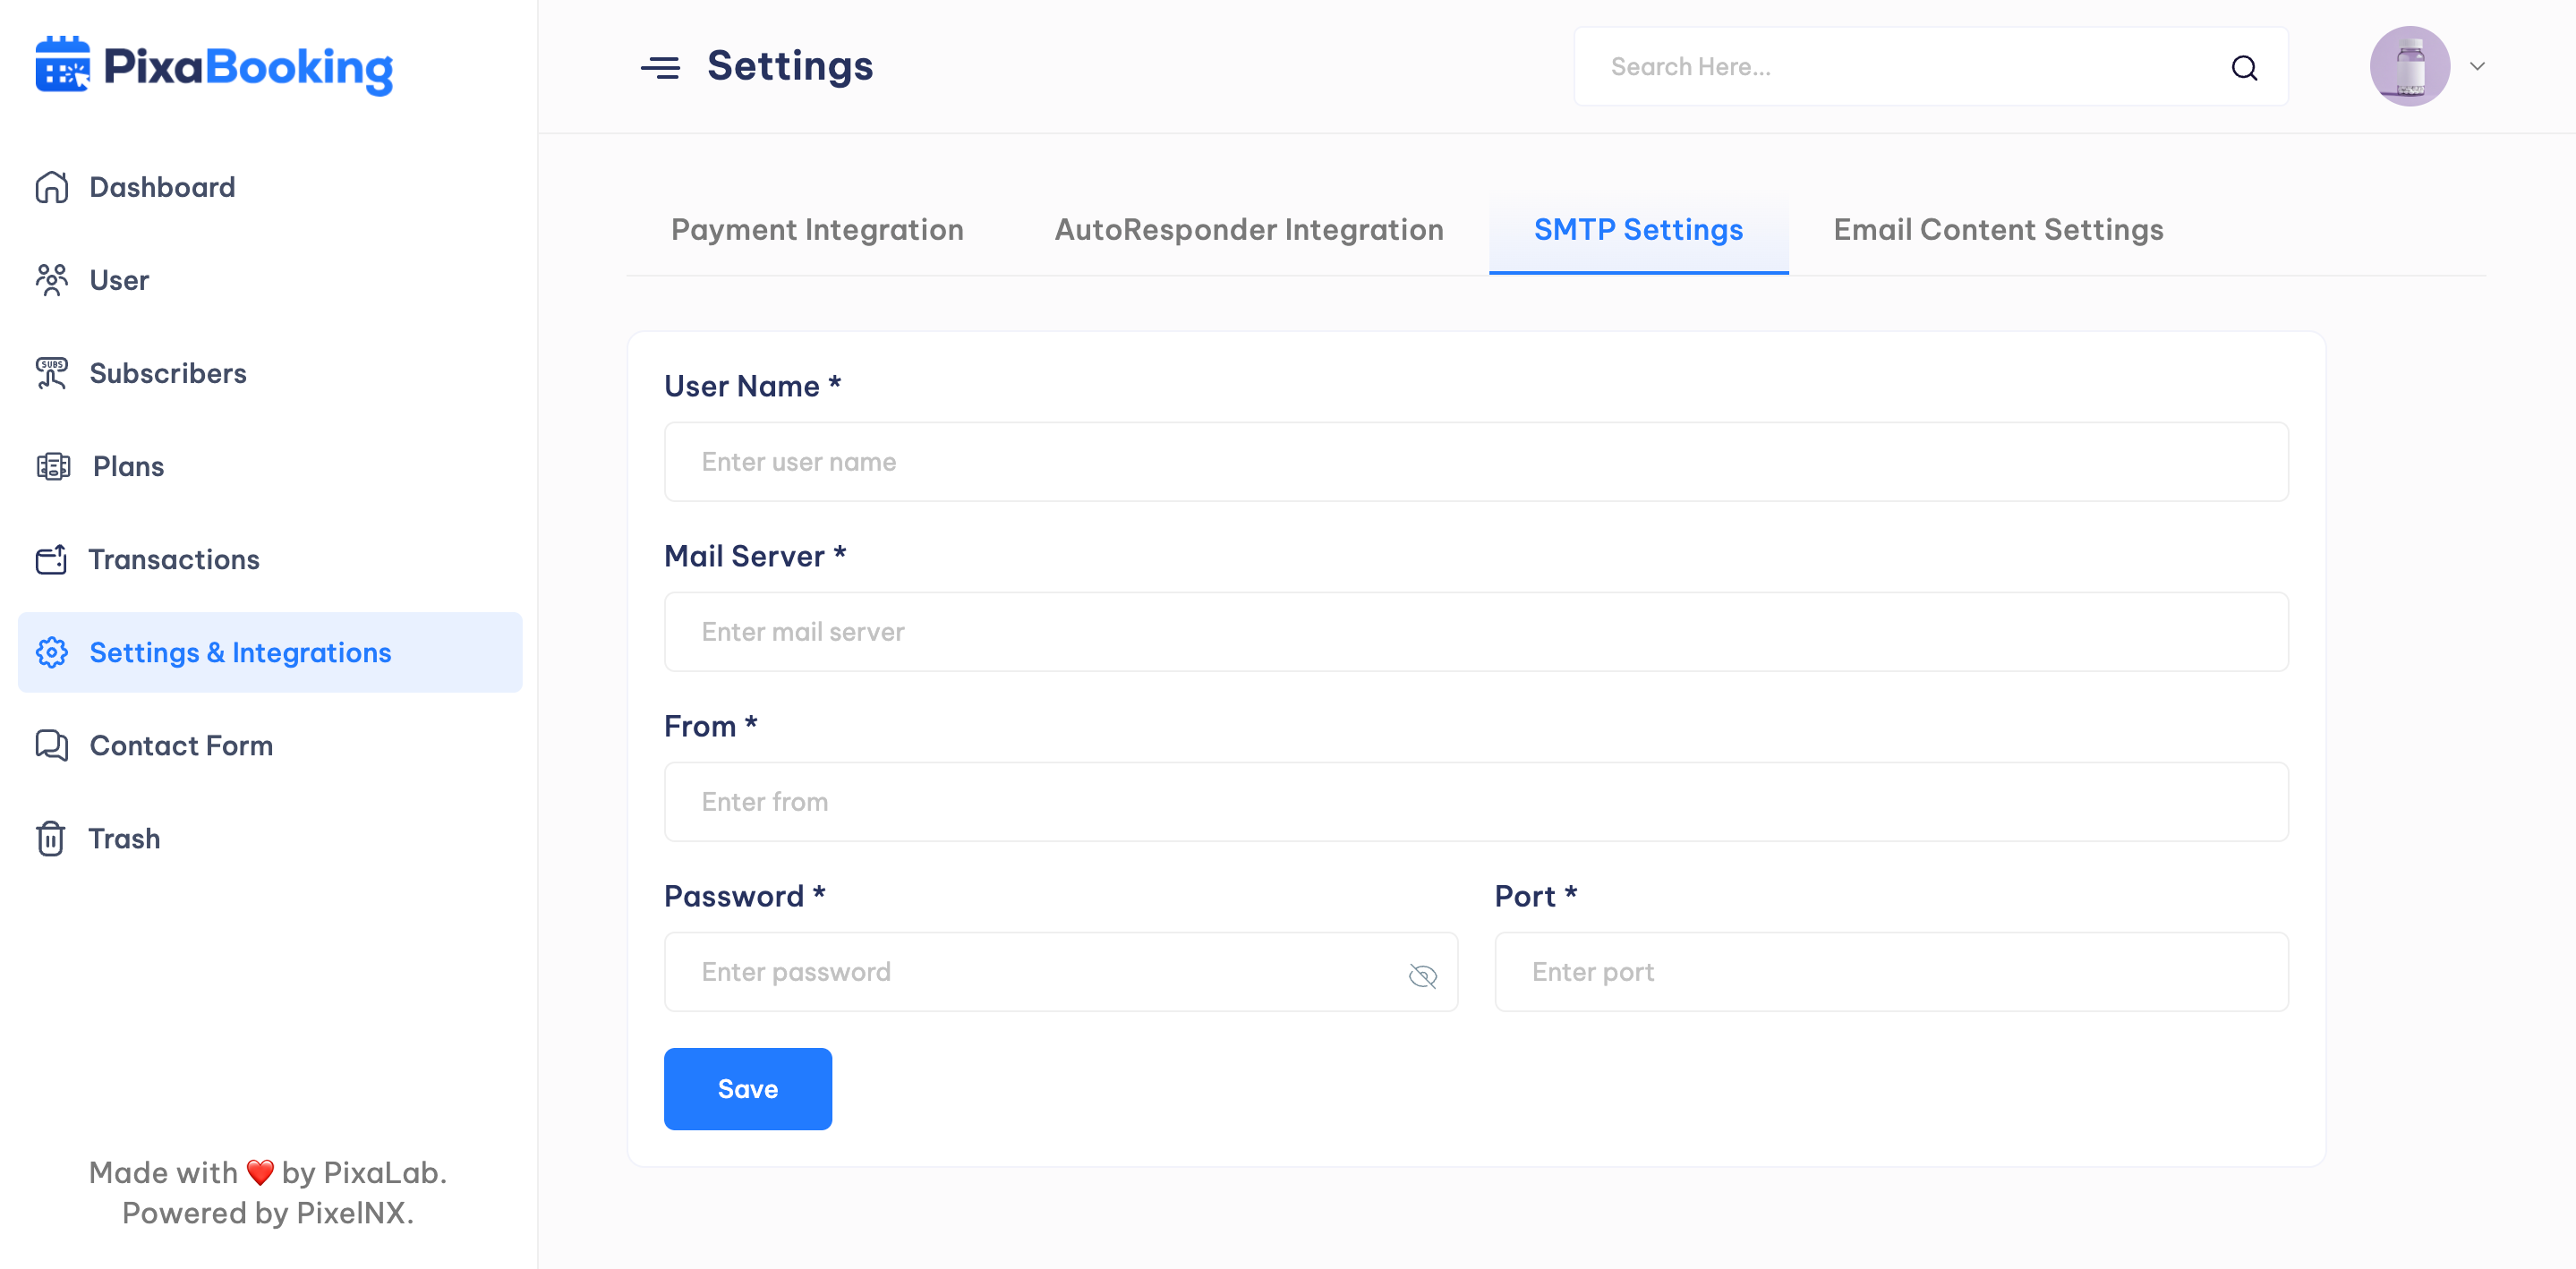
SMTP Settings - Admin can add the SMTP details here.
Email Content Settings - Admin can change the email content for new user account creation, subscription payment fail, user subscription renewal, response of contact form, new verification link email, reset password email, and plan exipre.
Contact Form Messages
Admin can view all the messages received through the contact form.
Trash
Admin can check the details of the deleted users.
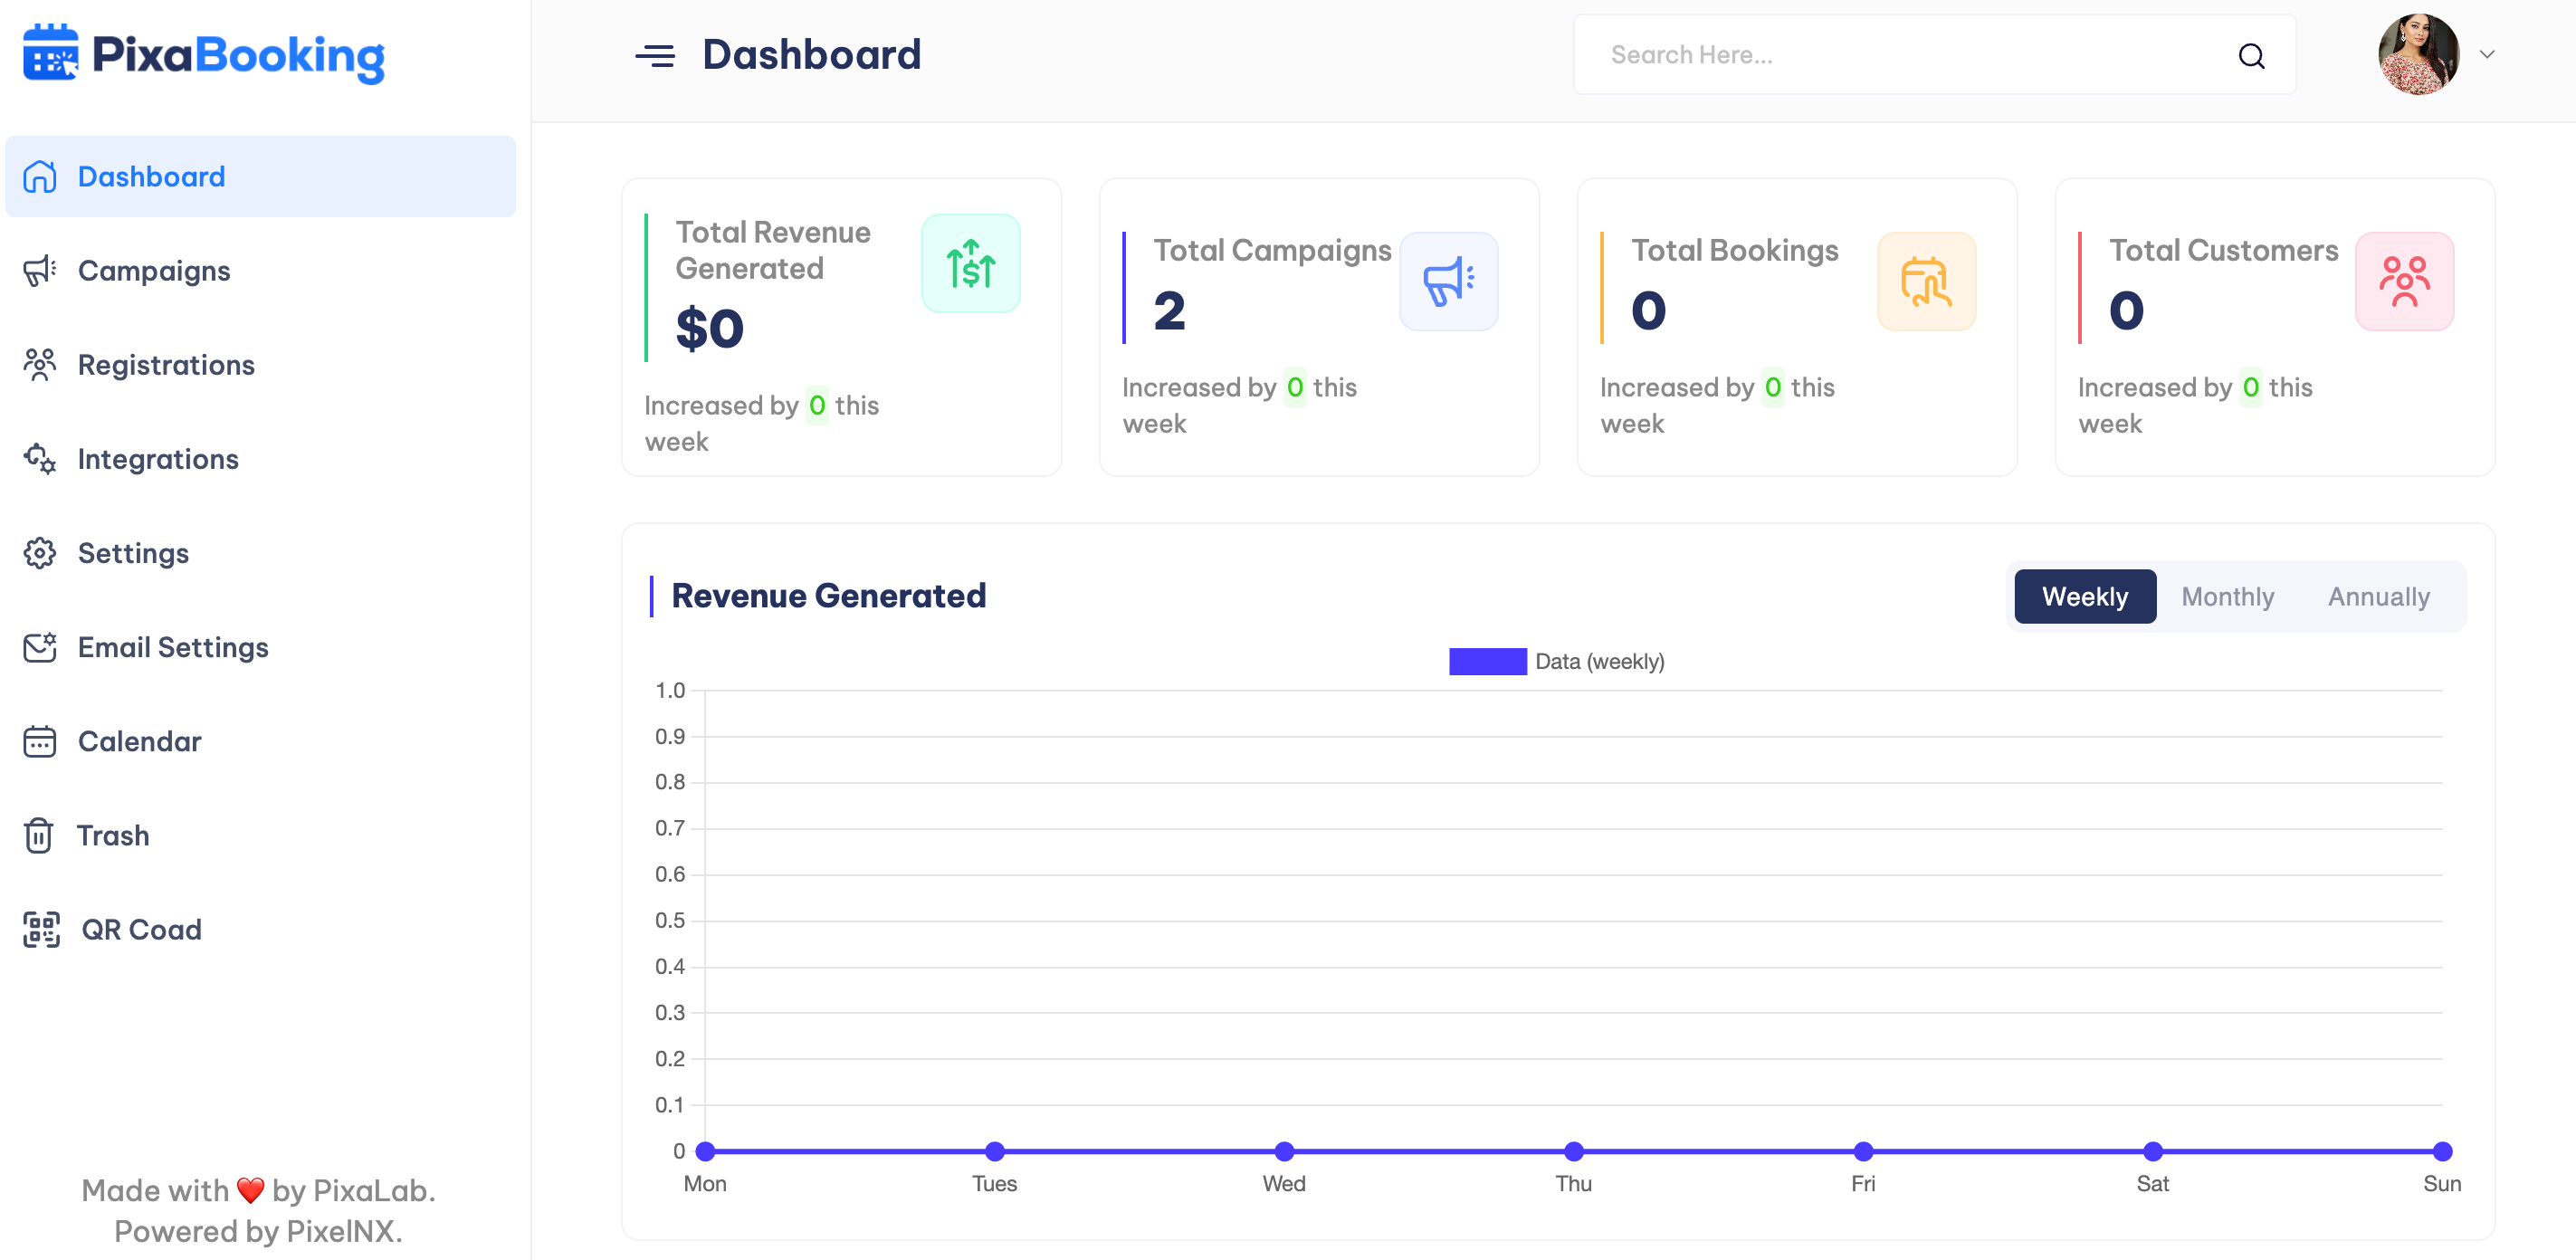
User Dashboard
The User Dashboard options panel has been specially created to make user work faster and easier.
Dashboard
Dashboard option will show the counts of Total Revenue Generated, Total Campaigns, Total Bookings, Total Customer. Along with this, users can view generated revenue, appointment, event, seat, room, table bookings, campaign details.
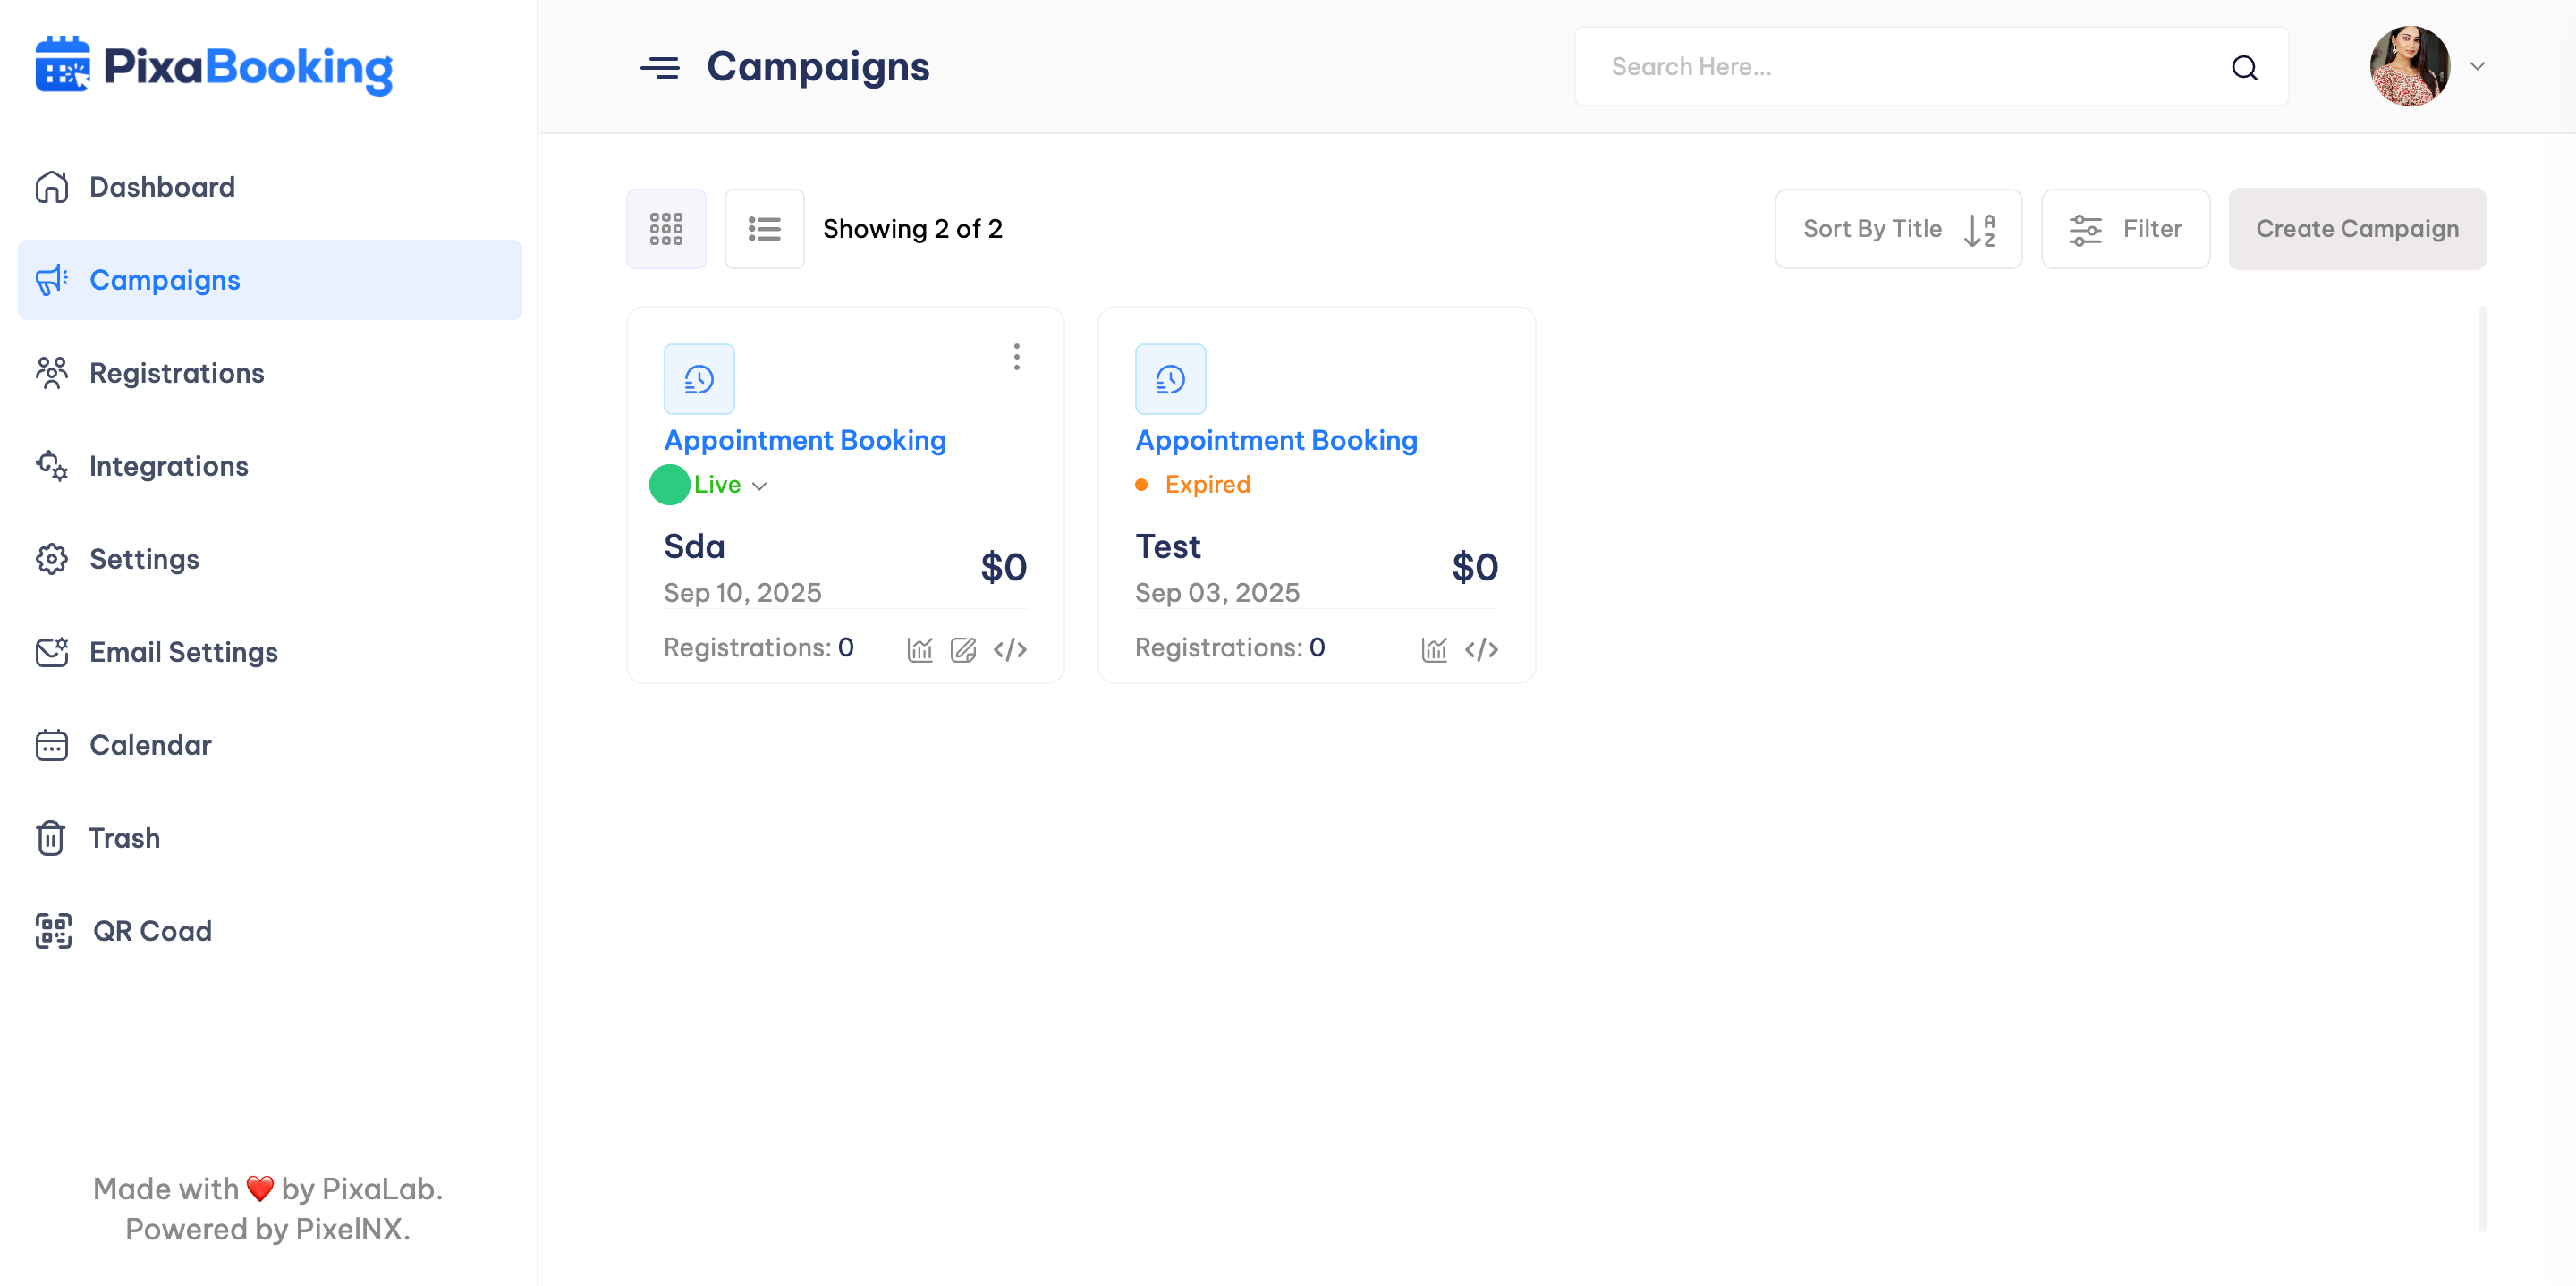
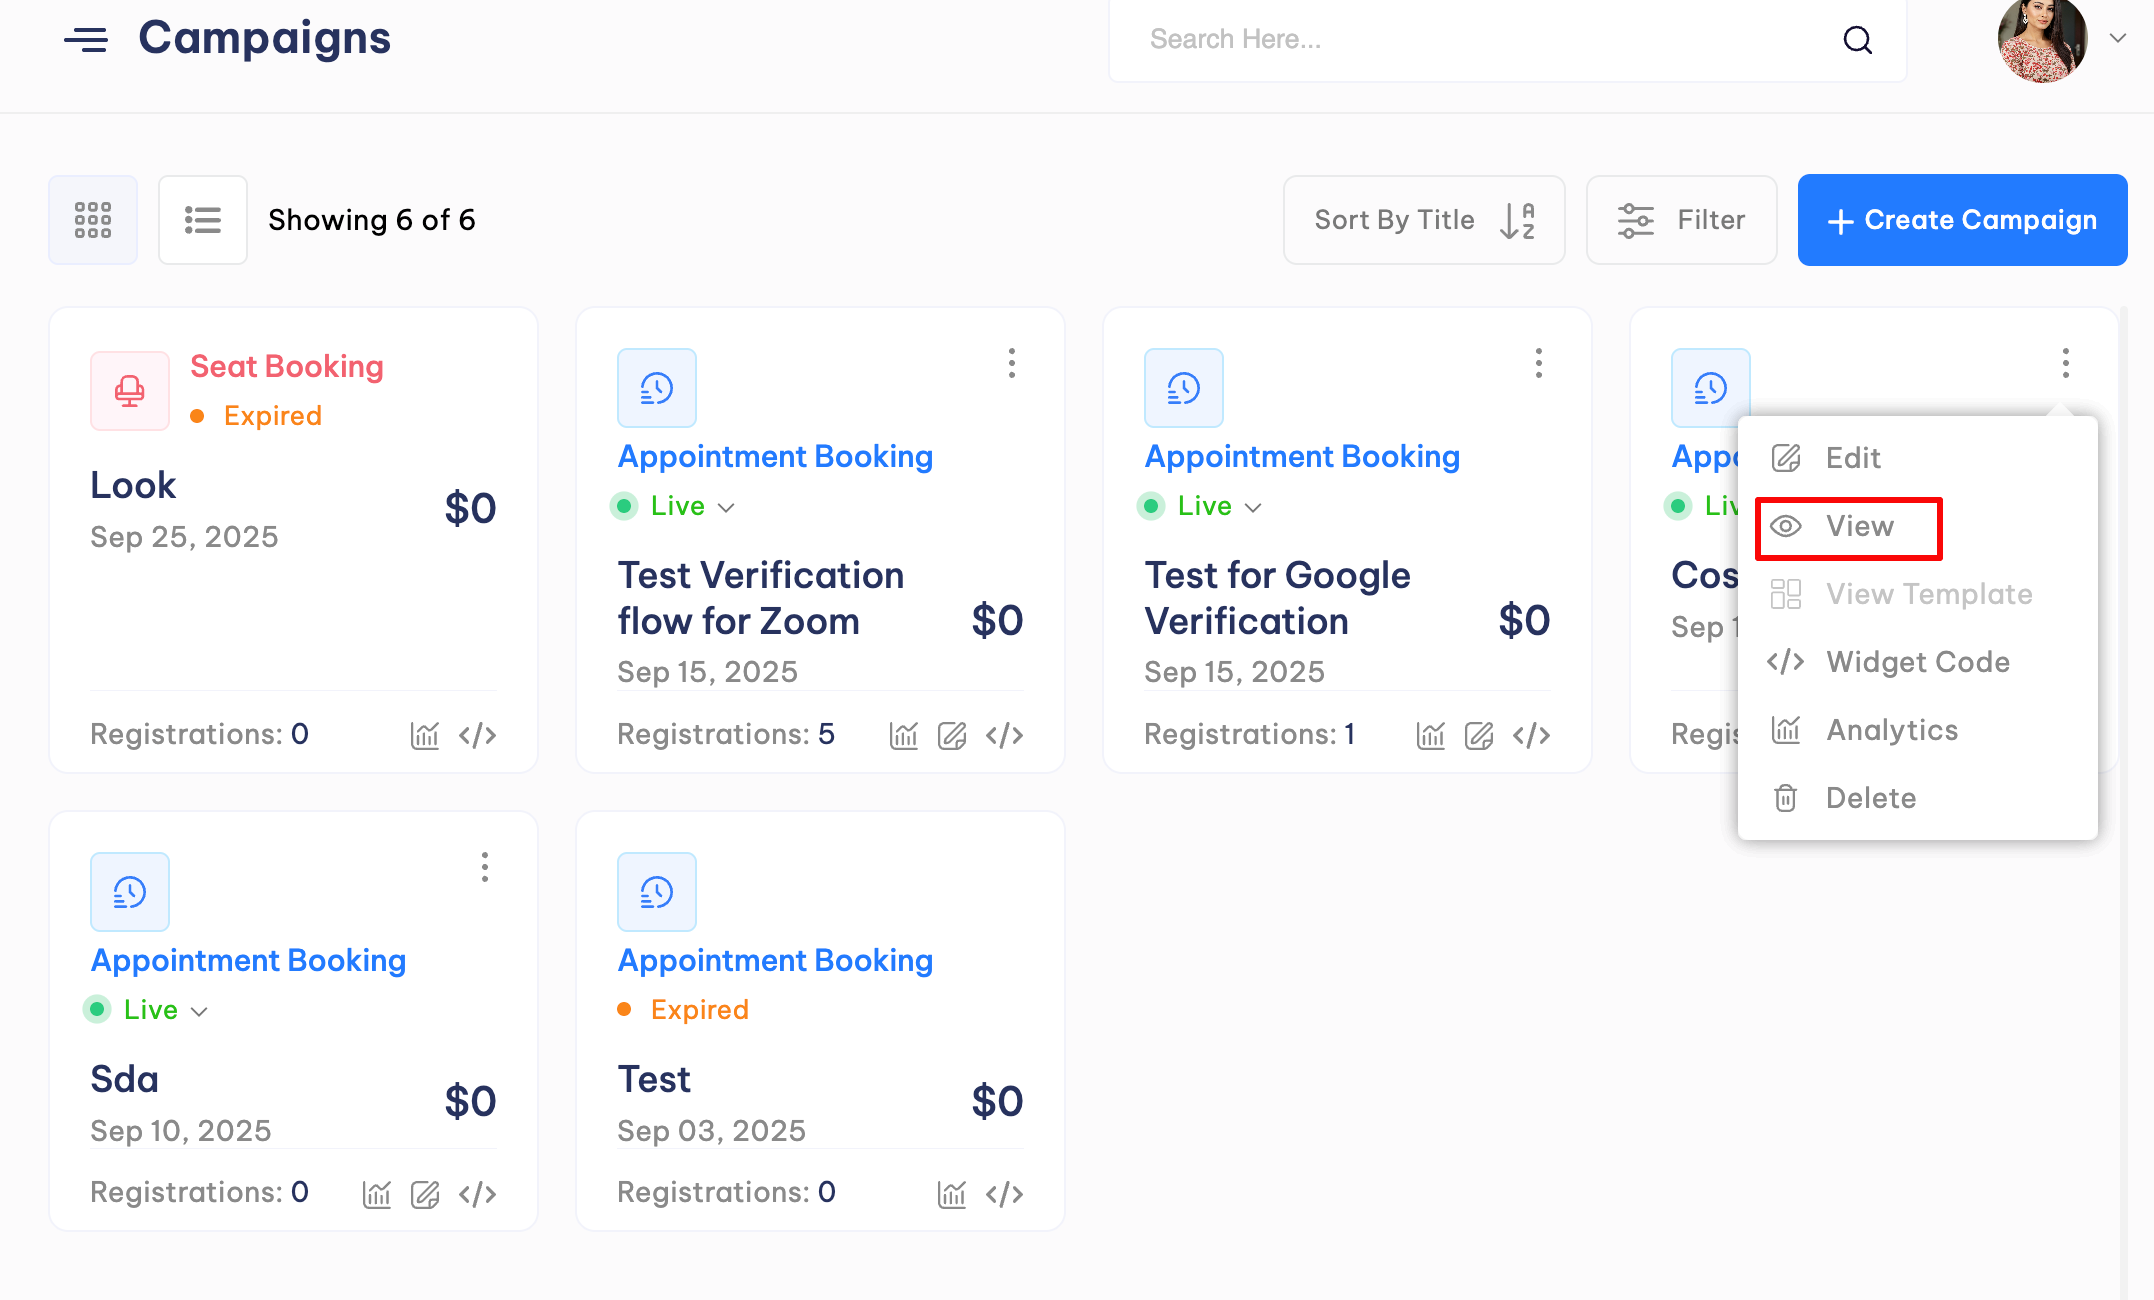
Campaigns
Users can view the details of all campaigns. Along with this, users can create new campaigns, edit and view campaigns, copy widget code, check analytics and delete the campaigns.
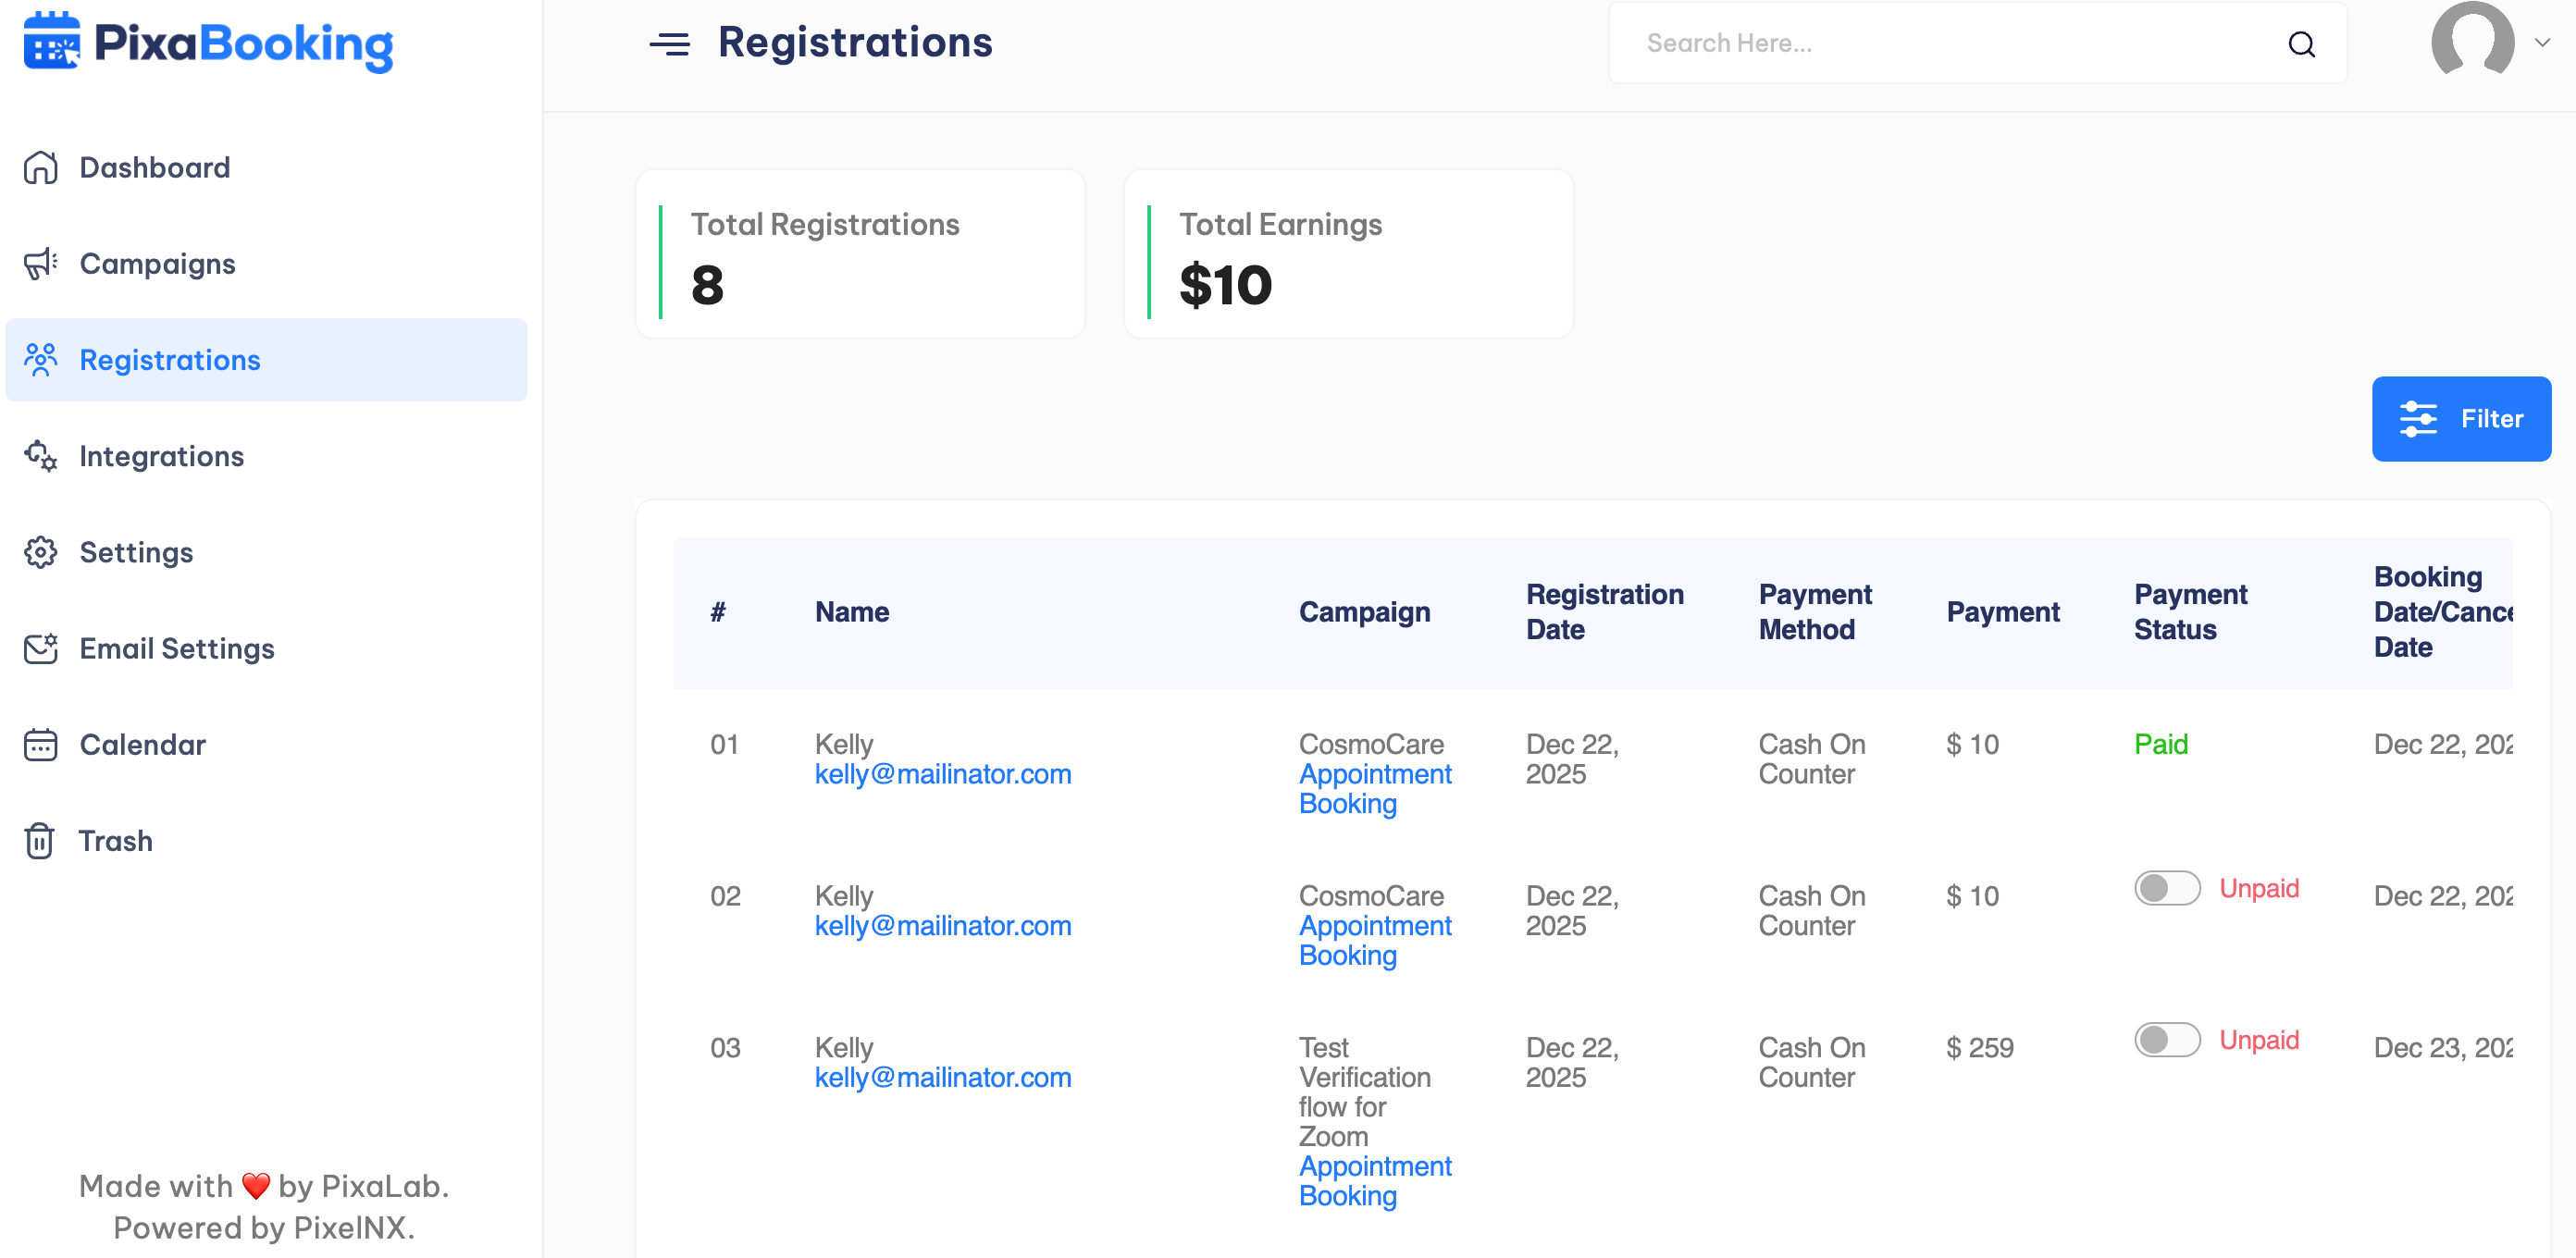
Registrations
Through this option, user can view the total registrations and total earnings along with other information like name, email, booking status, payment status, etc.
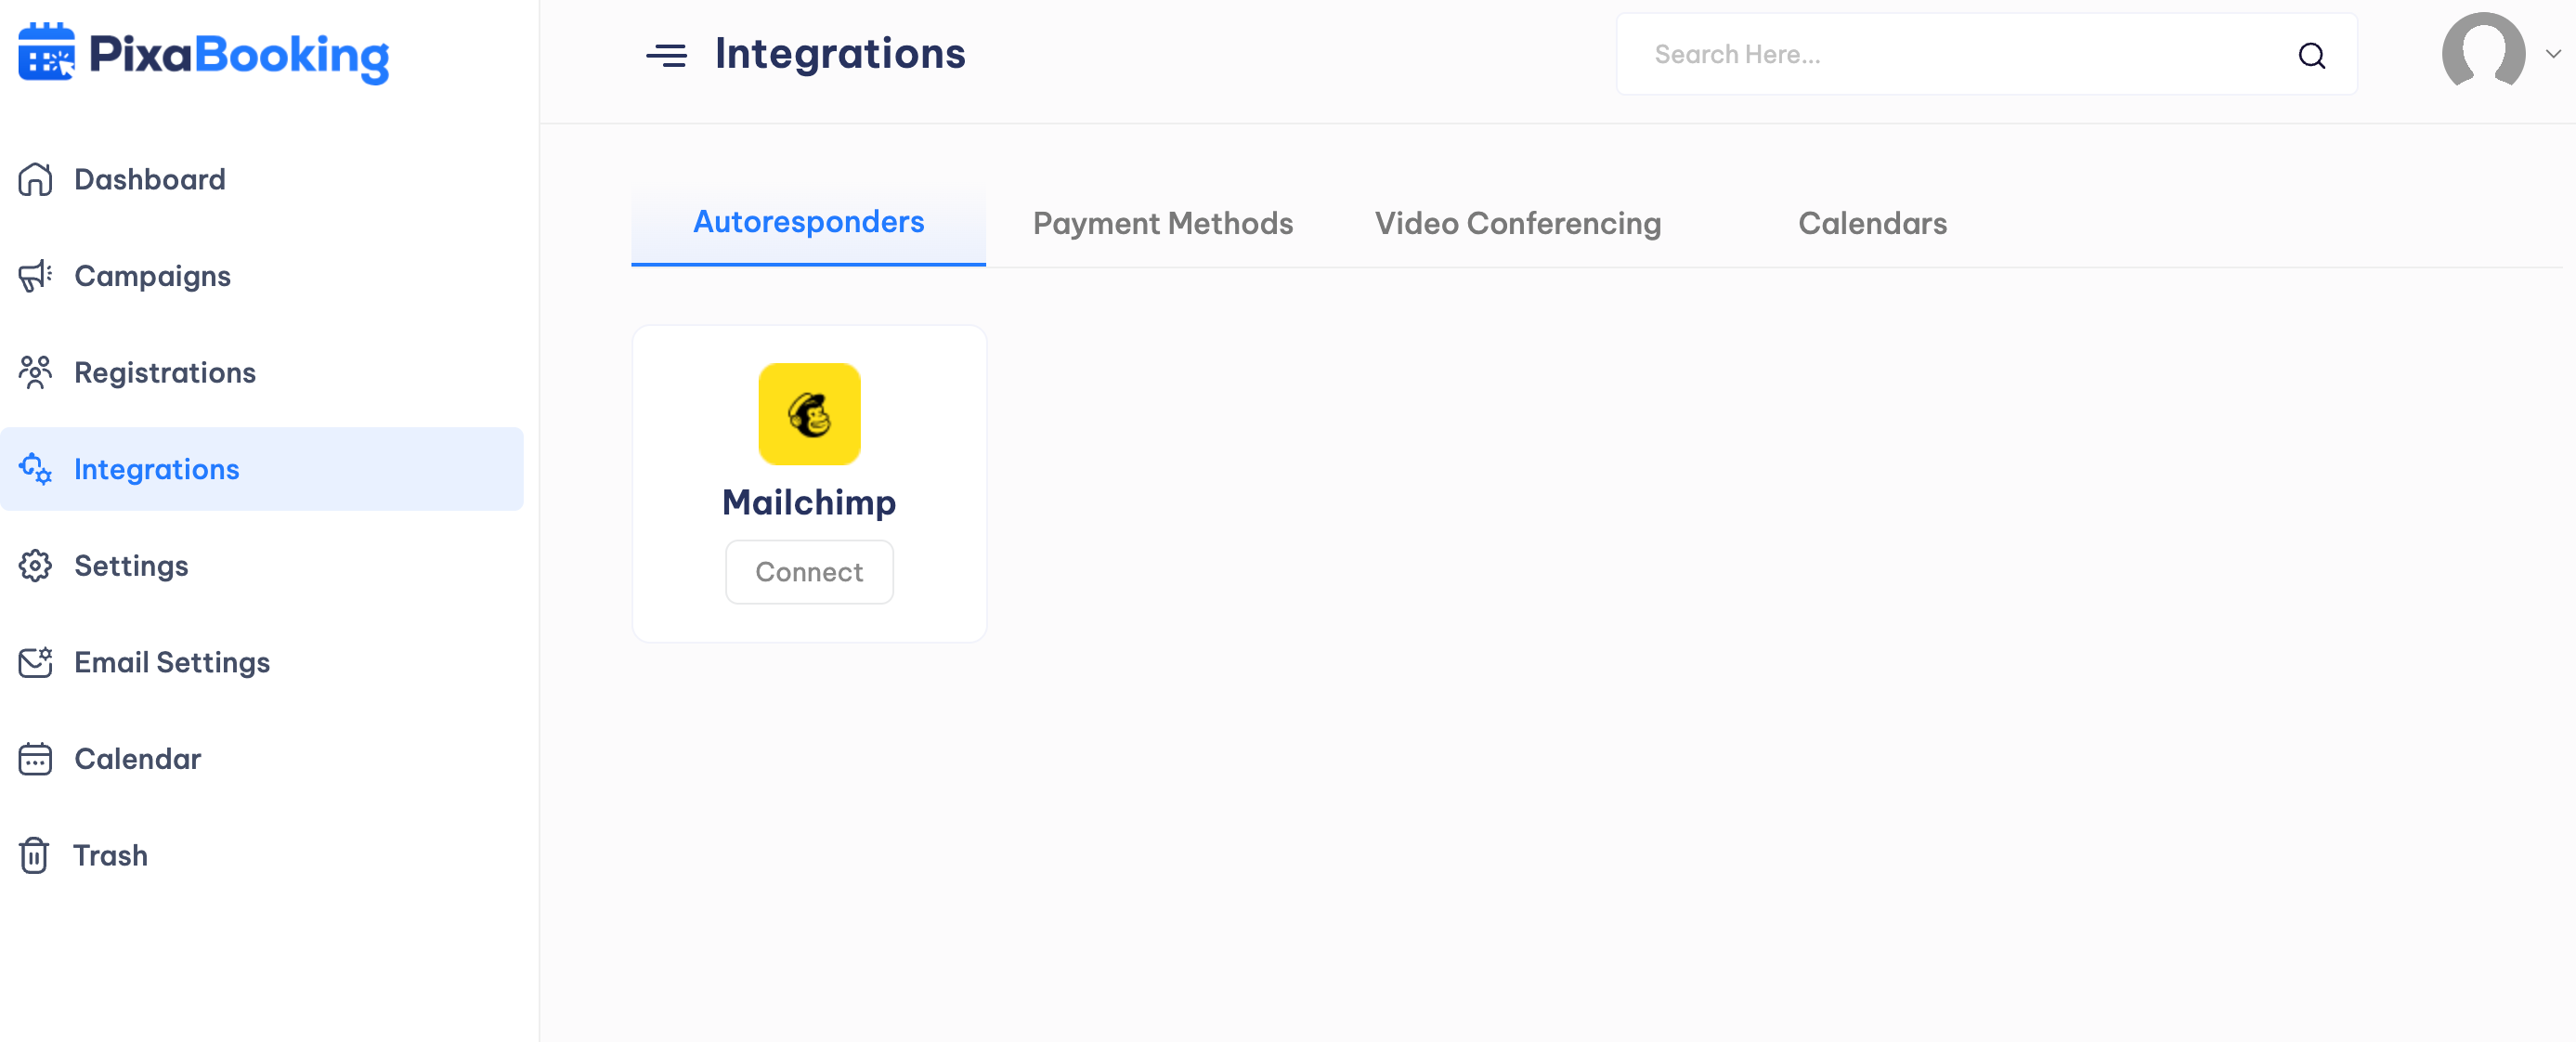
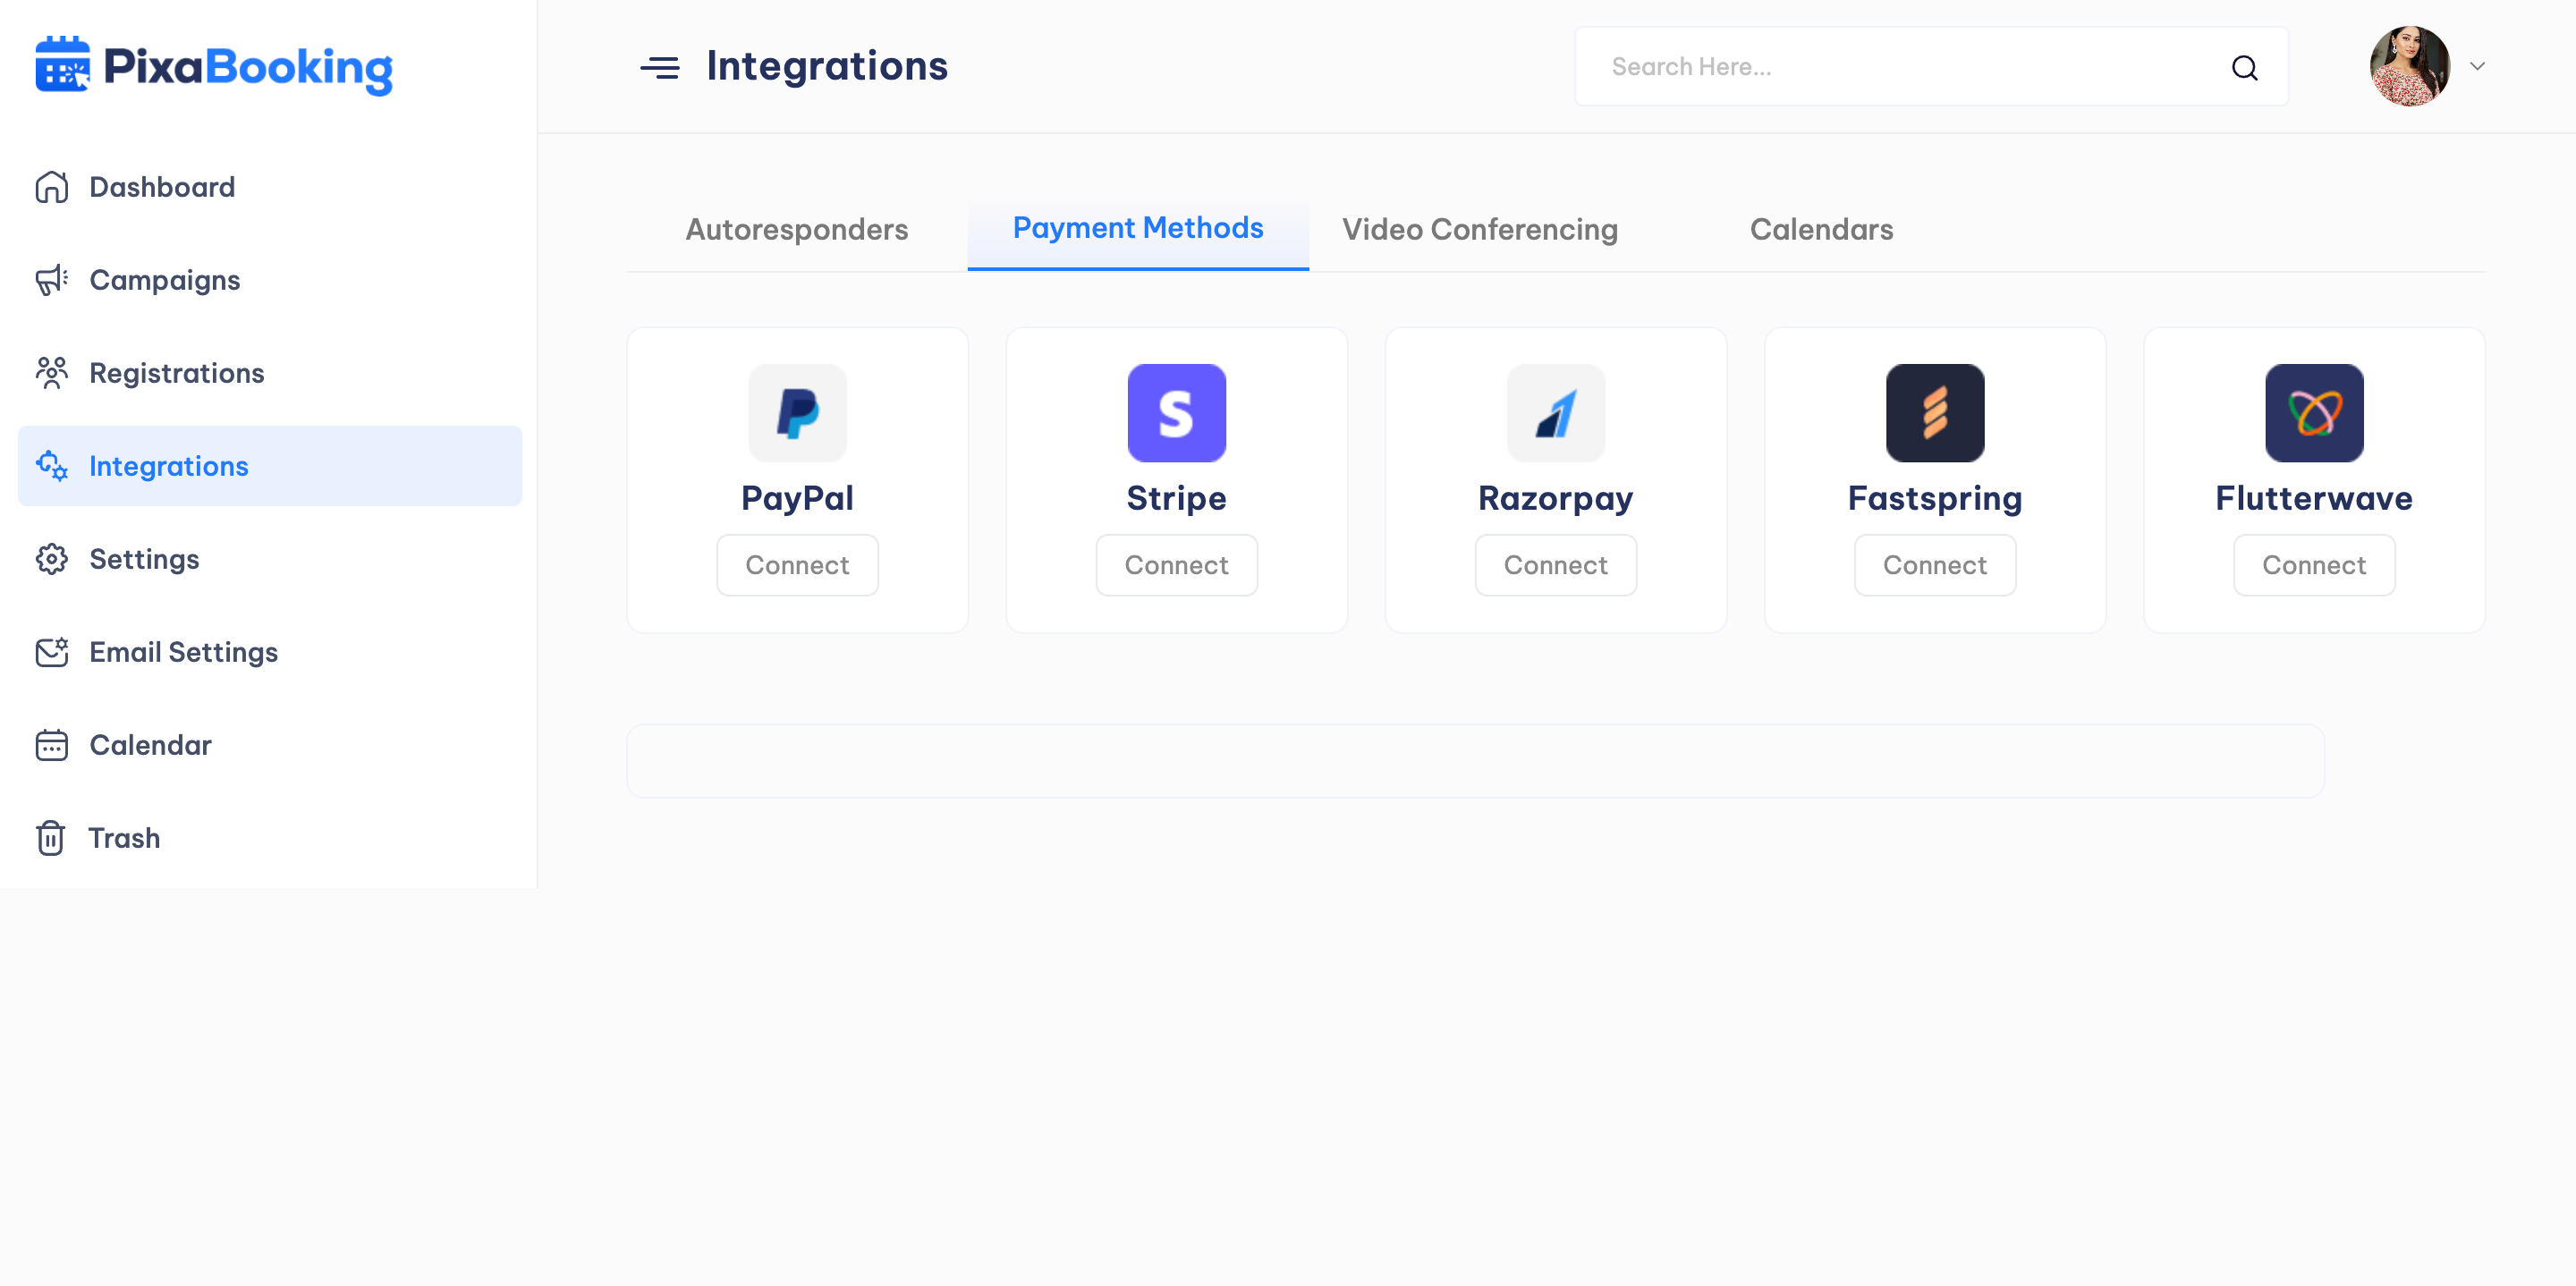
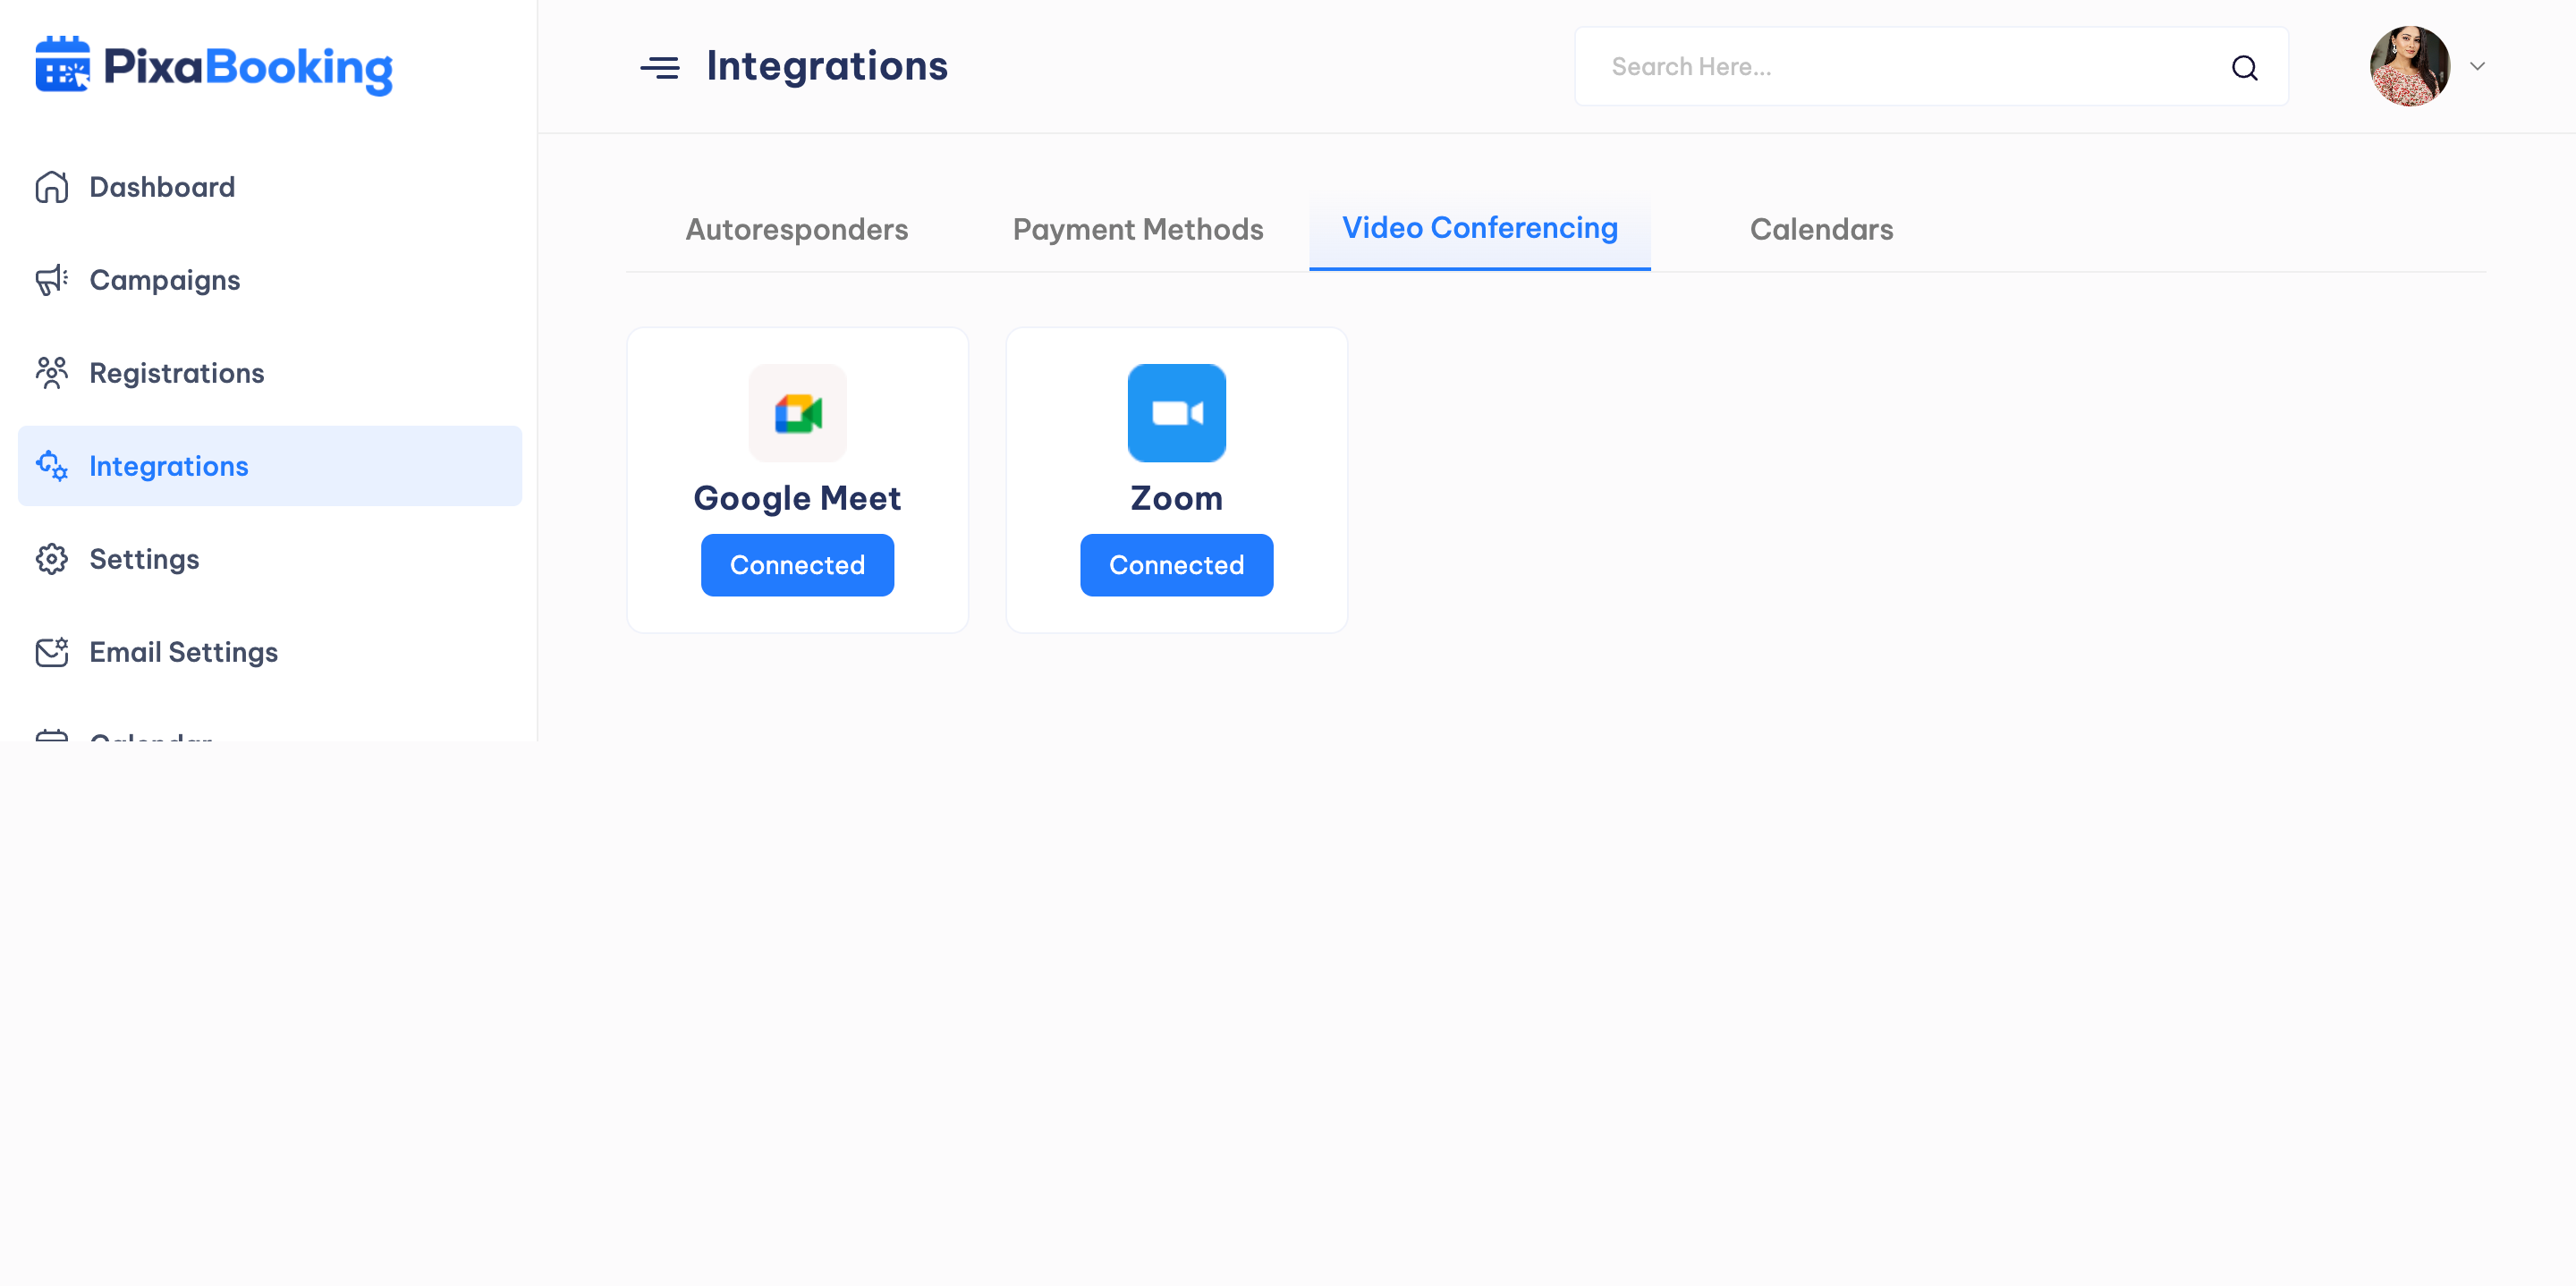
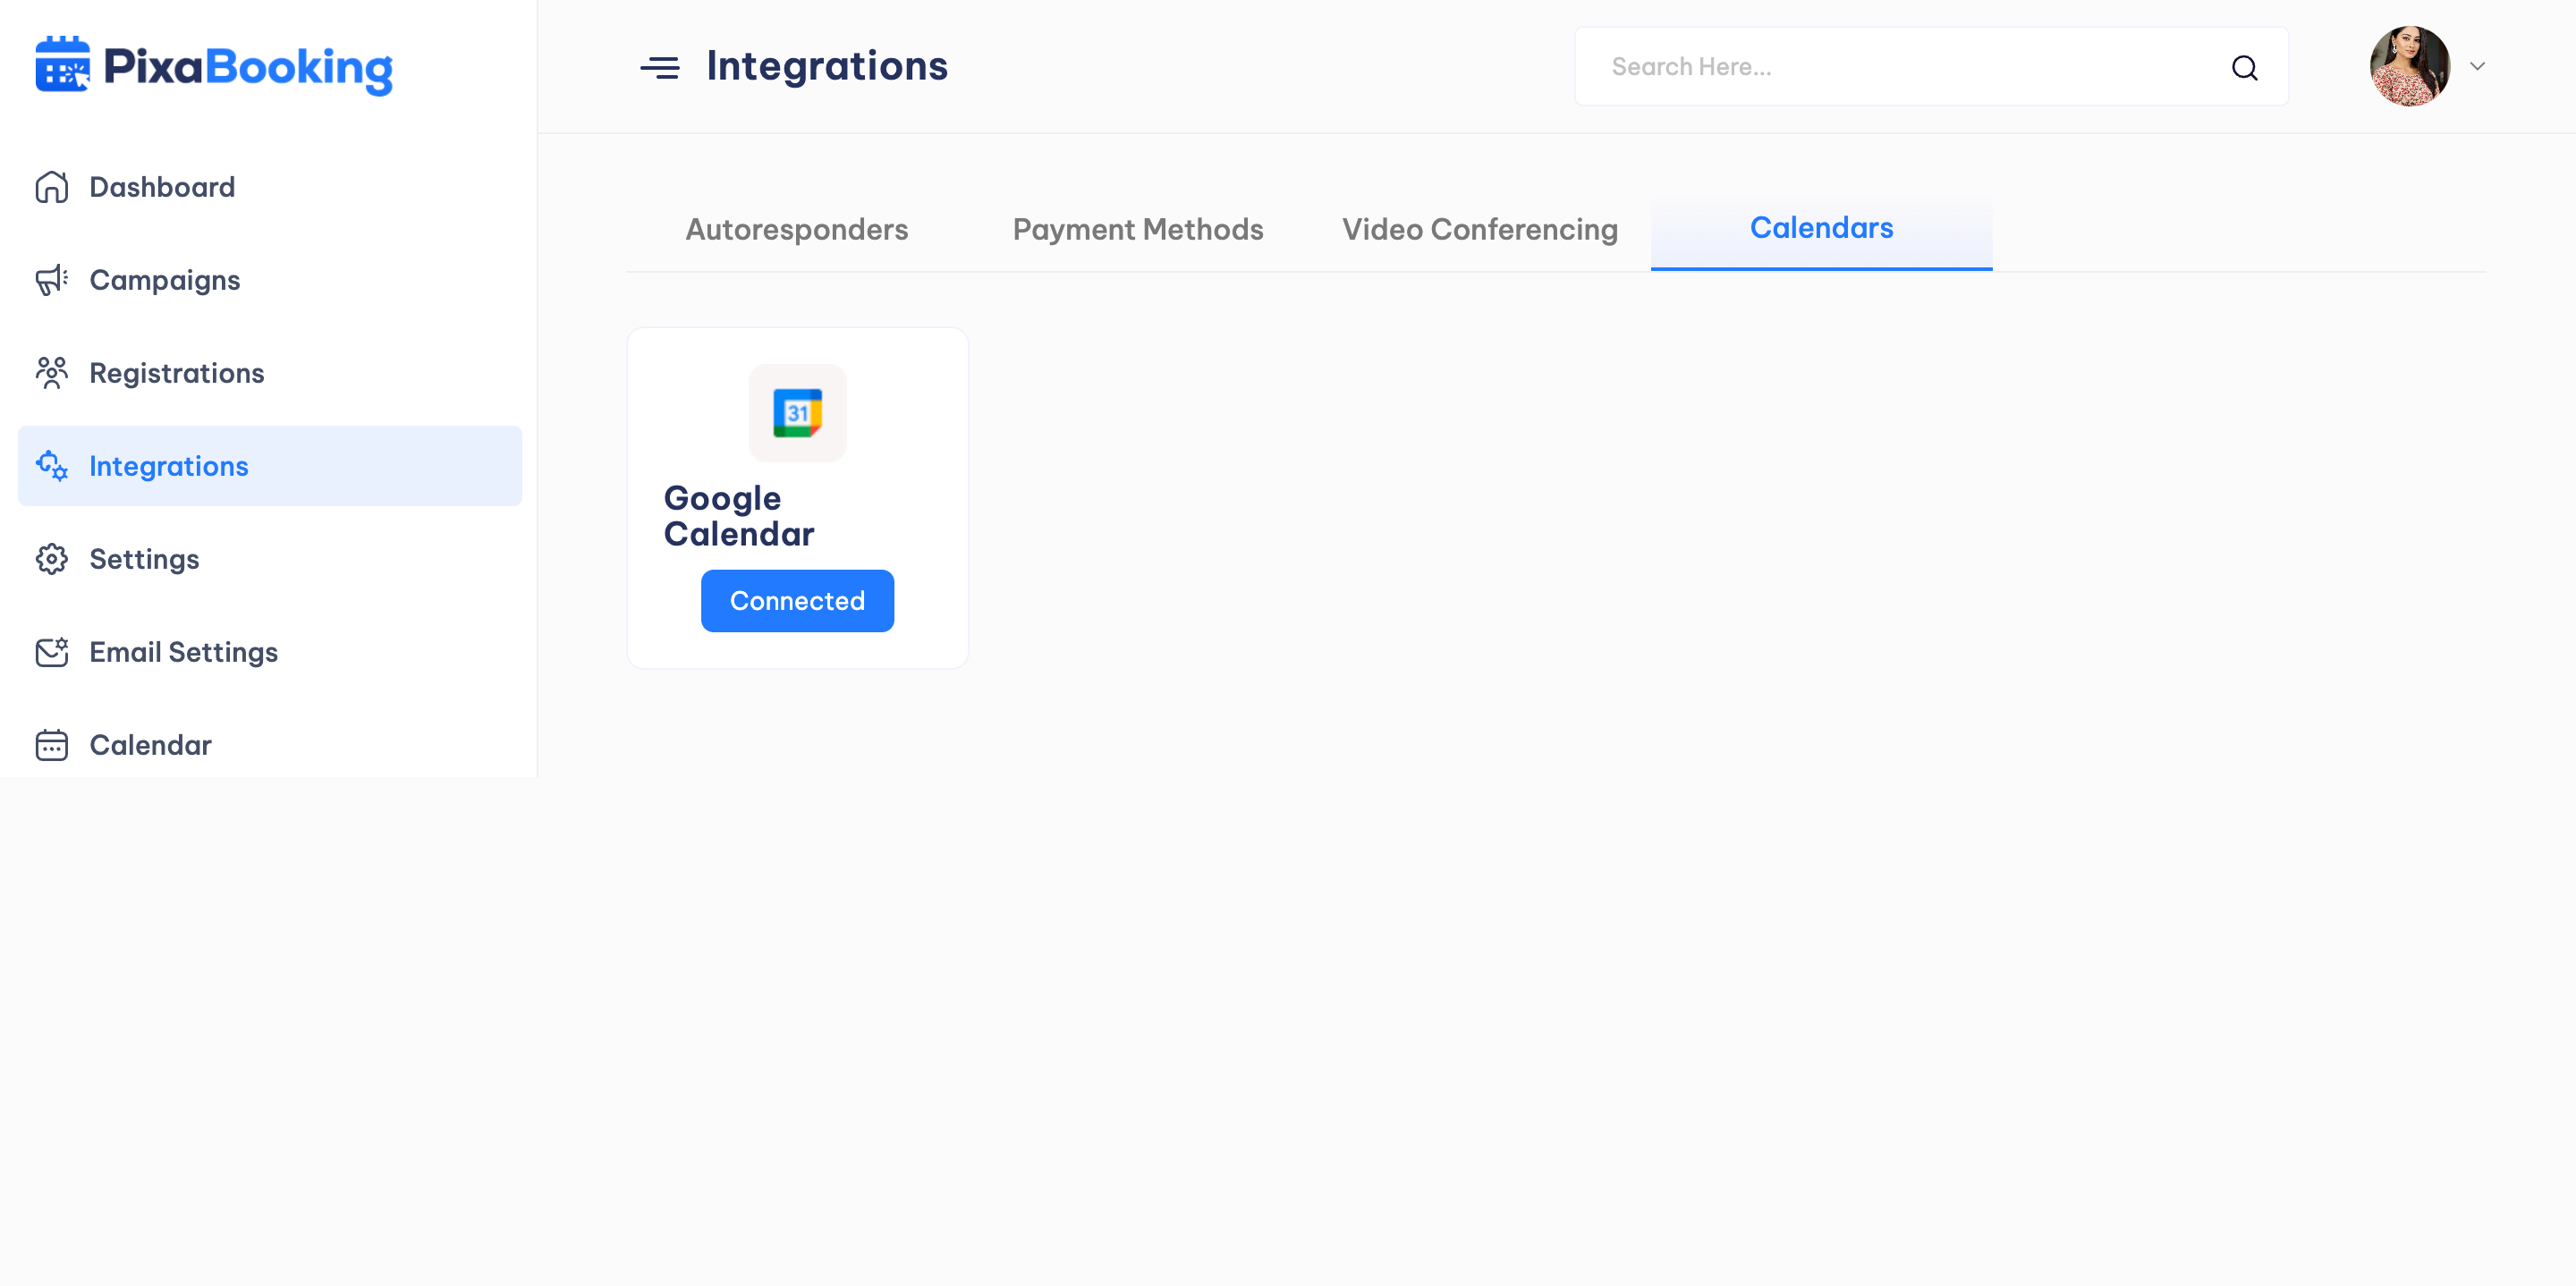
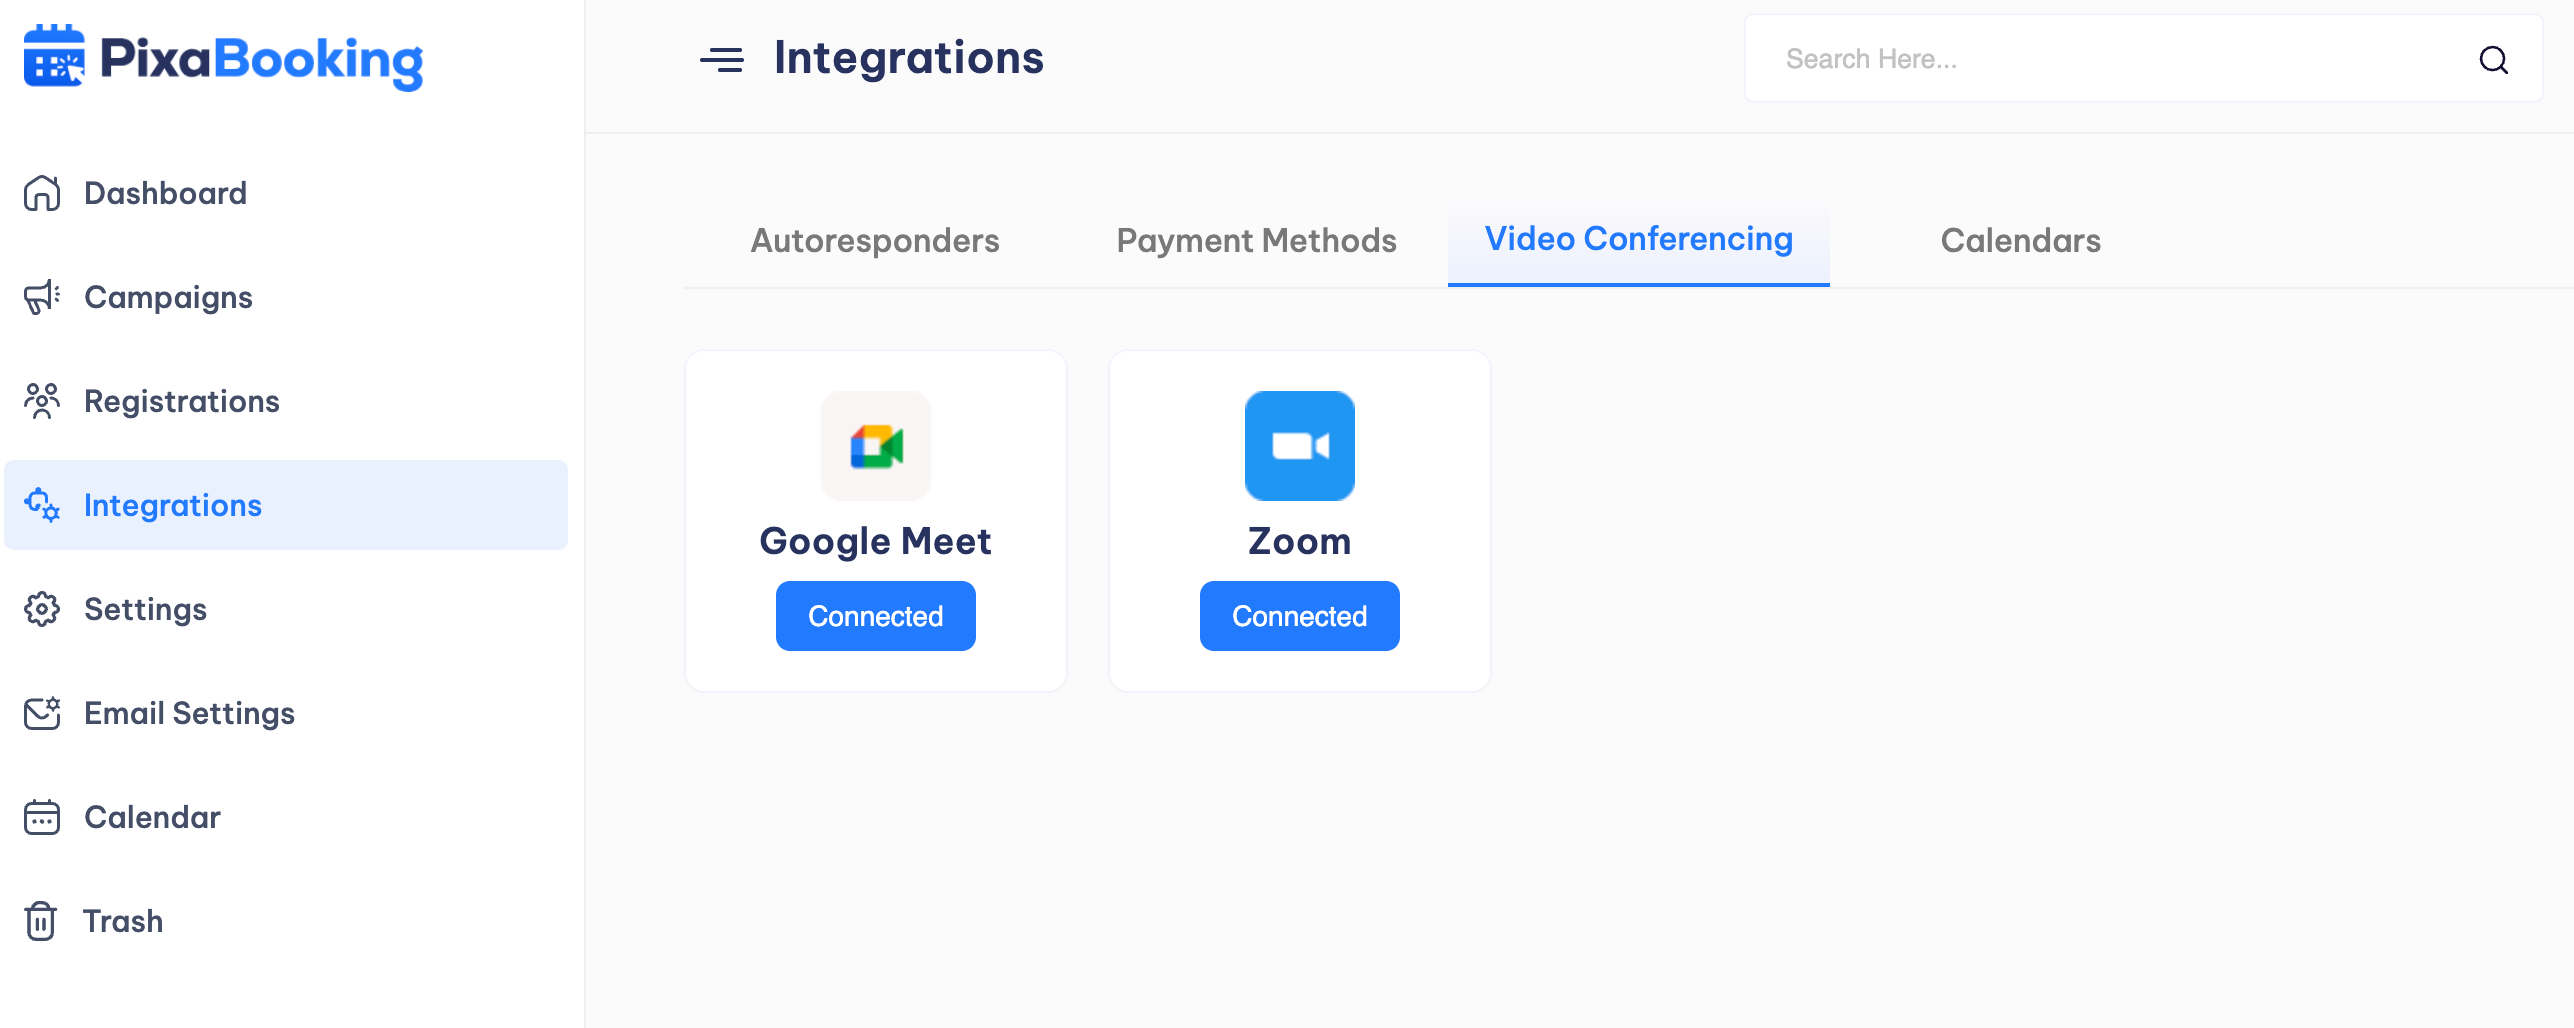
Integrations
This option allows users to integrate Autoresponders, Payment Methods, Video Conferencing, and Calendars.
Autoresponders - User can connect any suitable Autoresponder.
Payment Methods - User can connect any suitable Payment Gateway.
Video Conferencing - User can connect Google Meet and Zoom for video conferencing.
Calendars - User can connect Google Calendar for calendar synchronization.
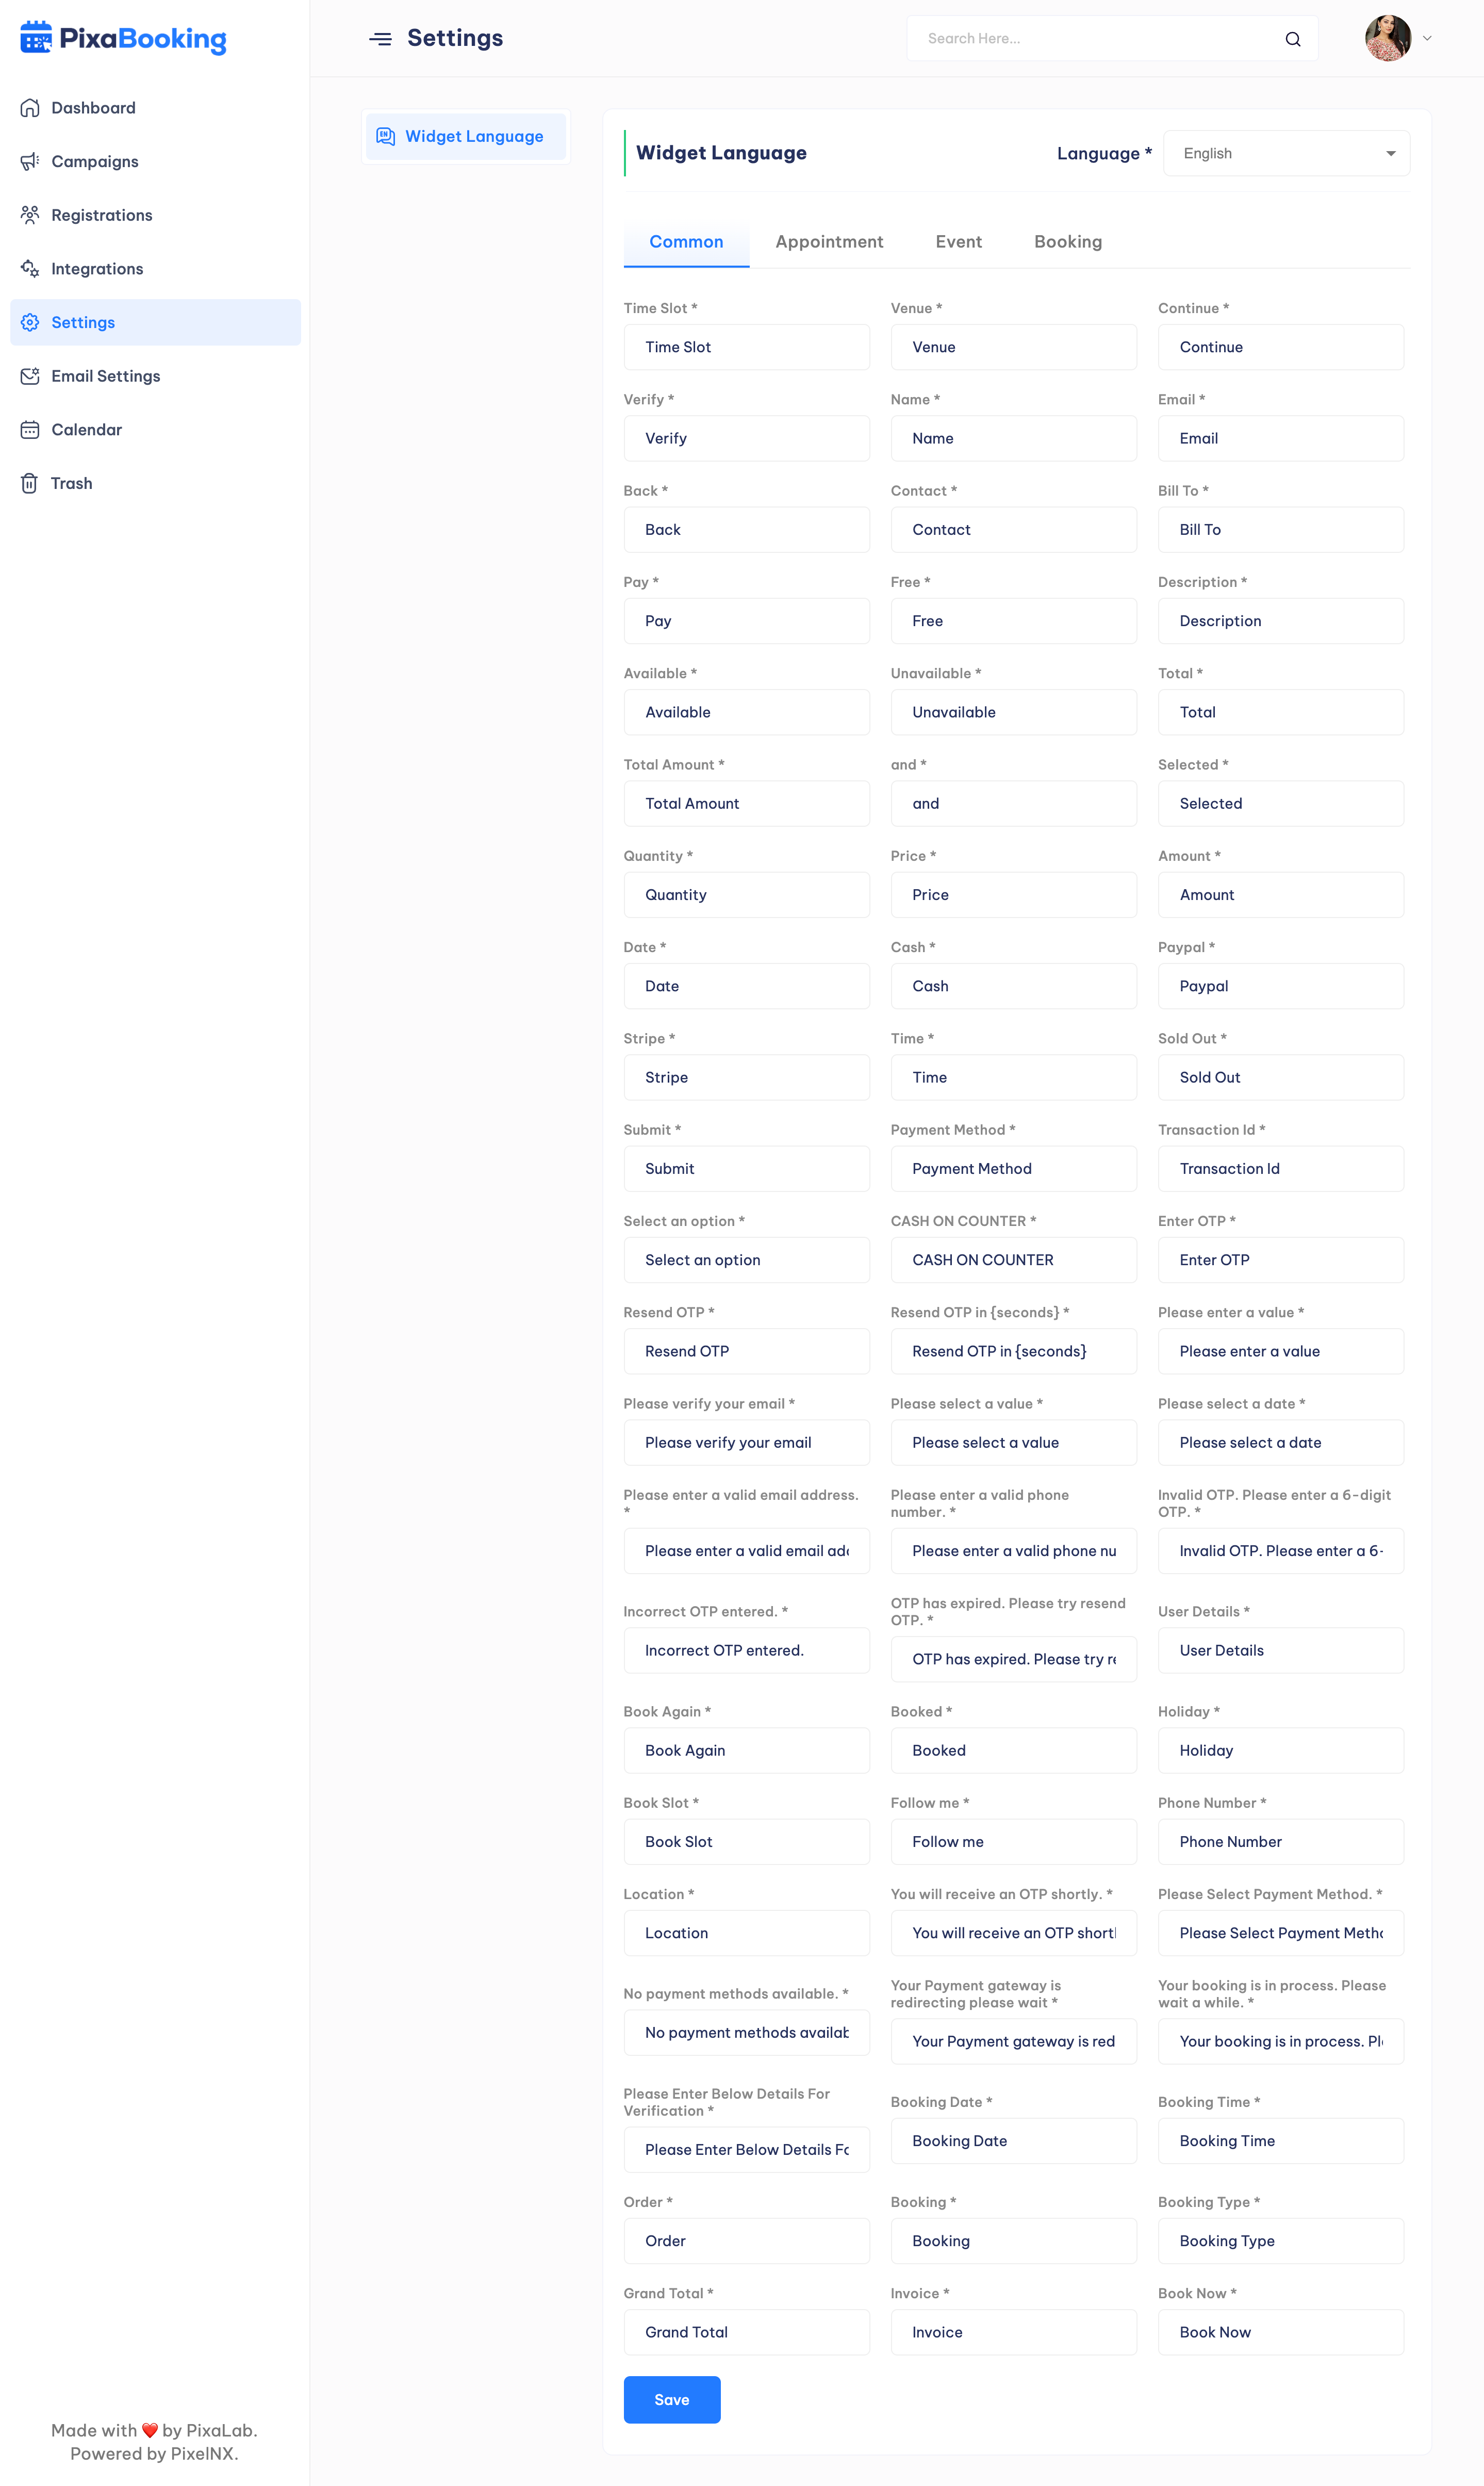
Settings
This option allows user to change the Widget language. User can select the language and change the Common, Appointment, Event and Booking Text.
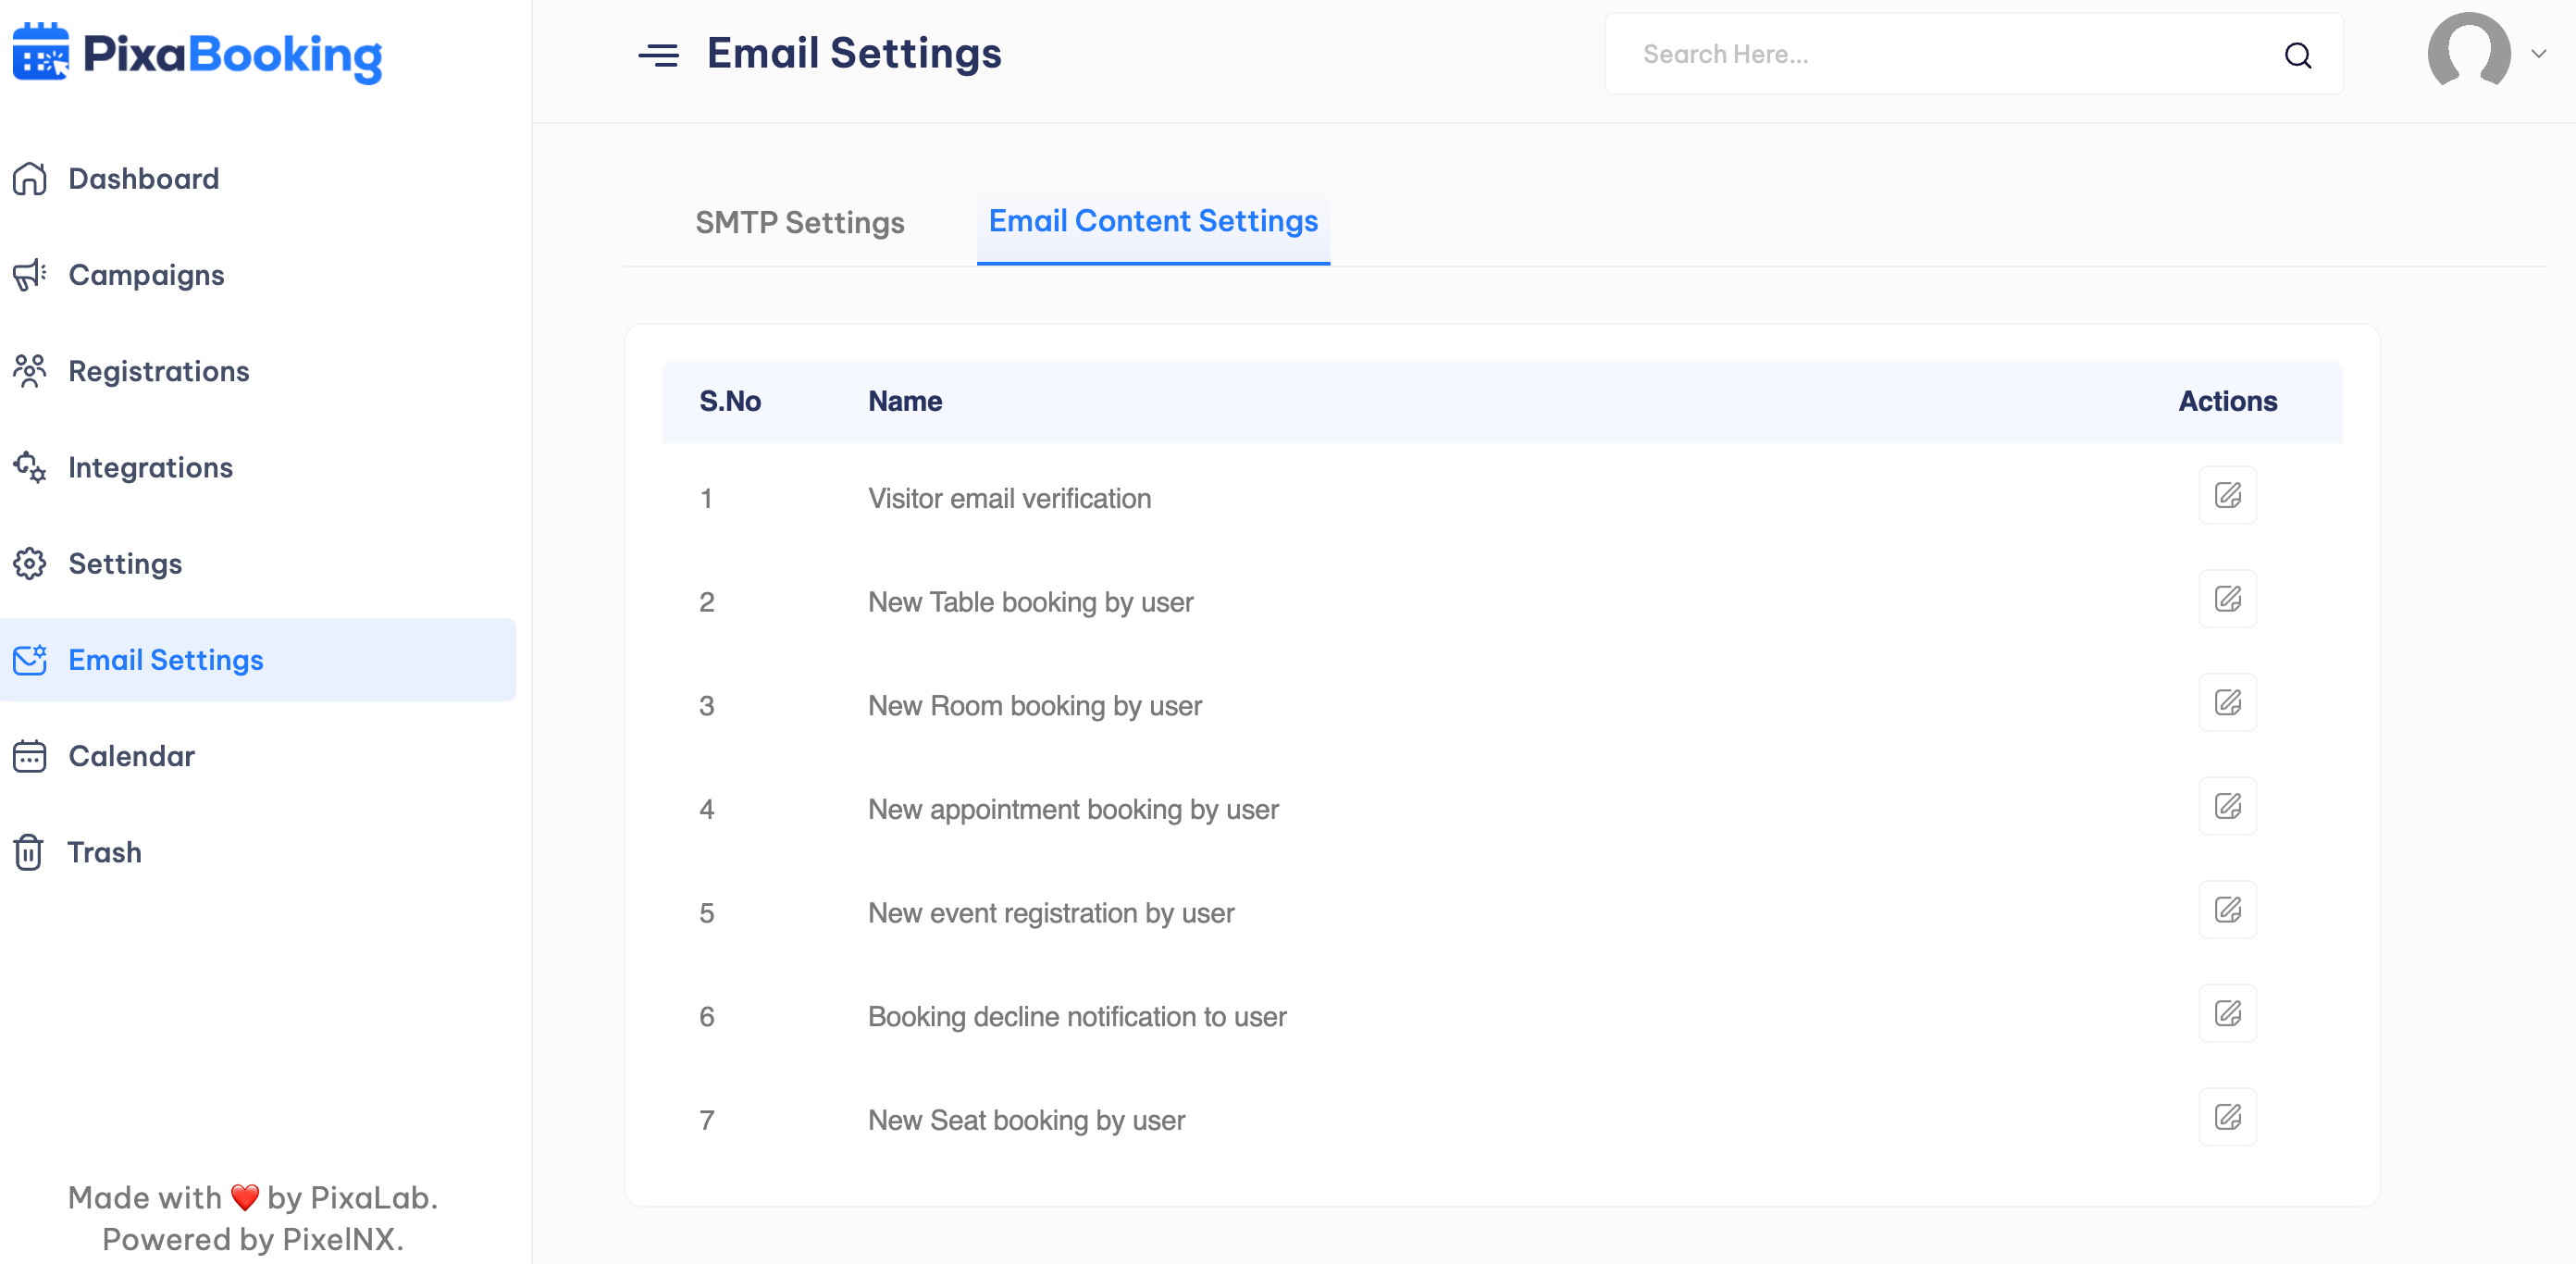
Email Settings
It consists of two settings : SMTP Settings and Email Content Settings.
SMTP Settings : User can add the SMTP details here.
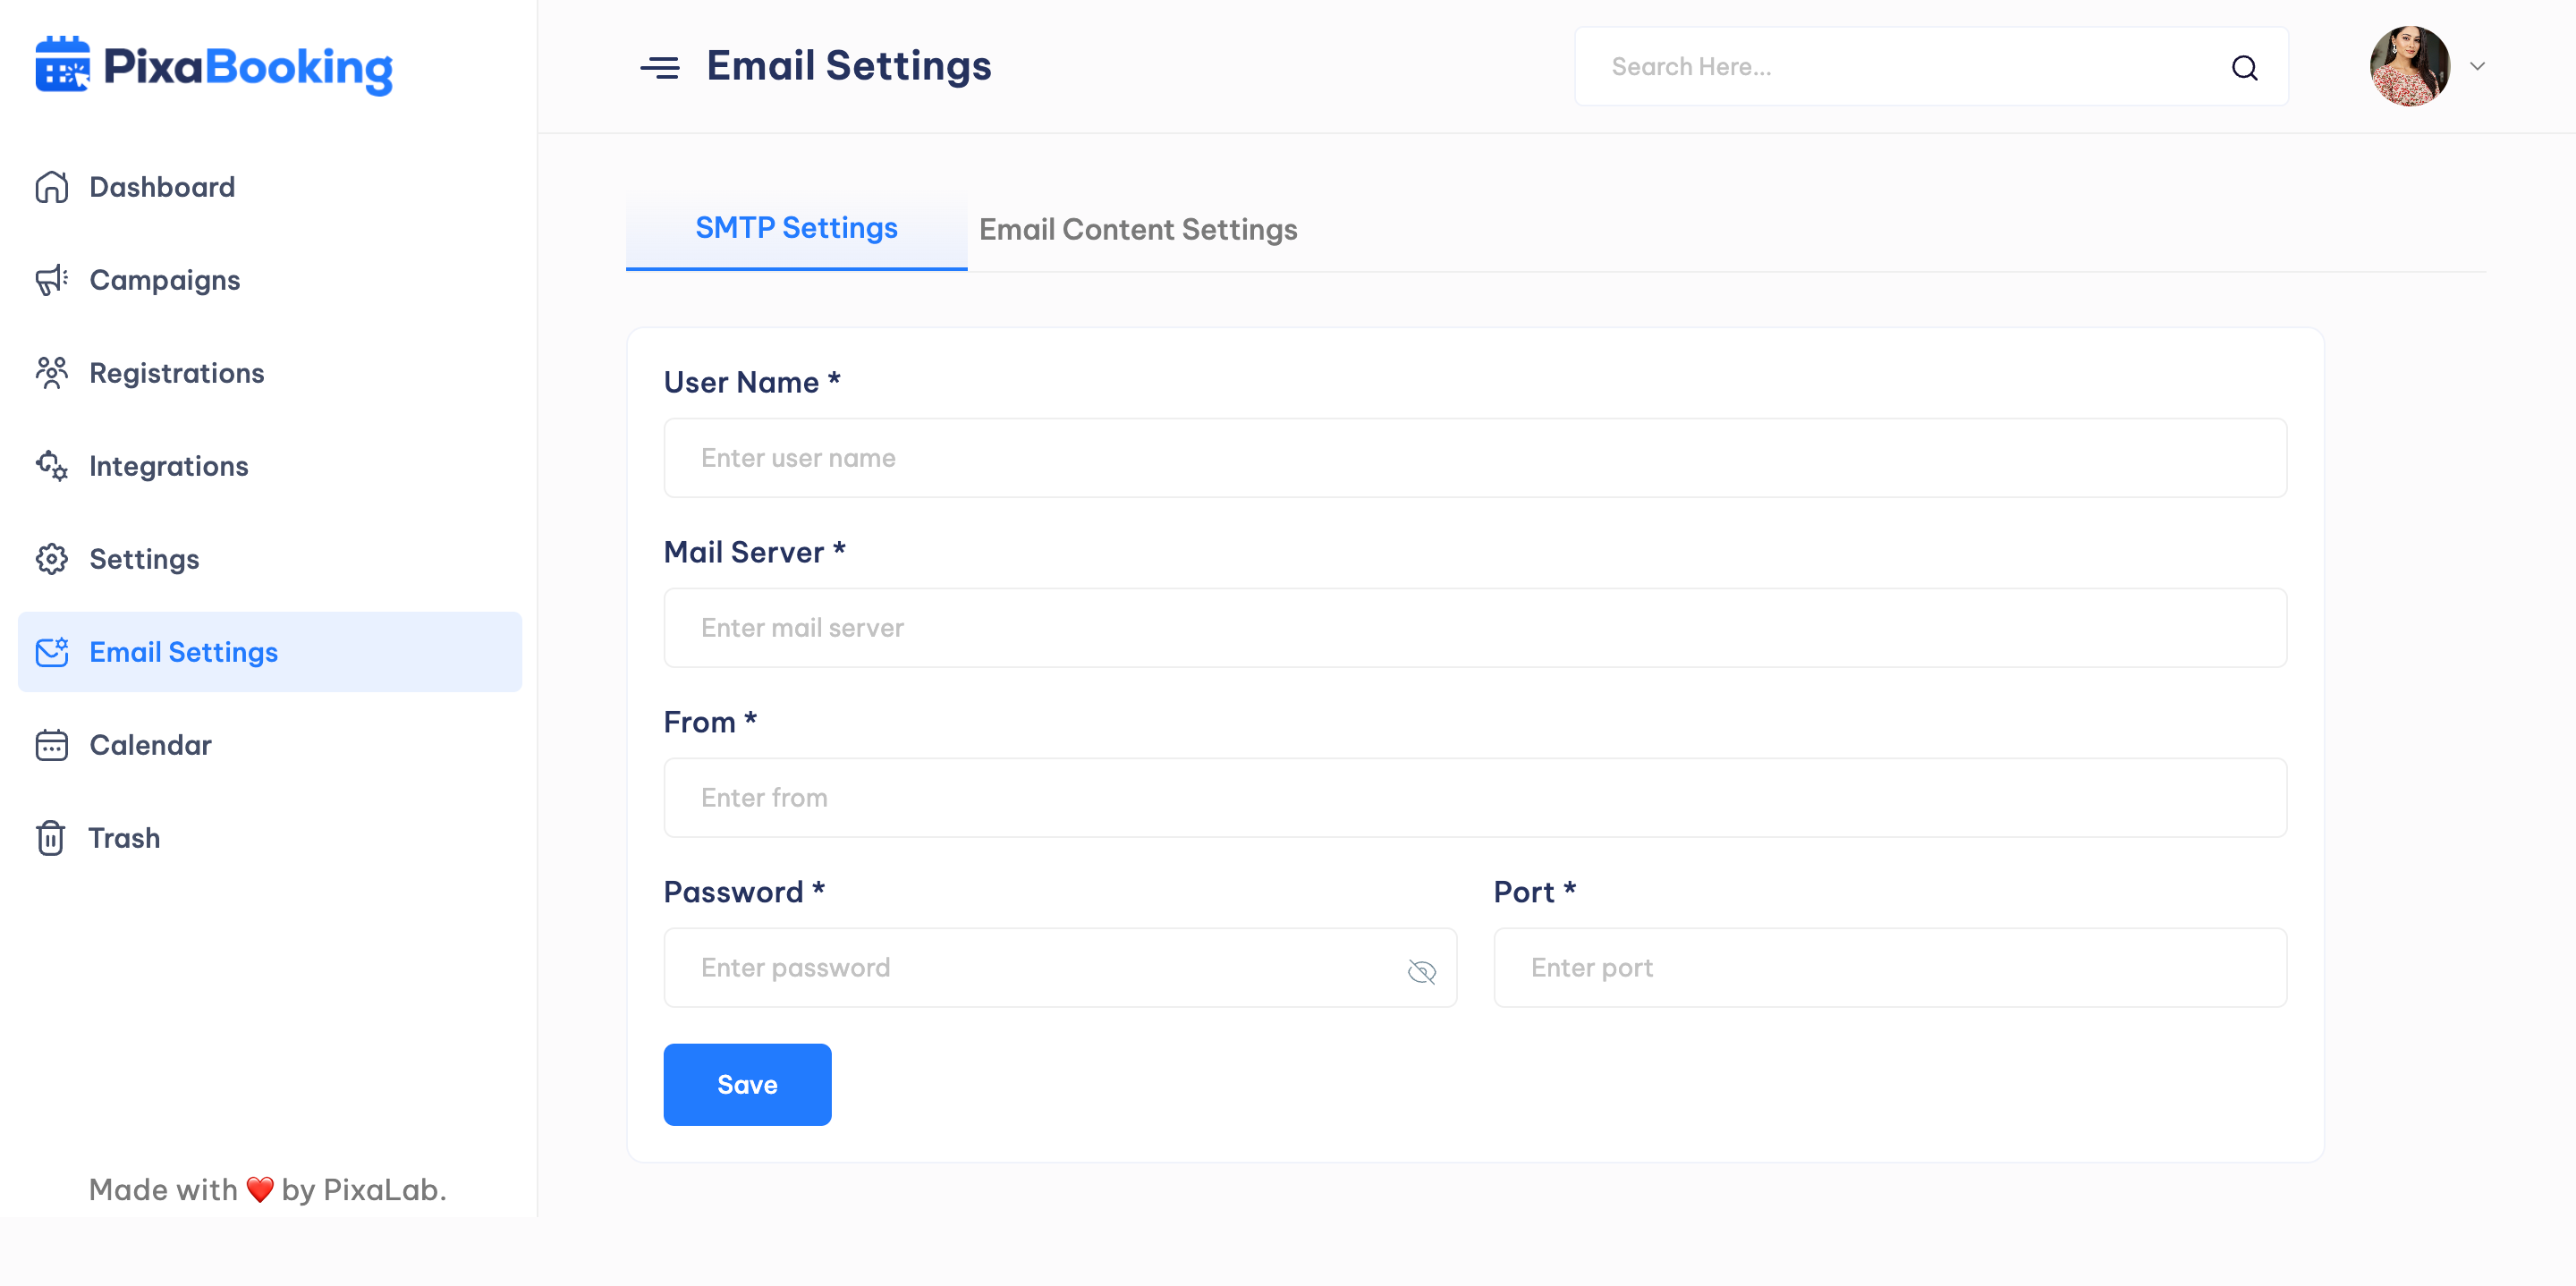
Email Content Settings : User can change the email content for various actions like visitor email verification, new table booking, new room booking, new appointment booking, new event registration, booking decline notification, and new seat booking.
Calendar
User can view the upcoming and current appointments, events, seat, room, table bookings in the calendar view.
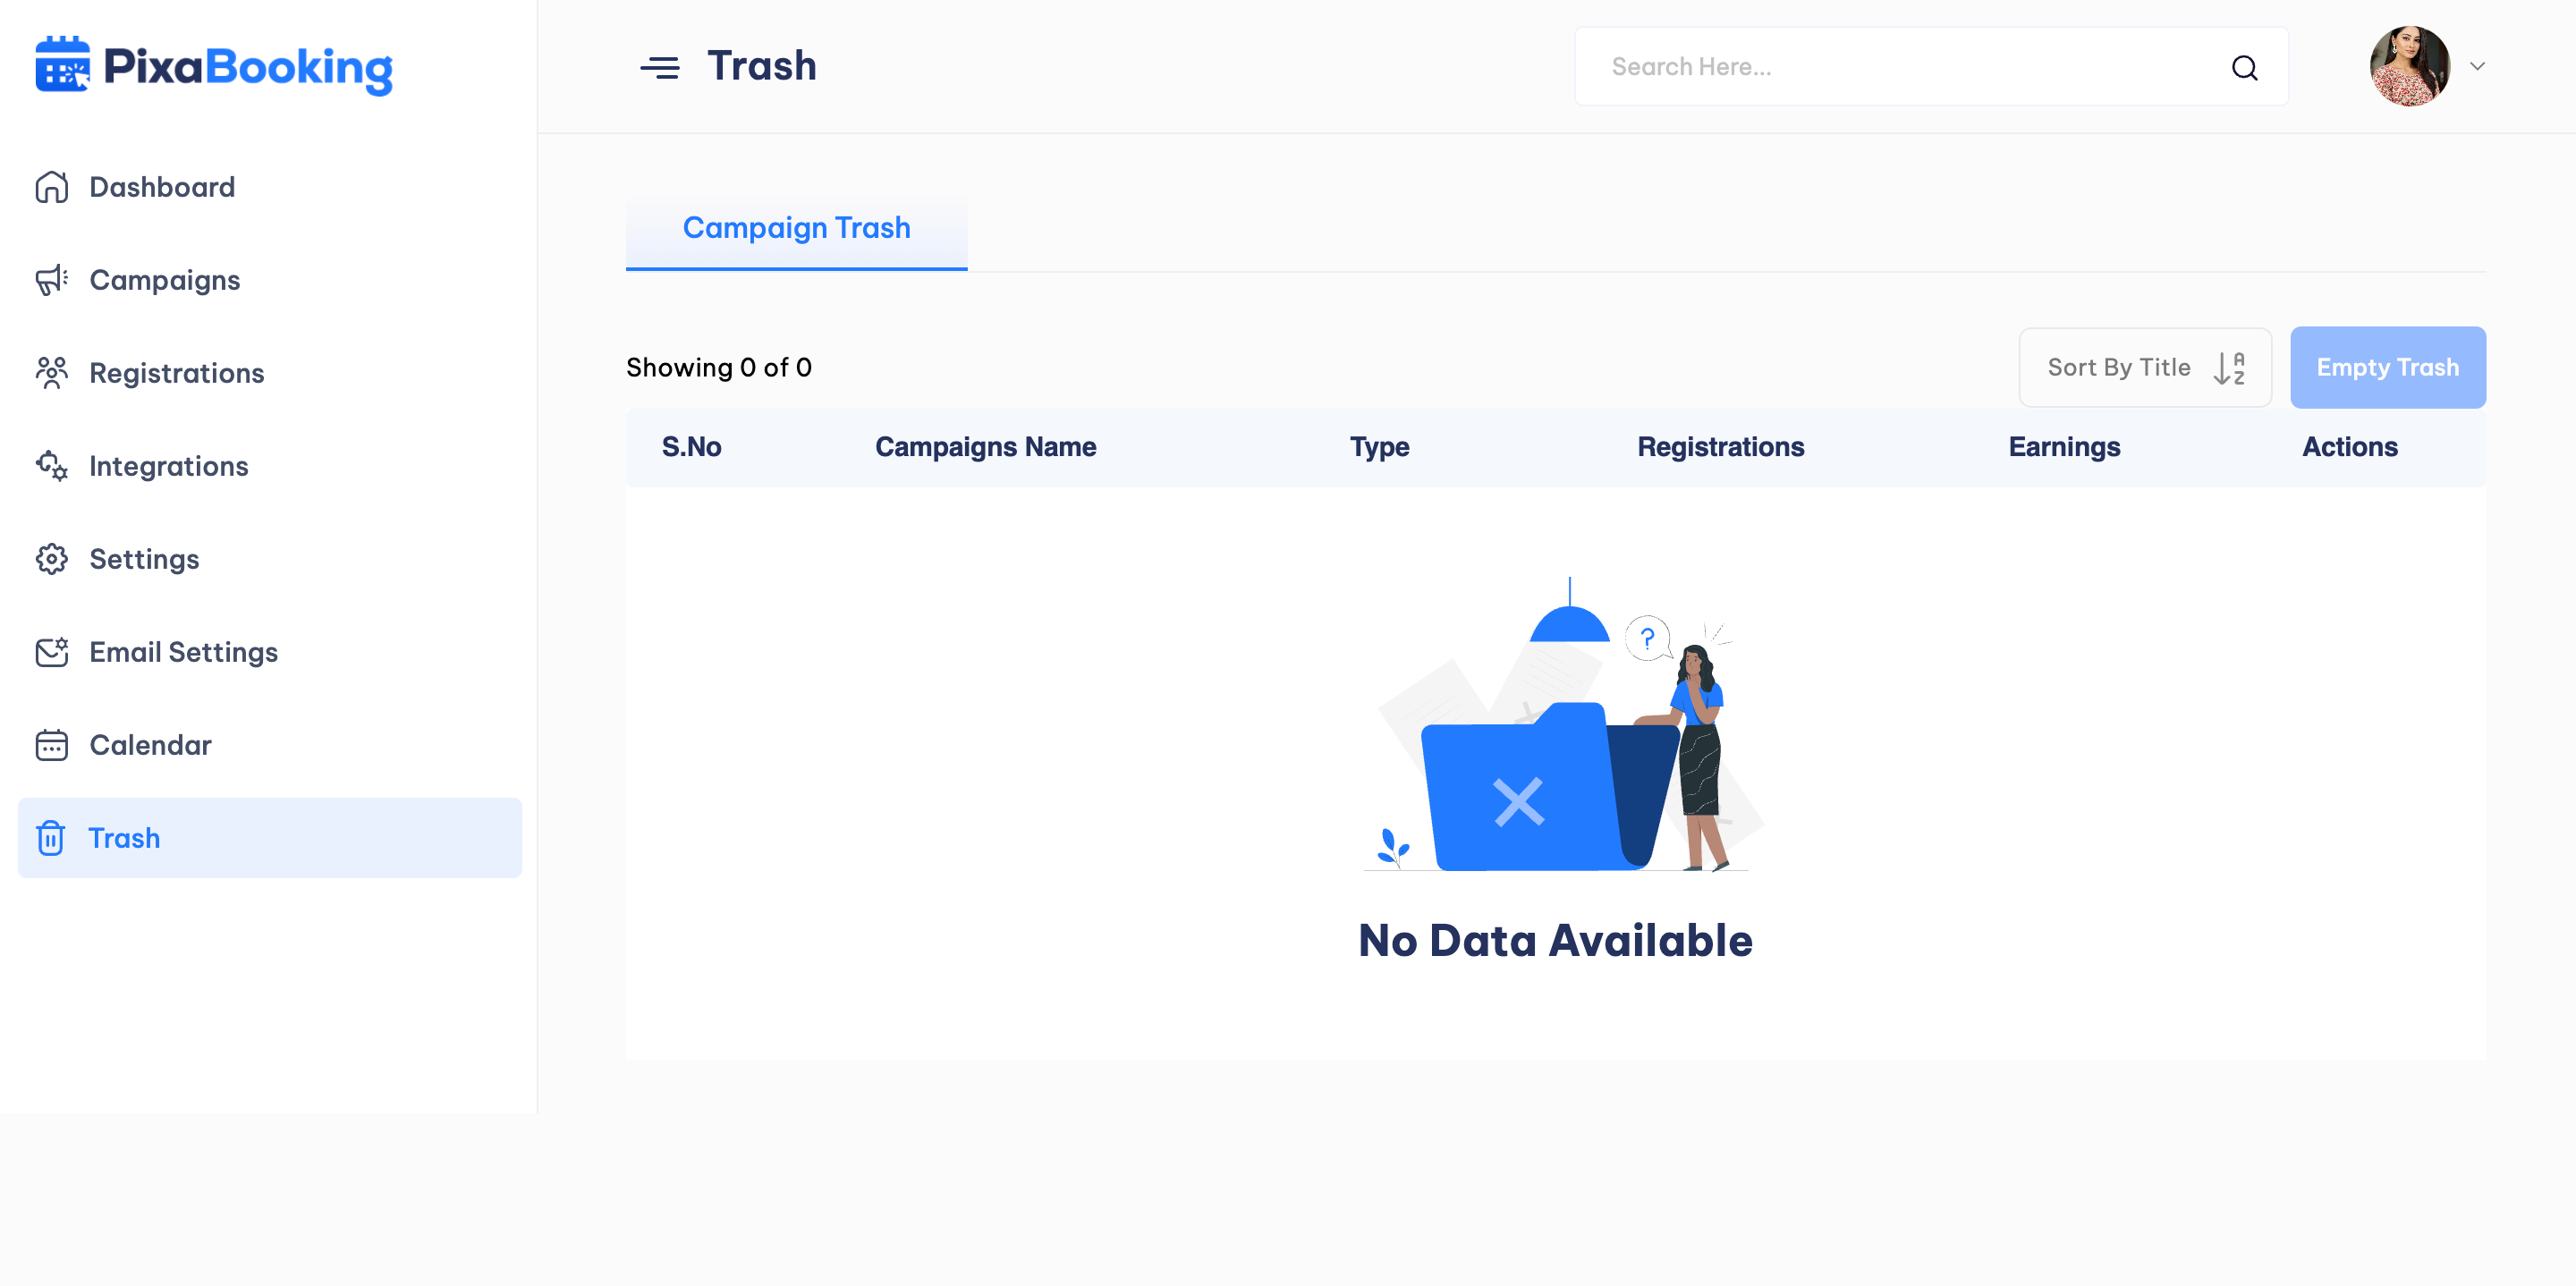
Trash
User can check the details of the deleted campaigns.
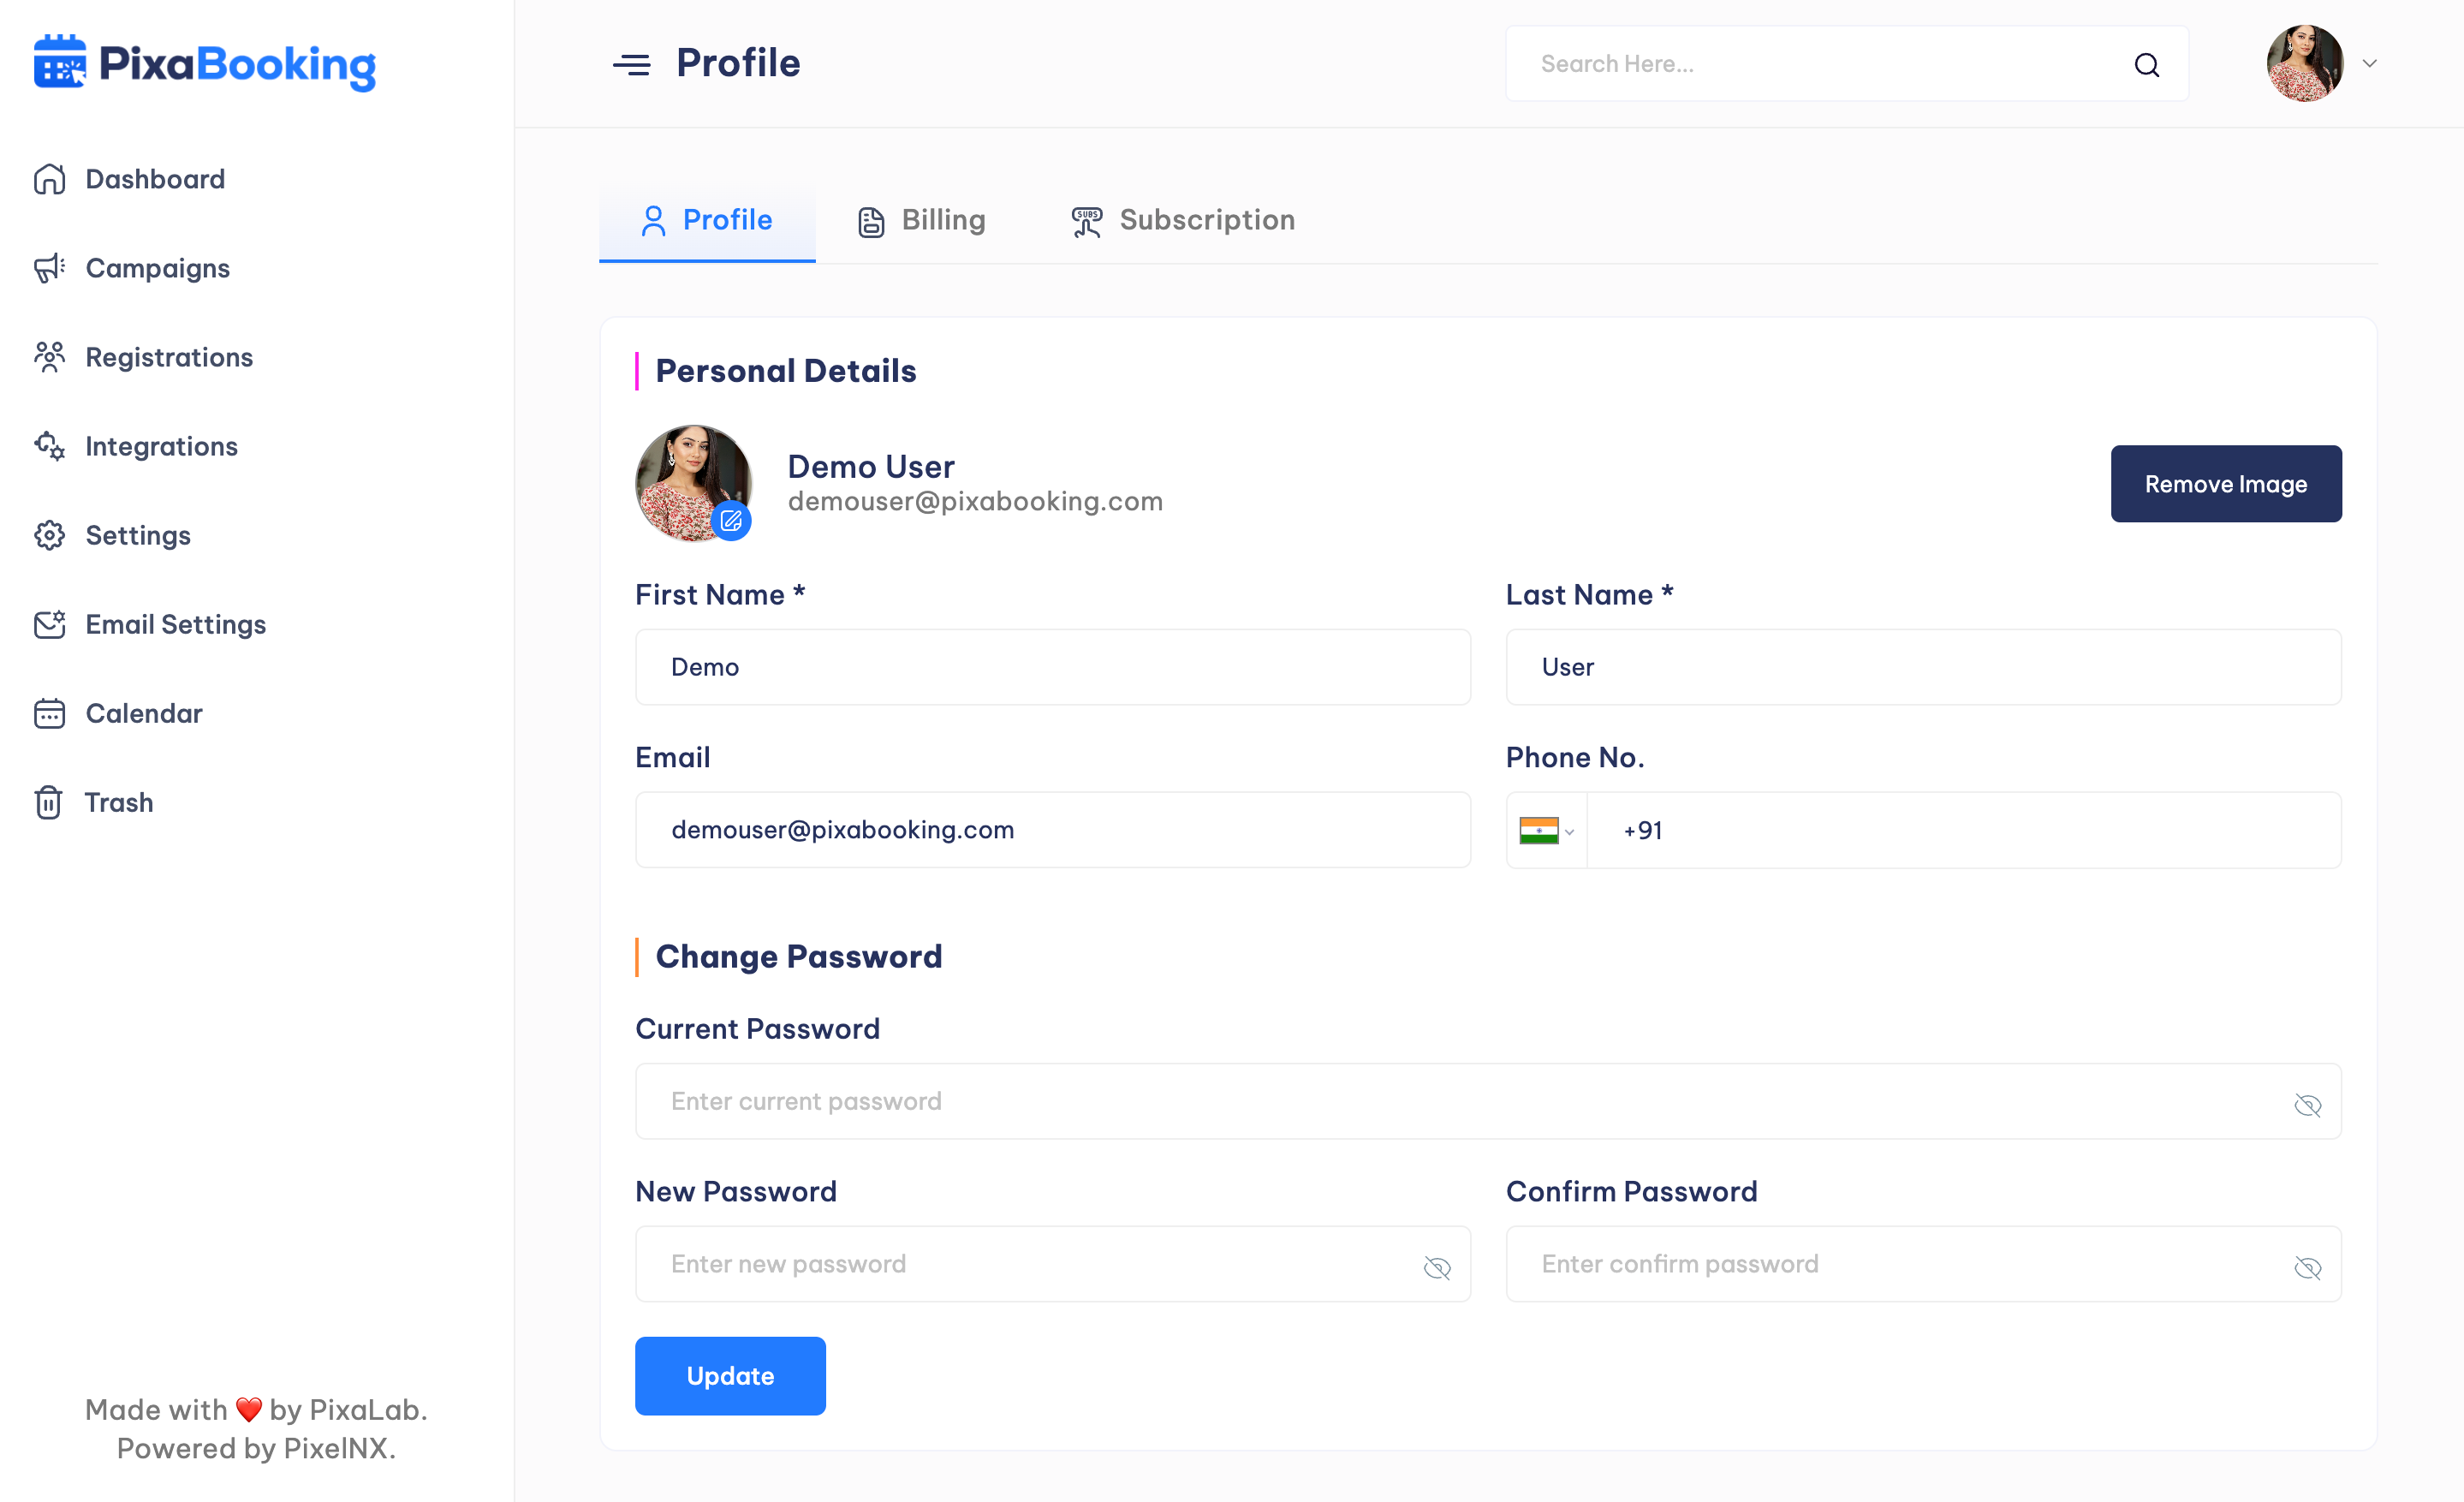
Profile
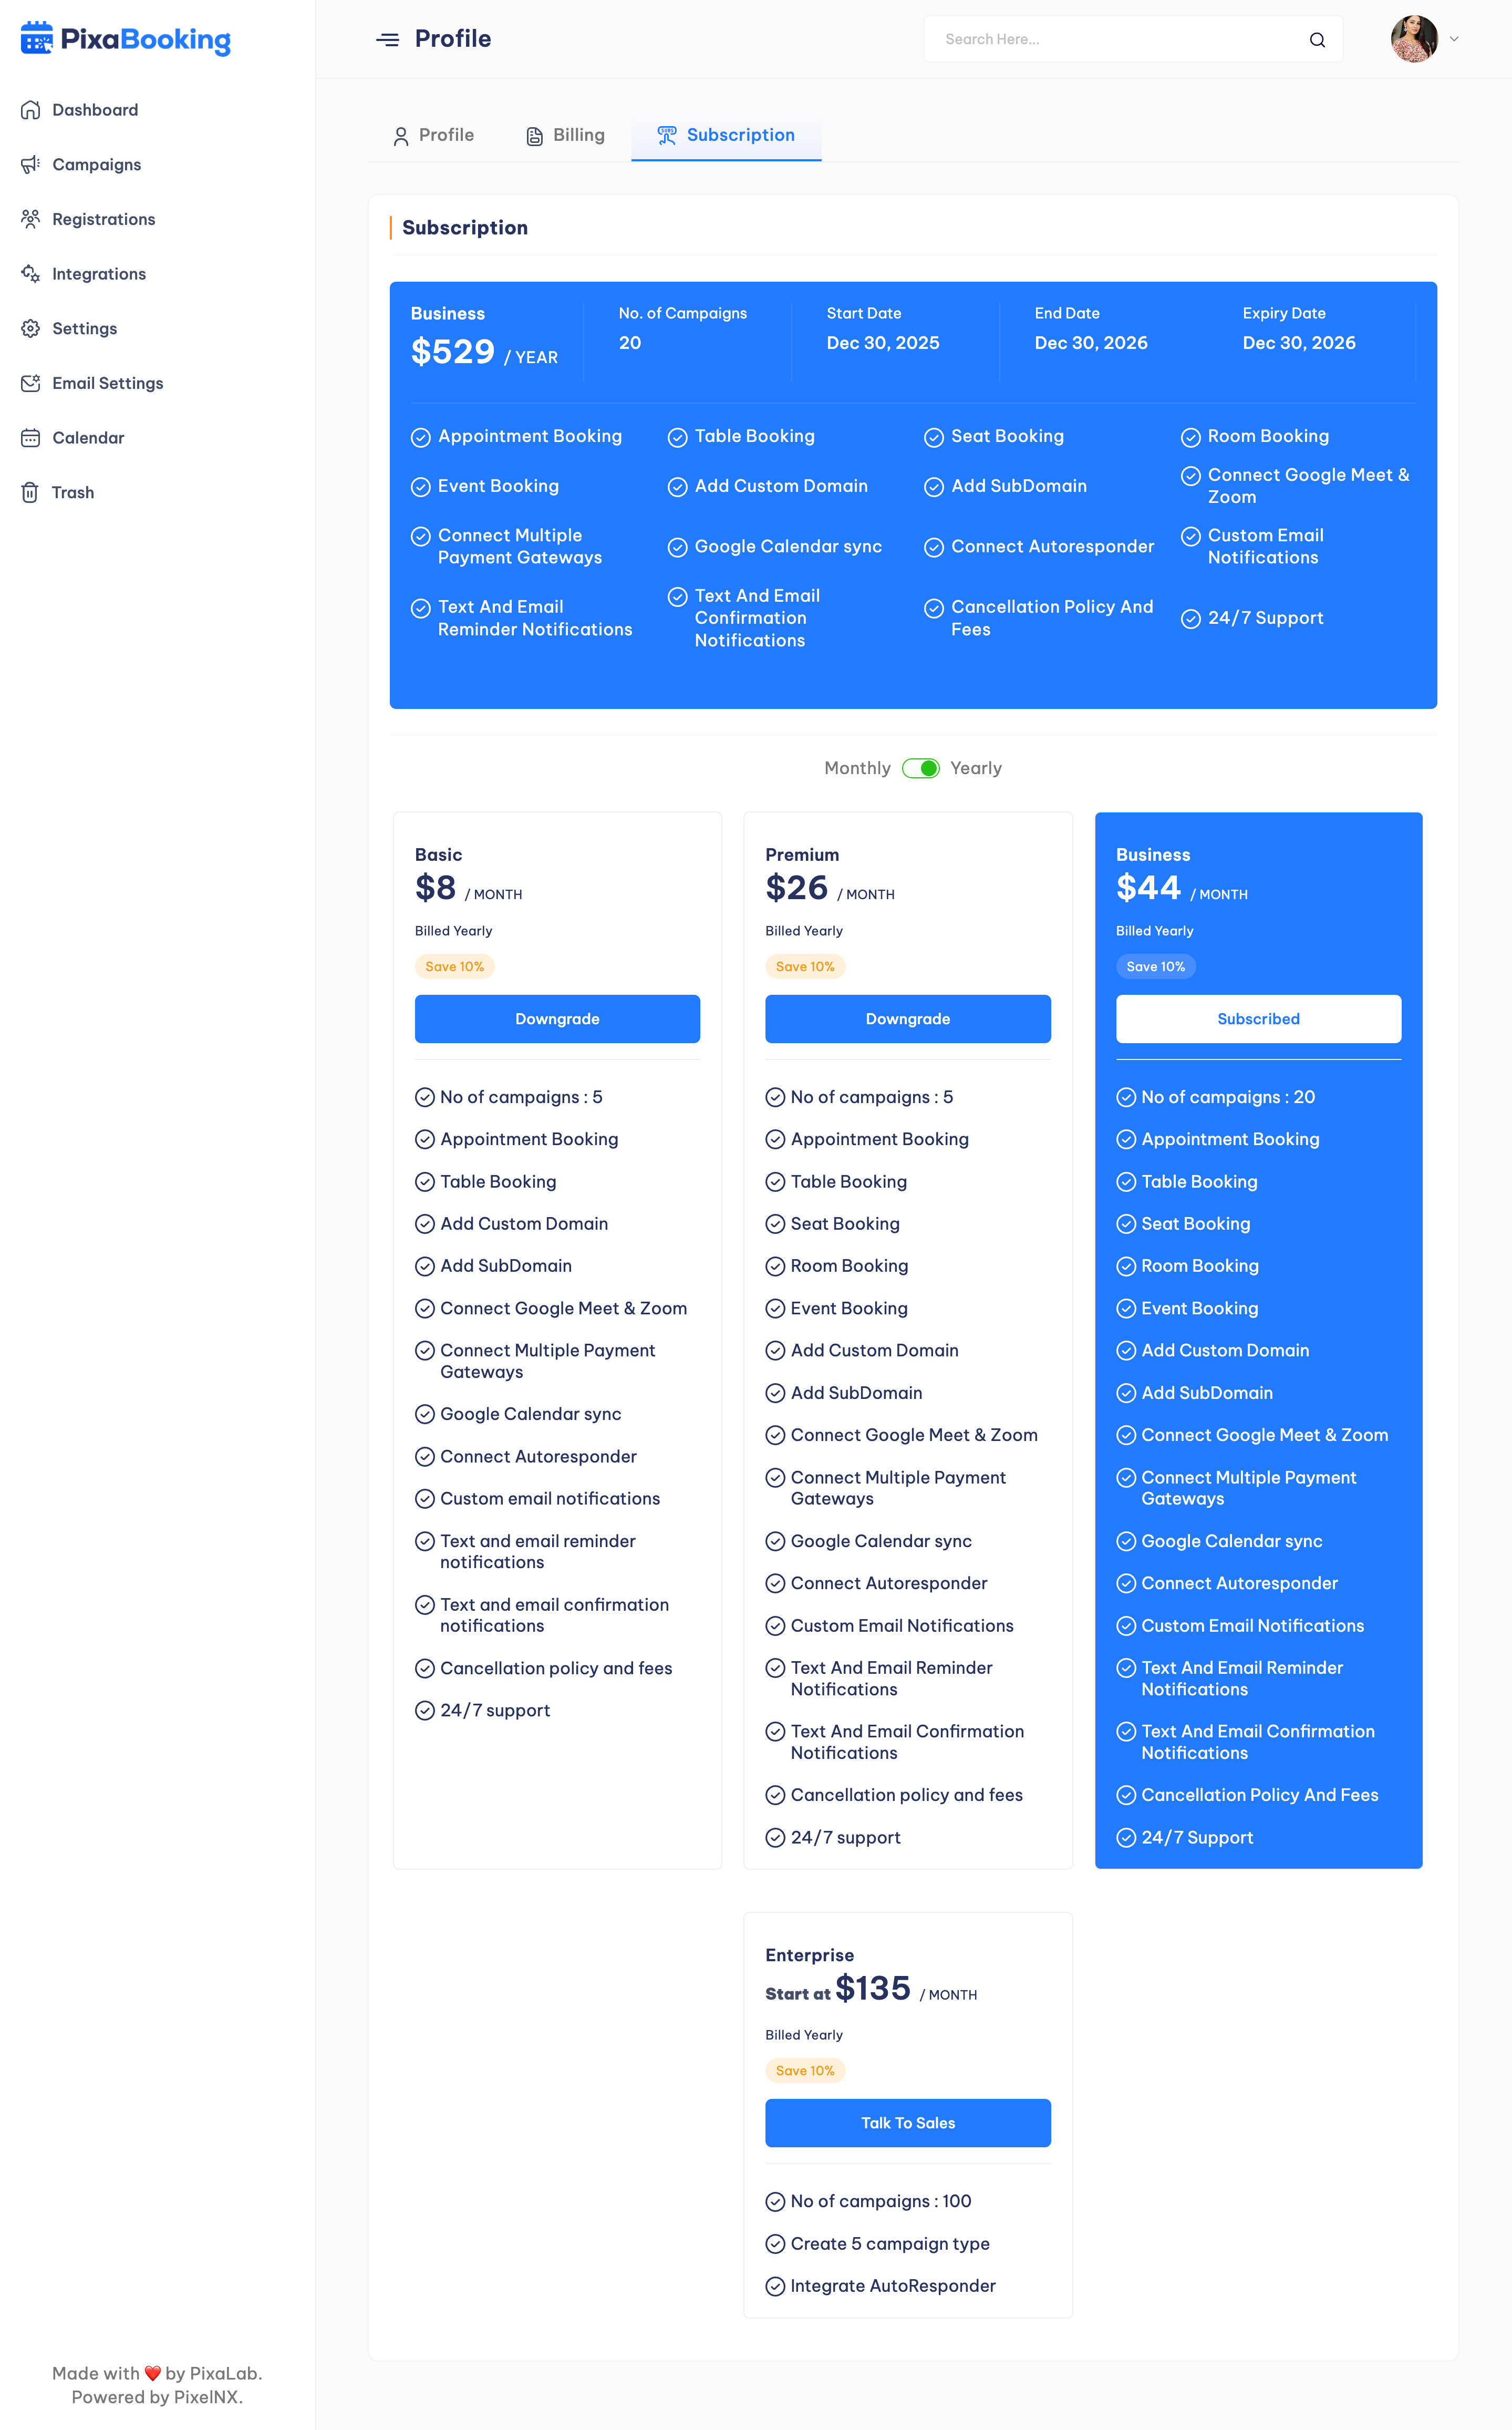
Users can view their personal details, billing information and subscription plans.
Personal Details - User can update the personal details like profile image, name, contact mumber and password.
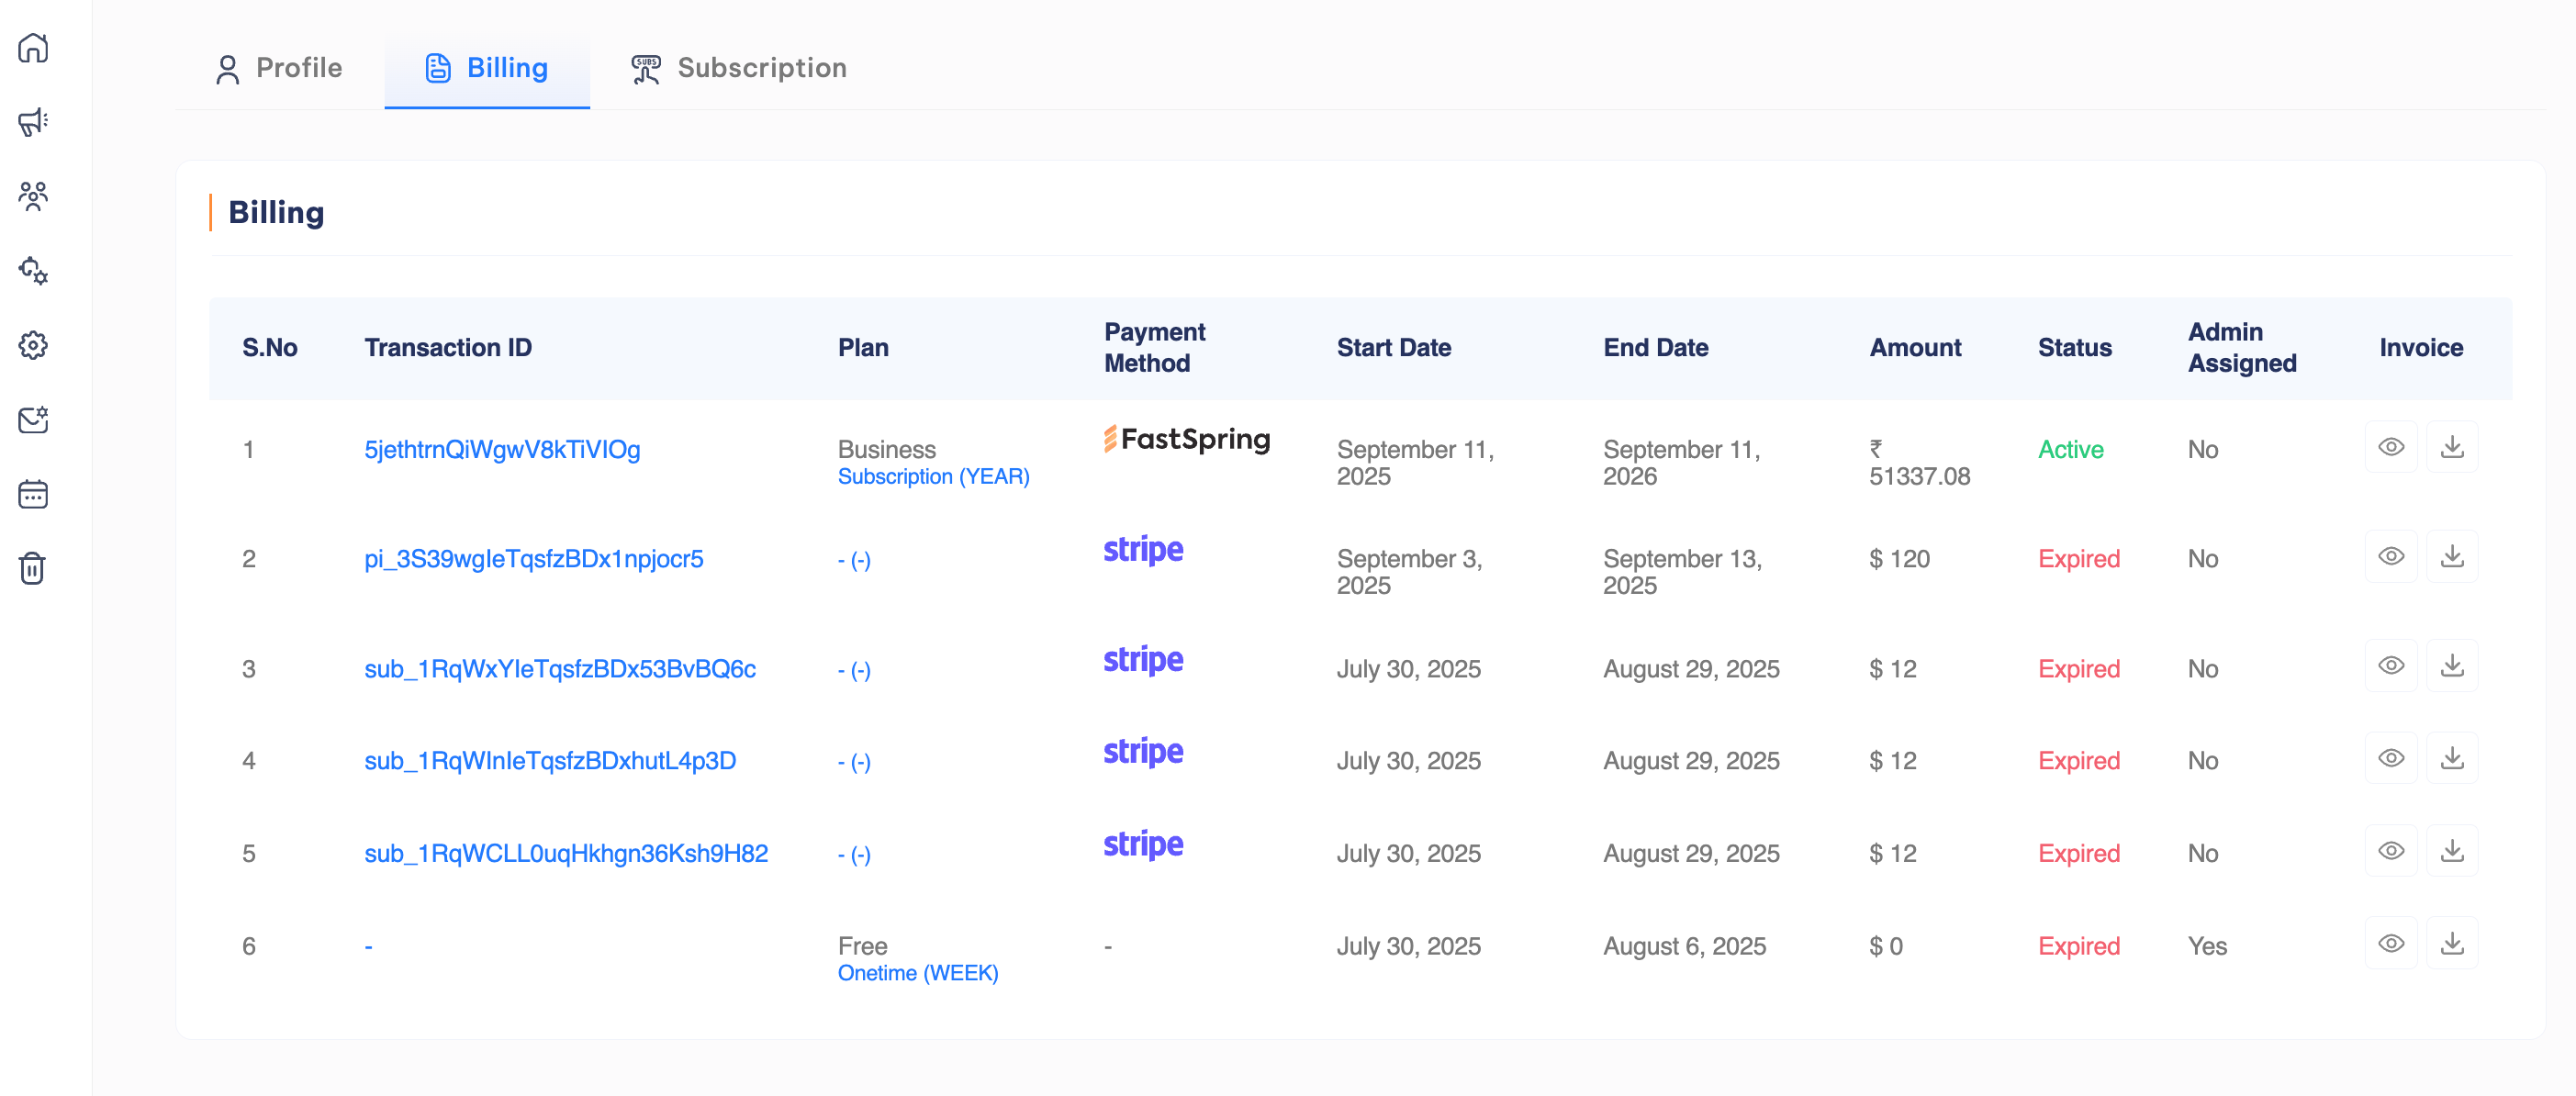
Billing Information - User can view the details of the plans they have subscirbed and their details like Transaction ID, plan name, payment Method, Start Date, End Date, Amount, Invoice. User can view and download the invoice.
Subscription Plans - User can view the details of the available plans. User can upgrade or downgrade the plan.
How to Connect Zoom
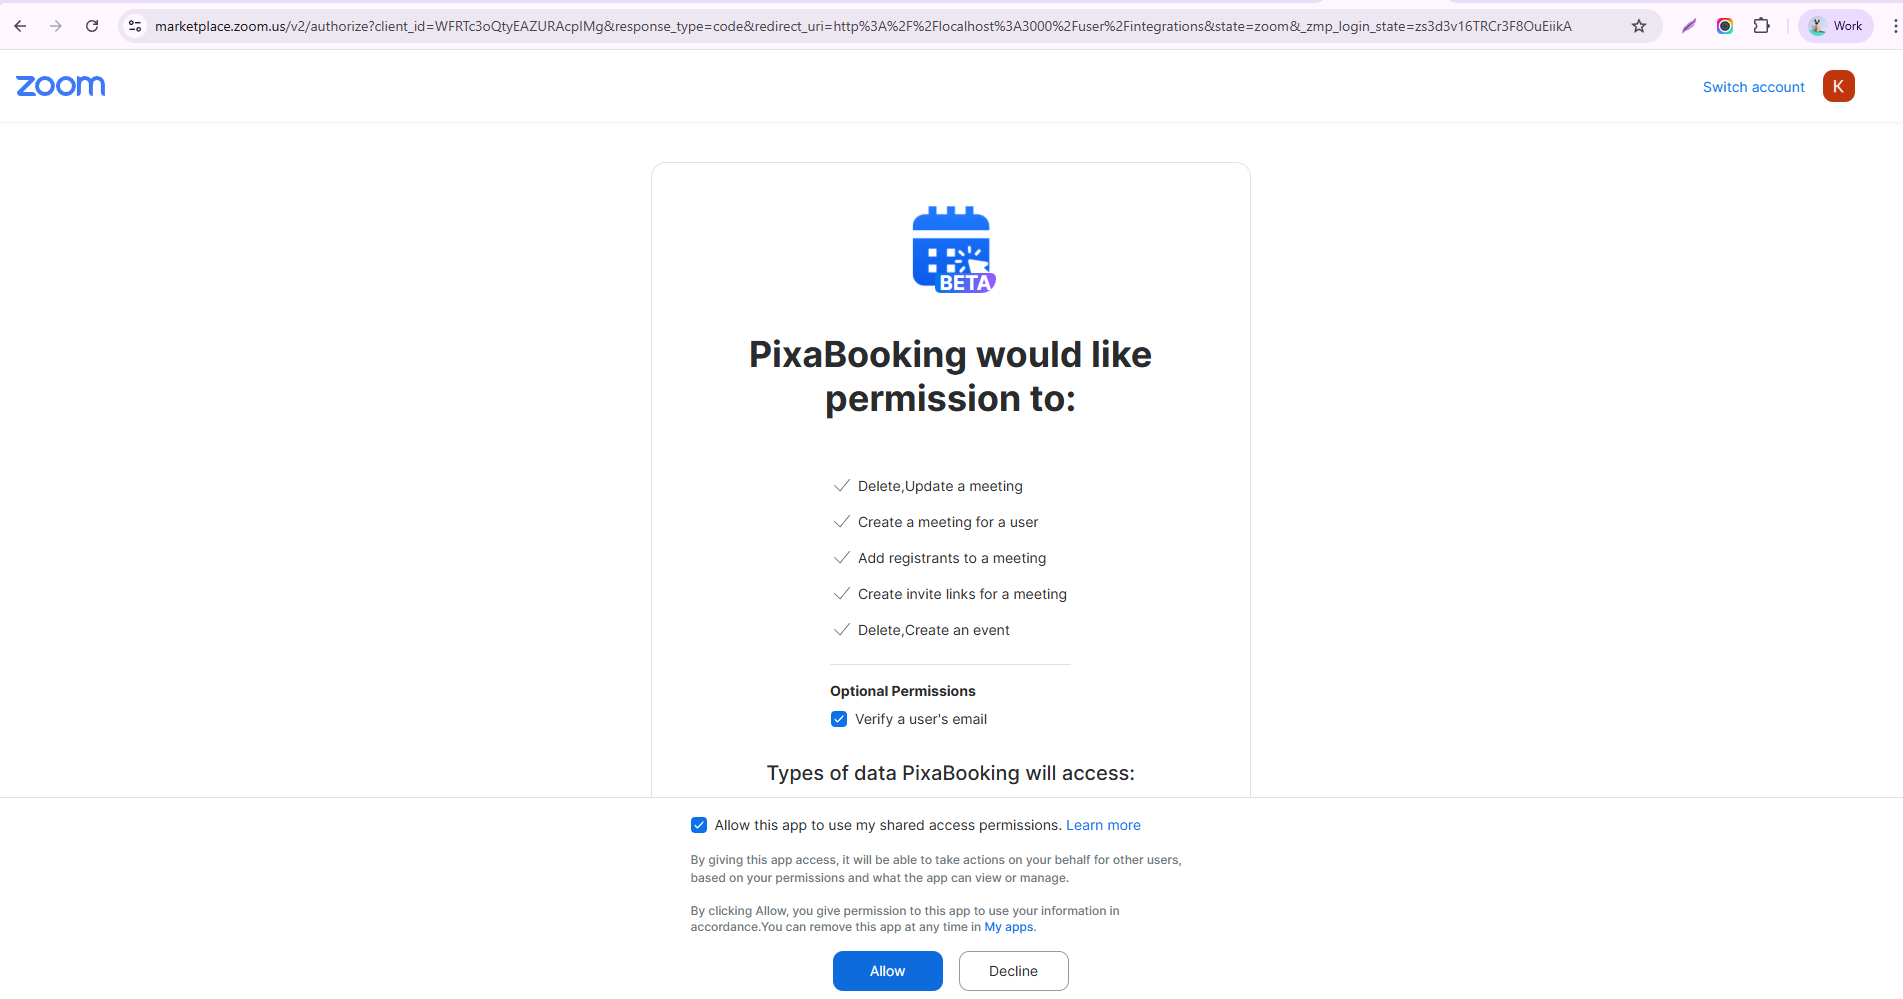
1. To connect Zoom, user need to hit the Connect button. After hitting the button, user will be redirected to the Zoom login page where they can sign in with their Zoom account.
2. Then user need to grant permission by hitting the allow button. Pixabooking script will access this data : Delete, Update a meeting, Meeting Creation, Adding registrants to a meeting, Creation of Invitation links, Delete Create an Event and an optional permission of user's email verification.
3. After granting permission, user will be redirected back to Pixabooking dashboard where they can see the Zoom connected status.
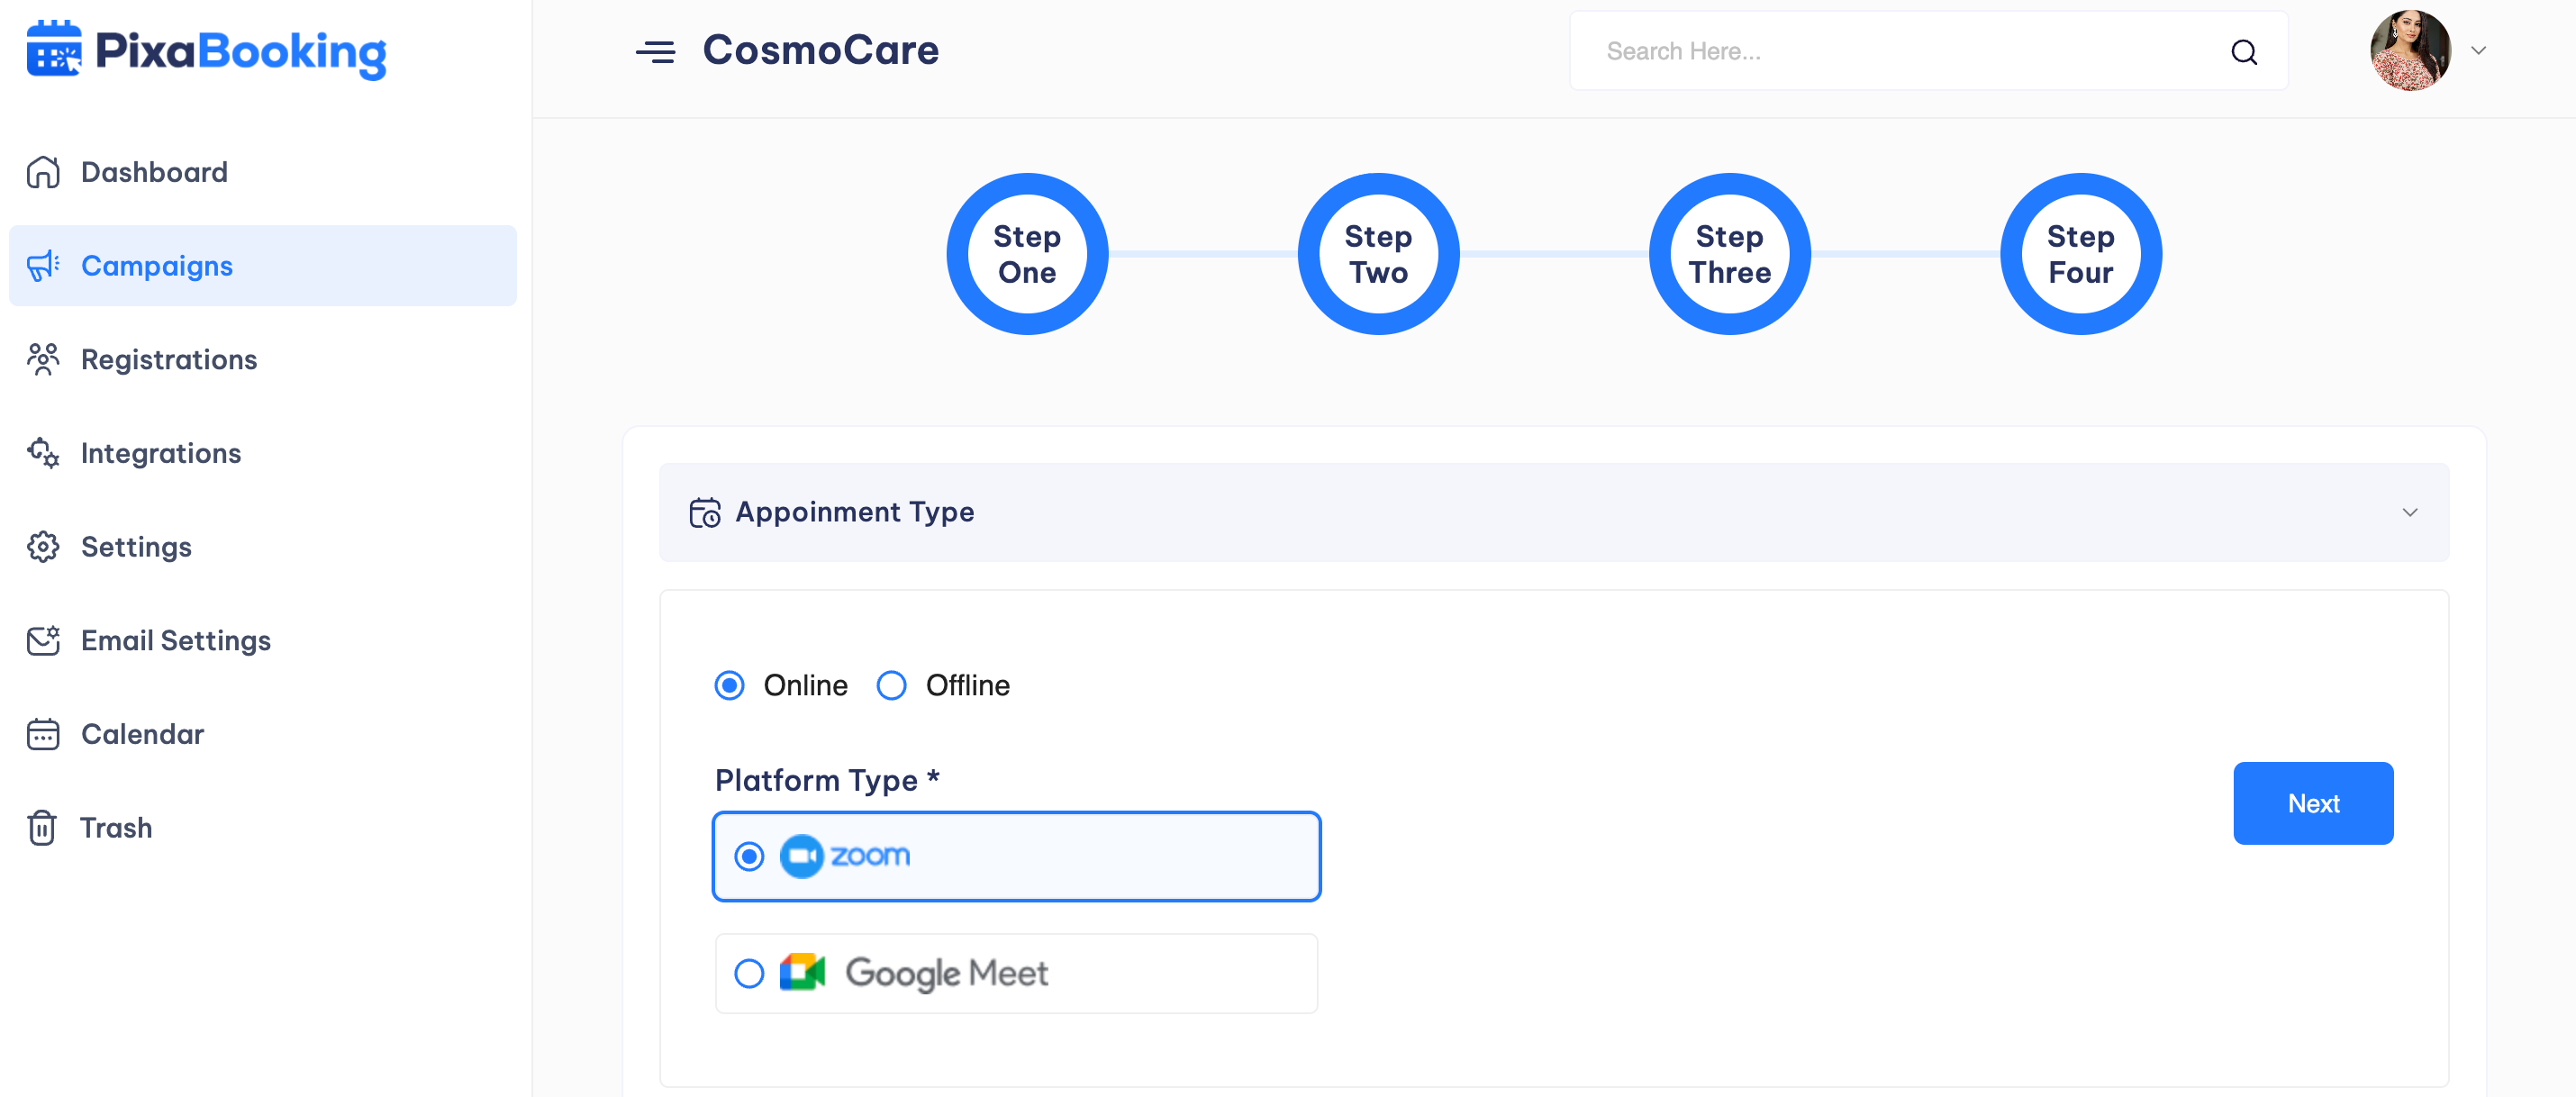
How it Works in Campaign Creation
1. When creating a campaign, users have to select the Appointment Type as Online and platform as Zoom.
2. After creating the campaign, hit the View option.
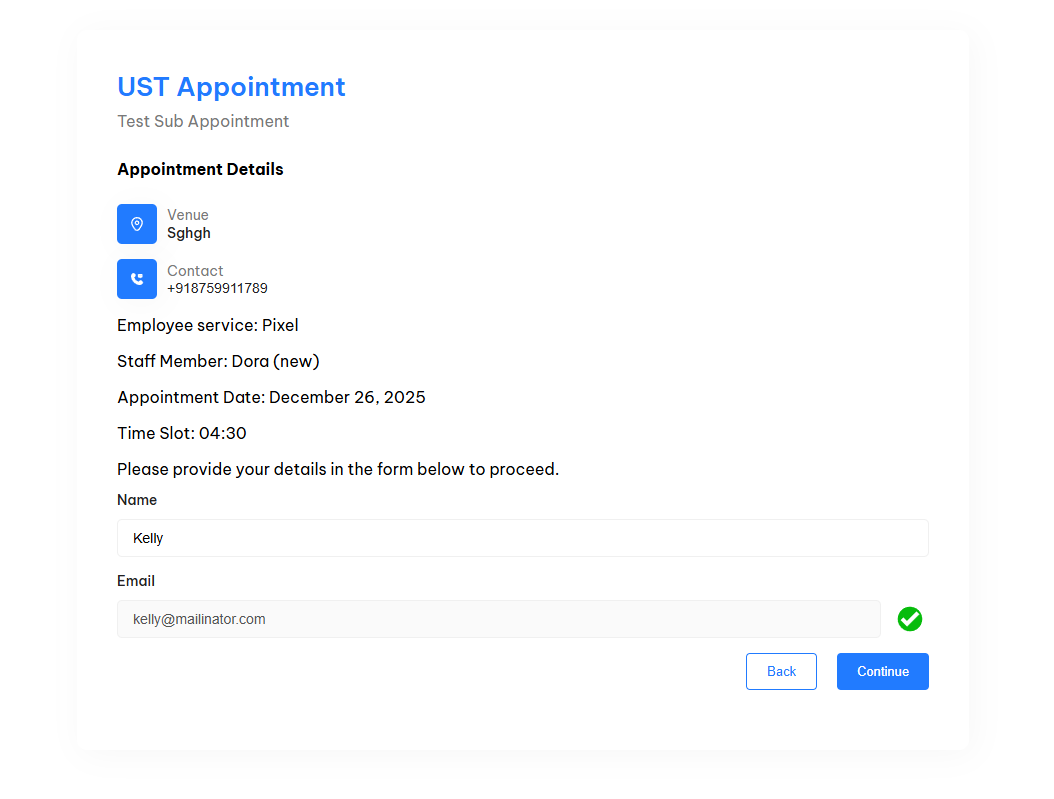
3. Select the Appointment Date, a staff member and time slot.

4. Enter name and email (verify the email first) and then hit the Continue Button.
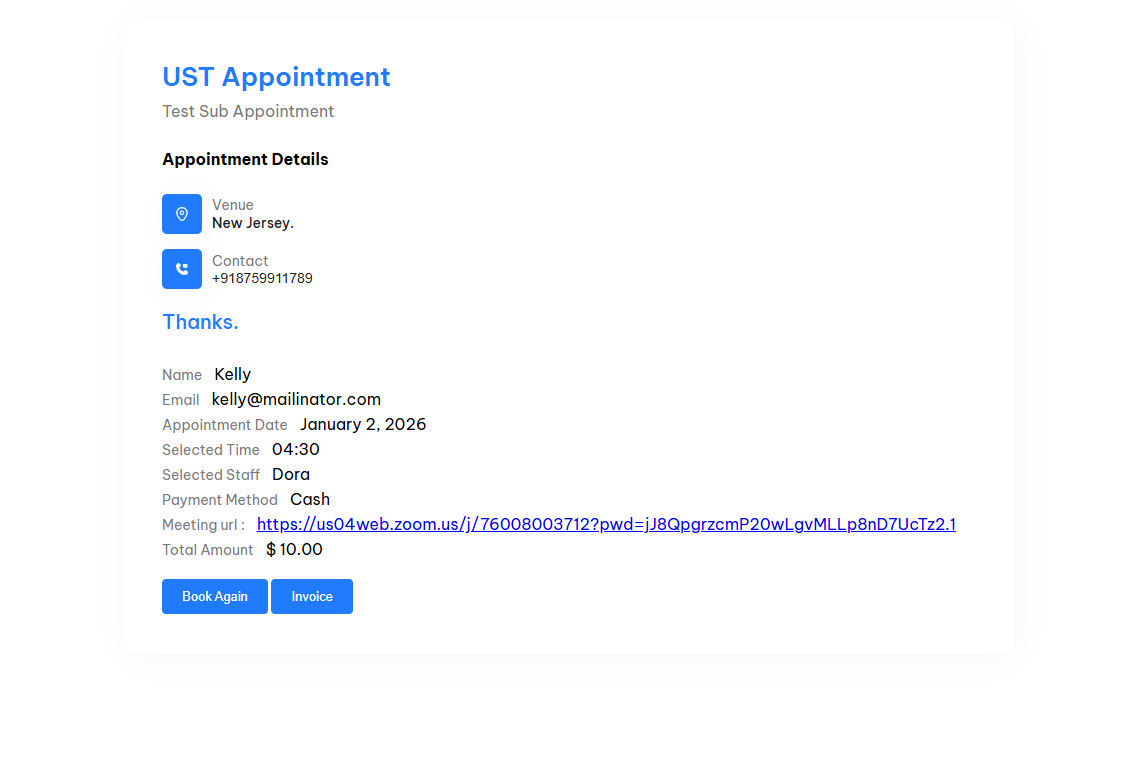
5. Select the payment option and clict on Pay button.

6. User can see the booking details along with zoom meeting link on the email. User can join by hitting the meeting link.
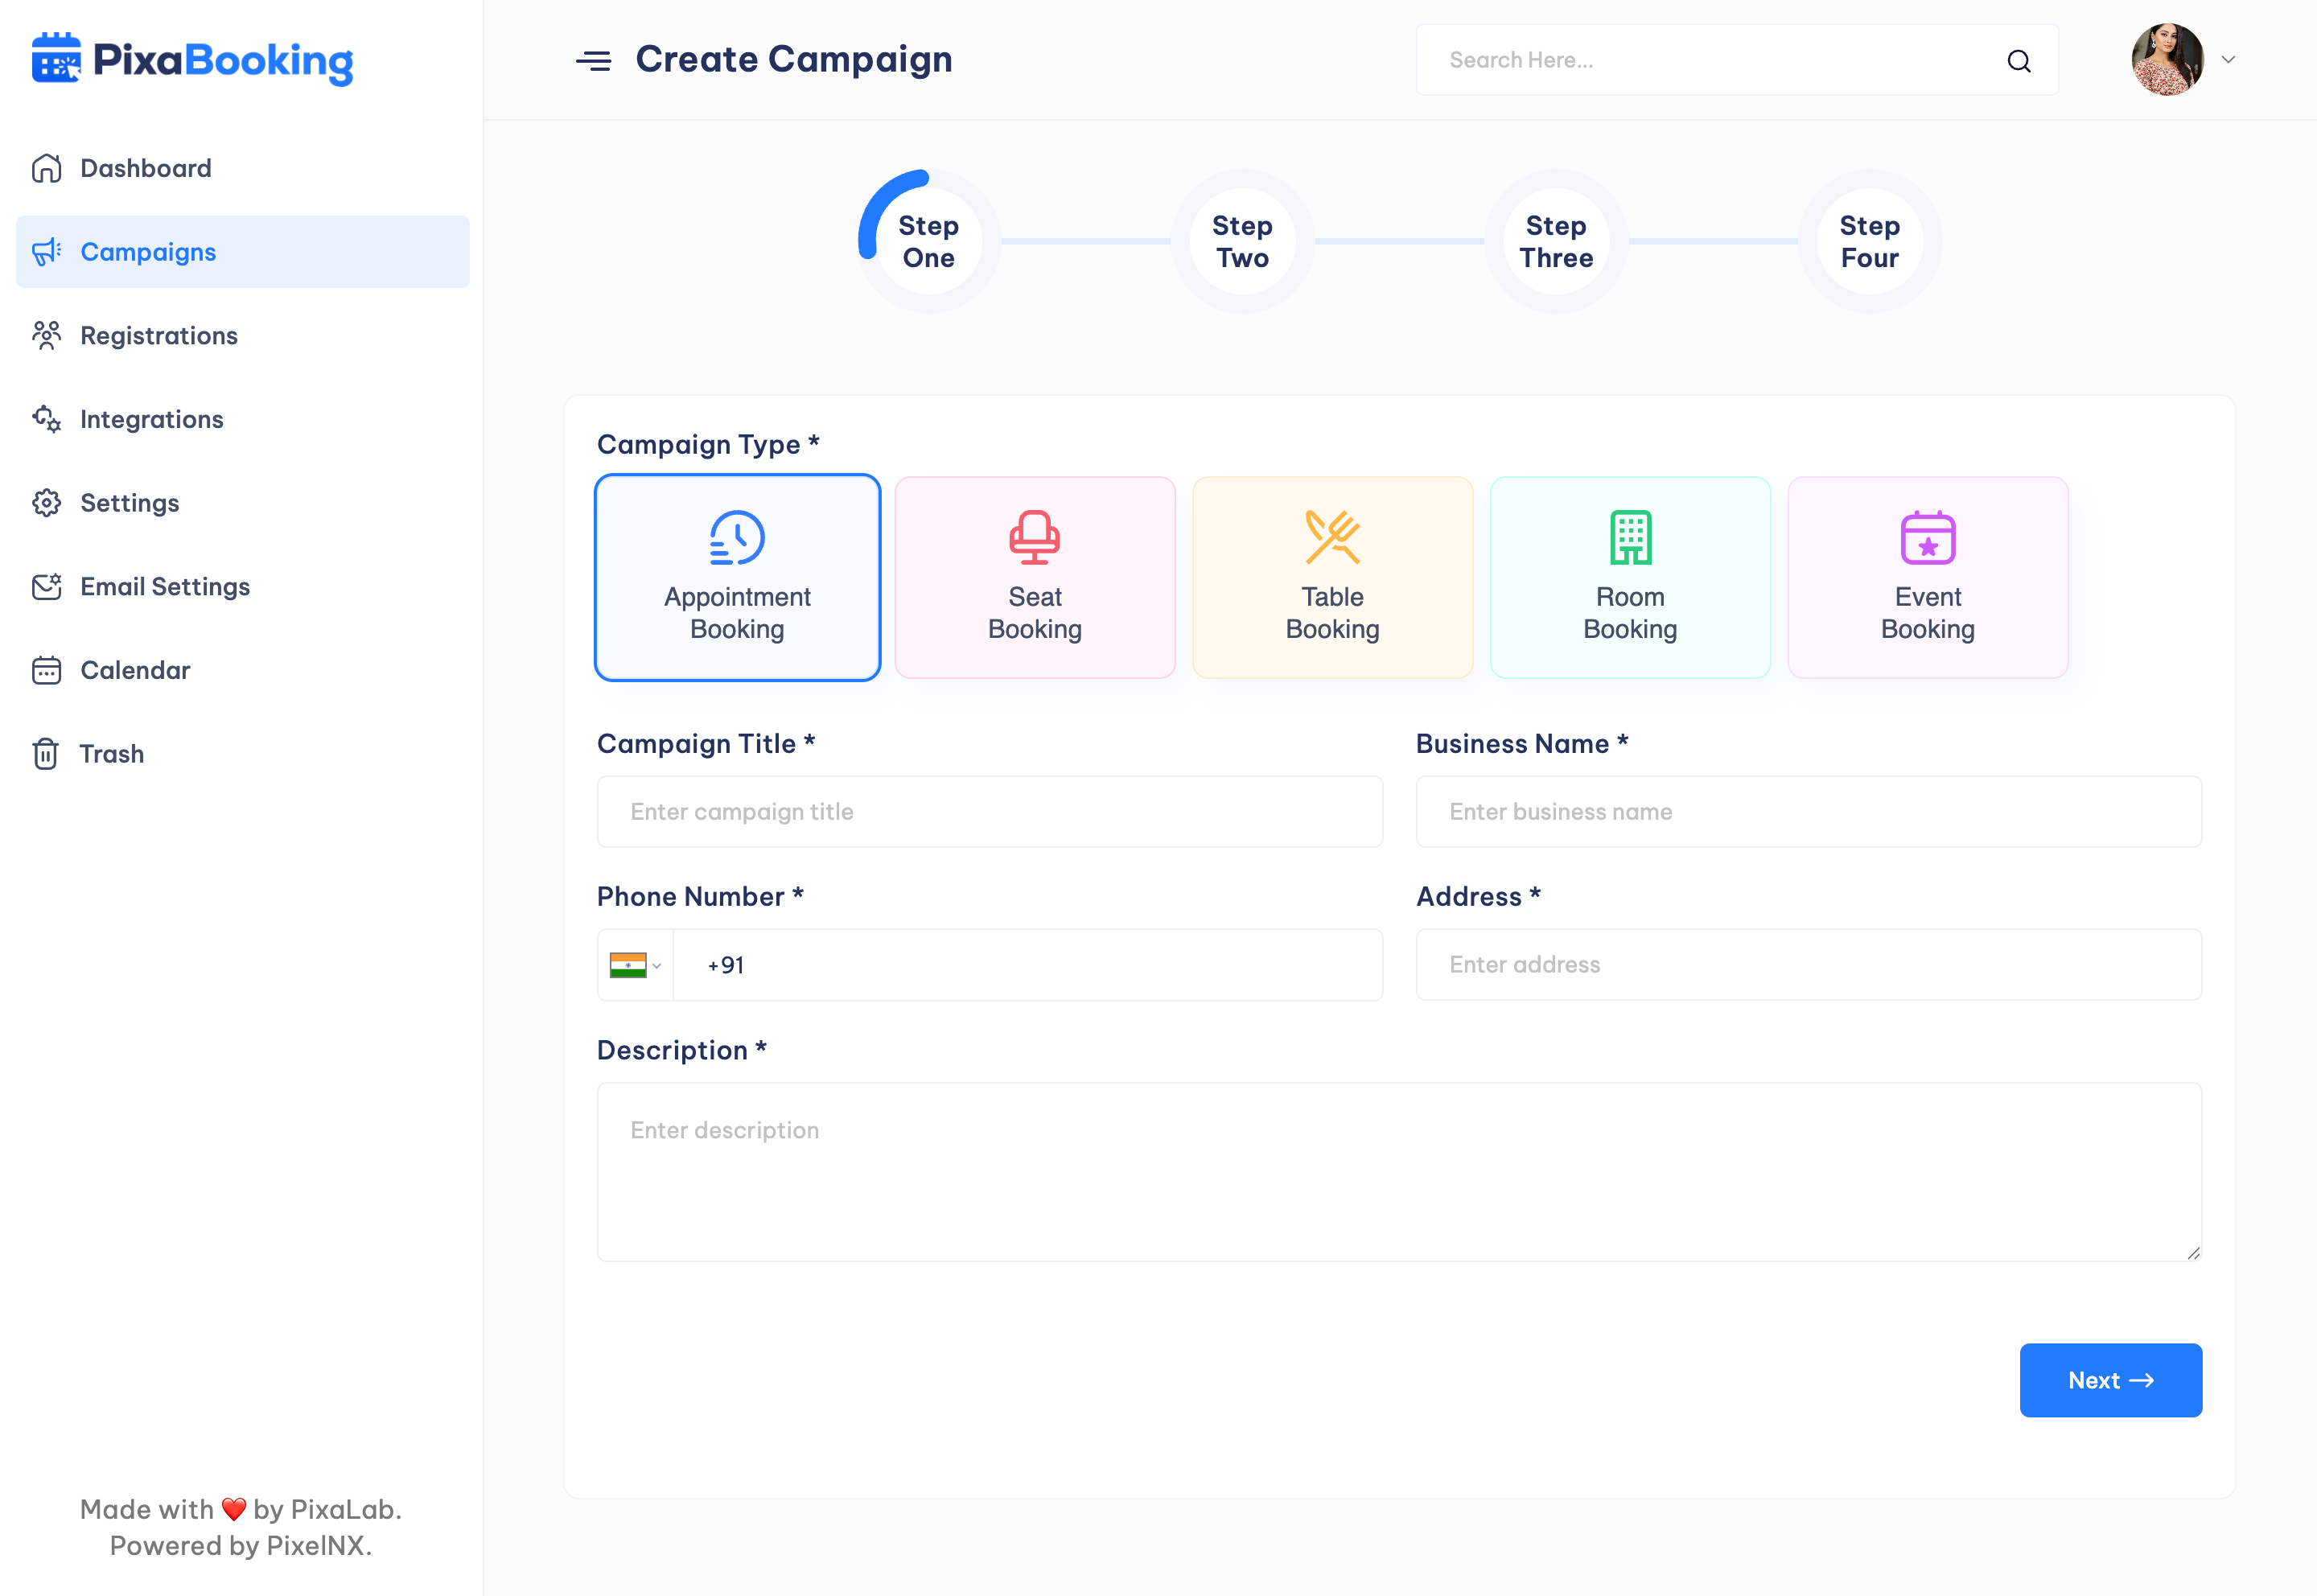
Campaign Creation
In Pixabooking, user can create campiagns by performing the four basic steps.
Step 1 - In this step, user have to select campaign type as Appointment Booking, Seat Booking, Table Booking, Room Booking, Event Booking. After that enter campaign title, business name, phone number, address, and description.
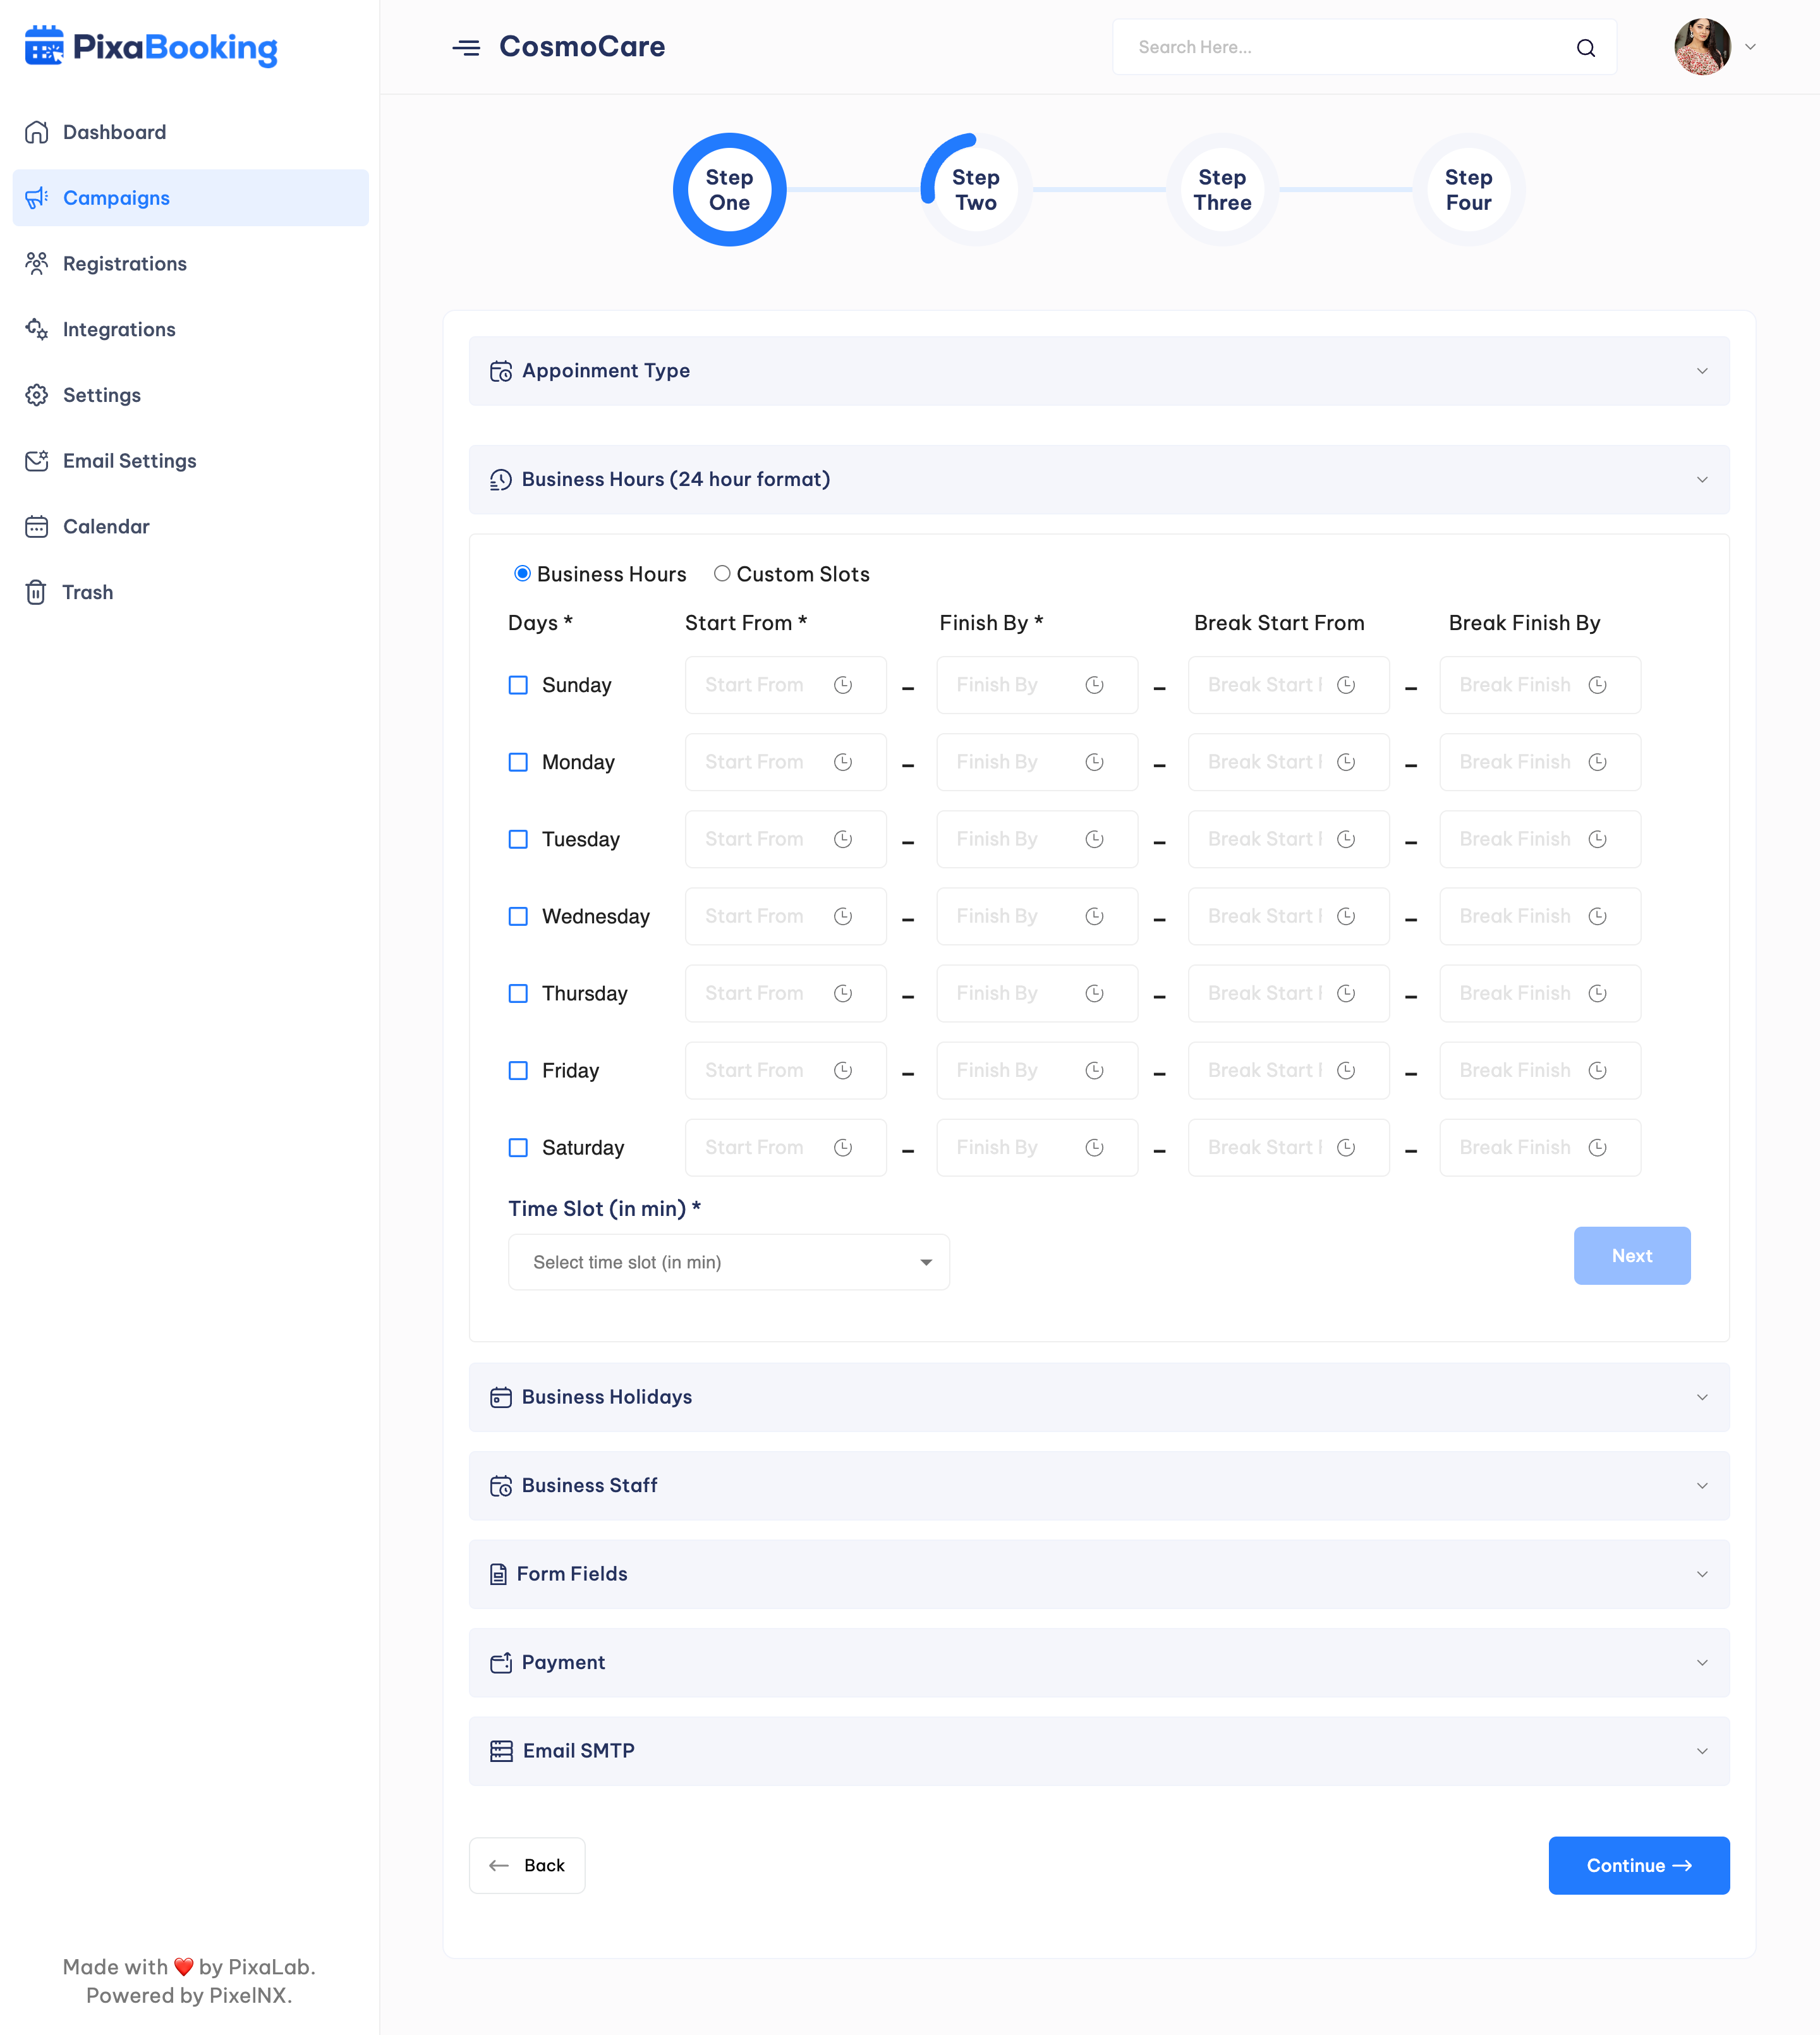
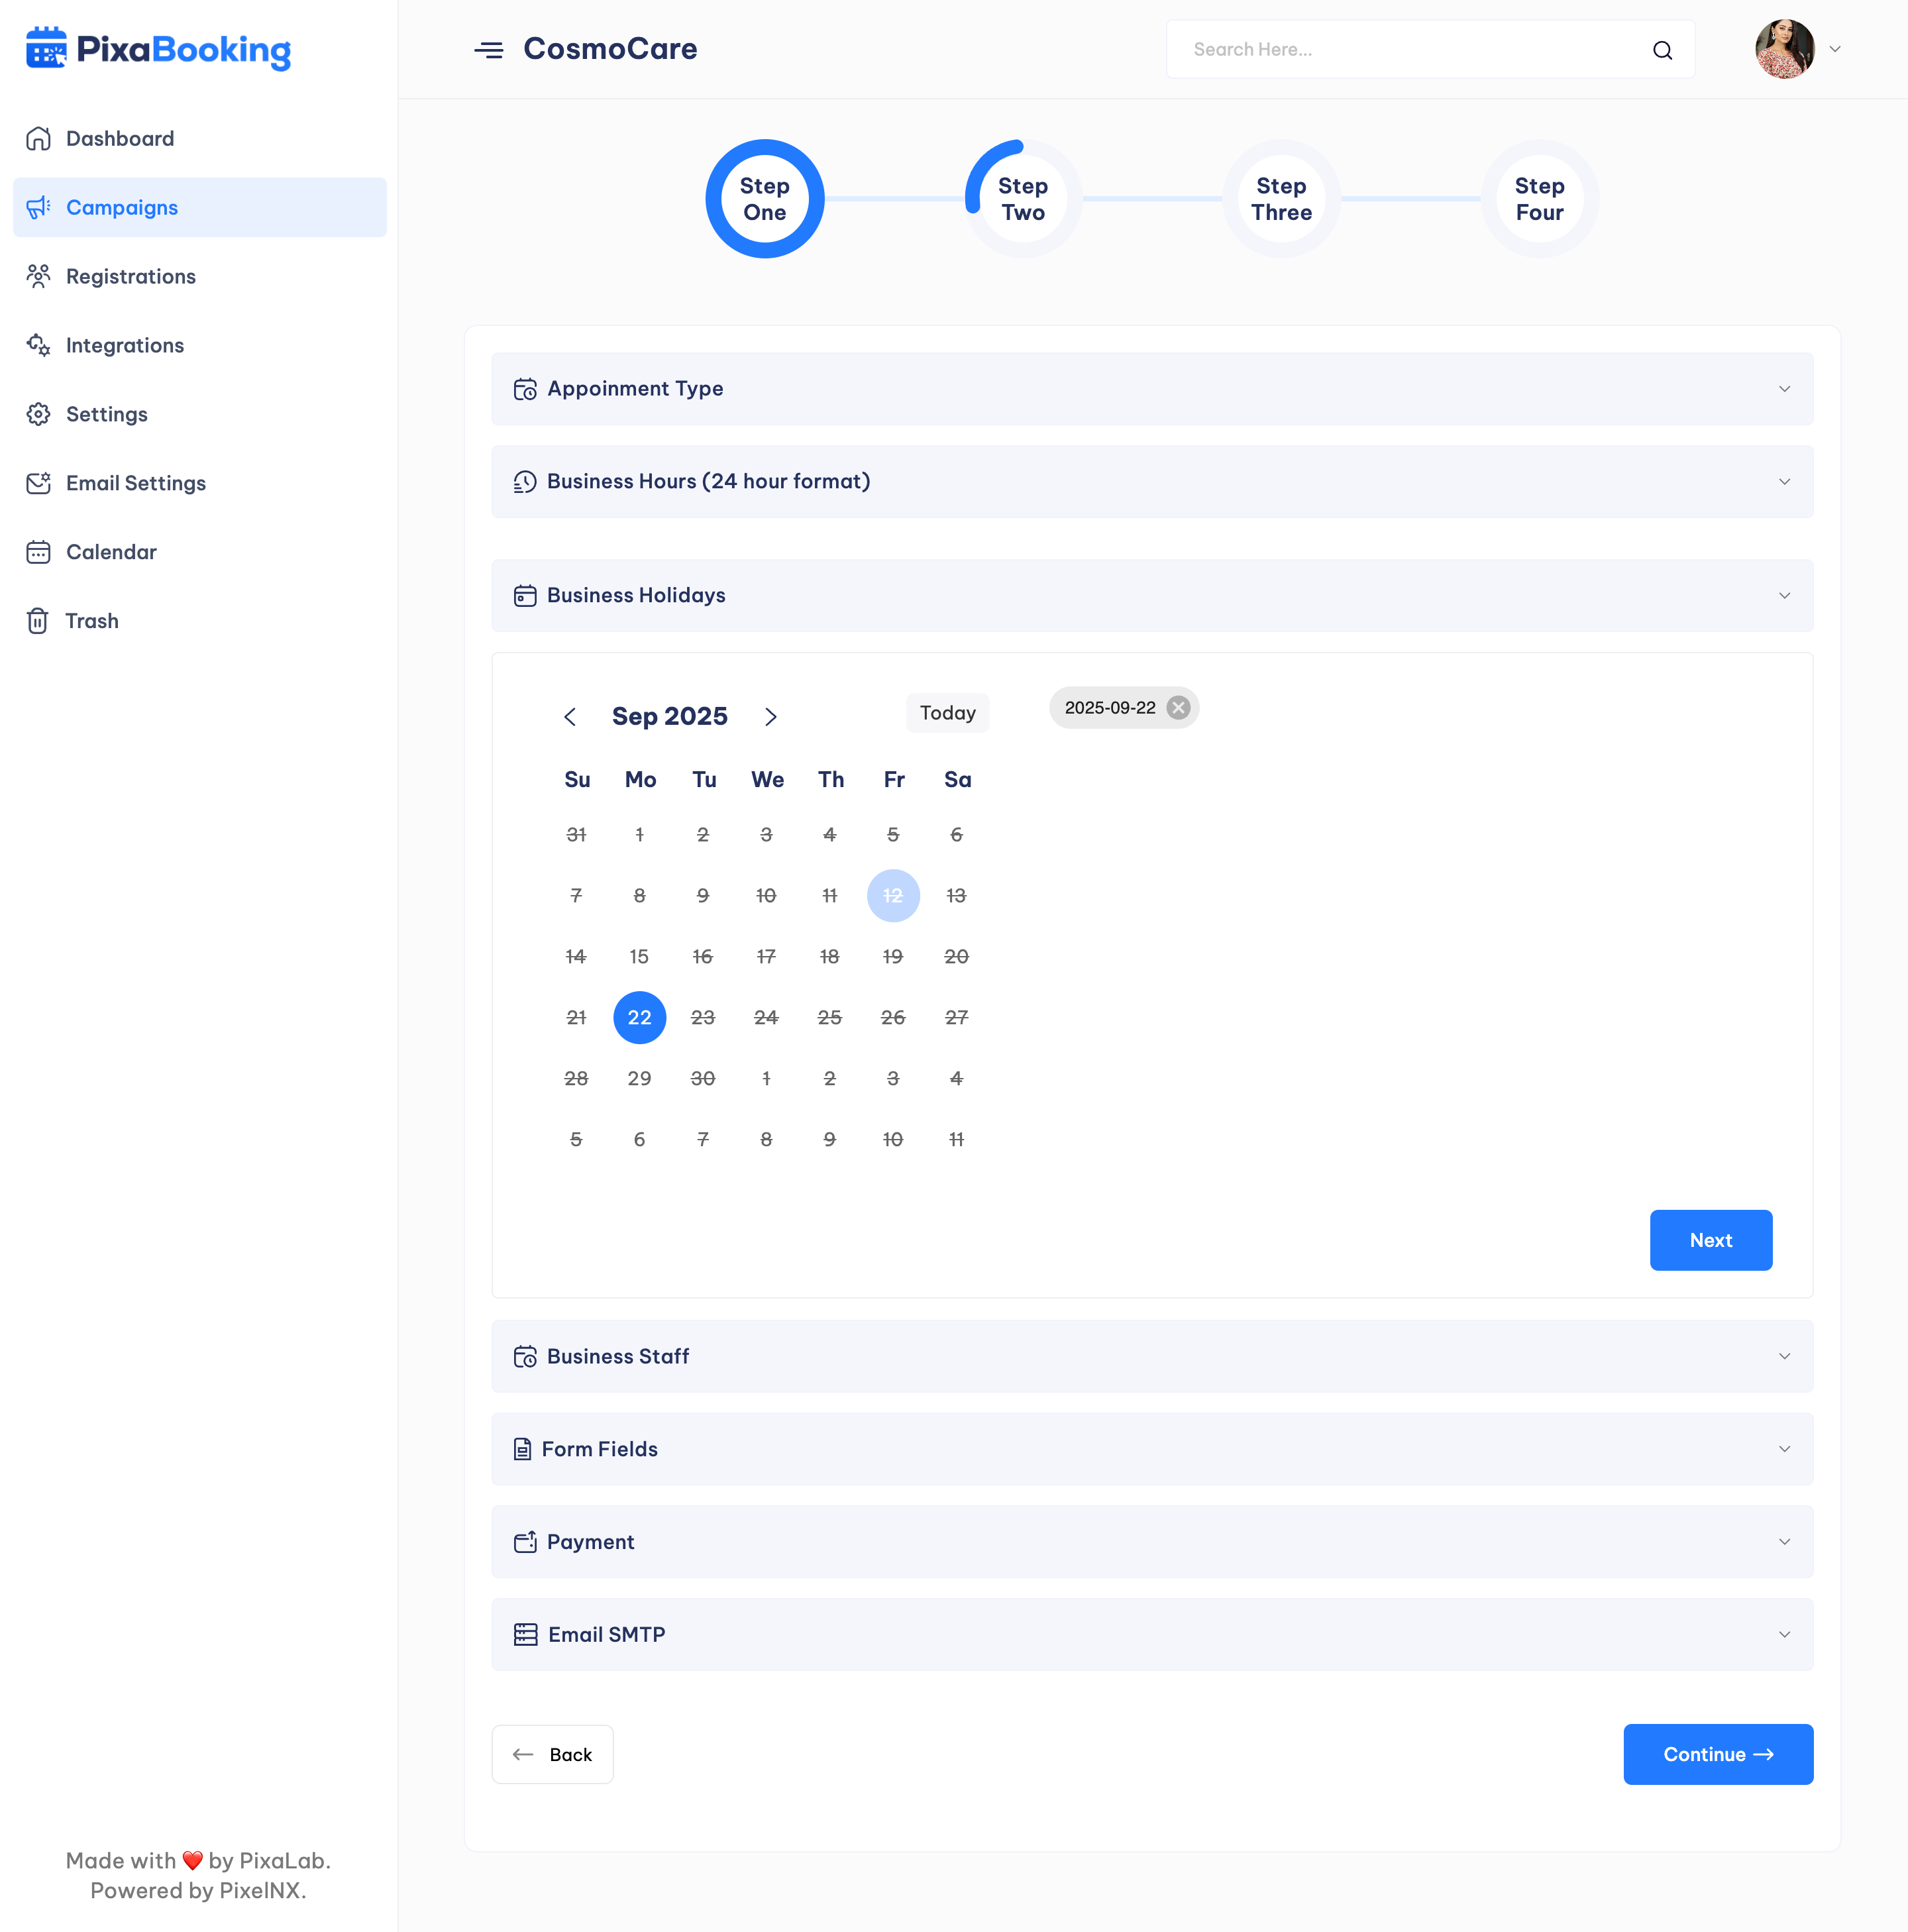
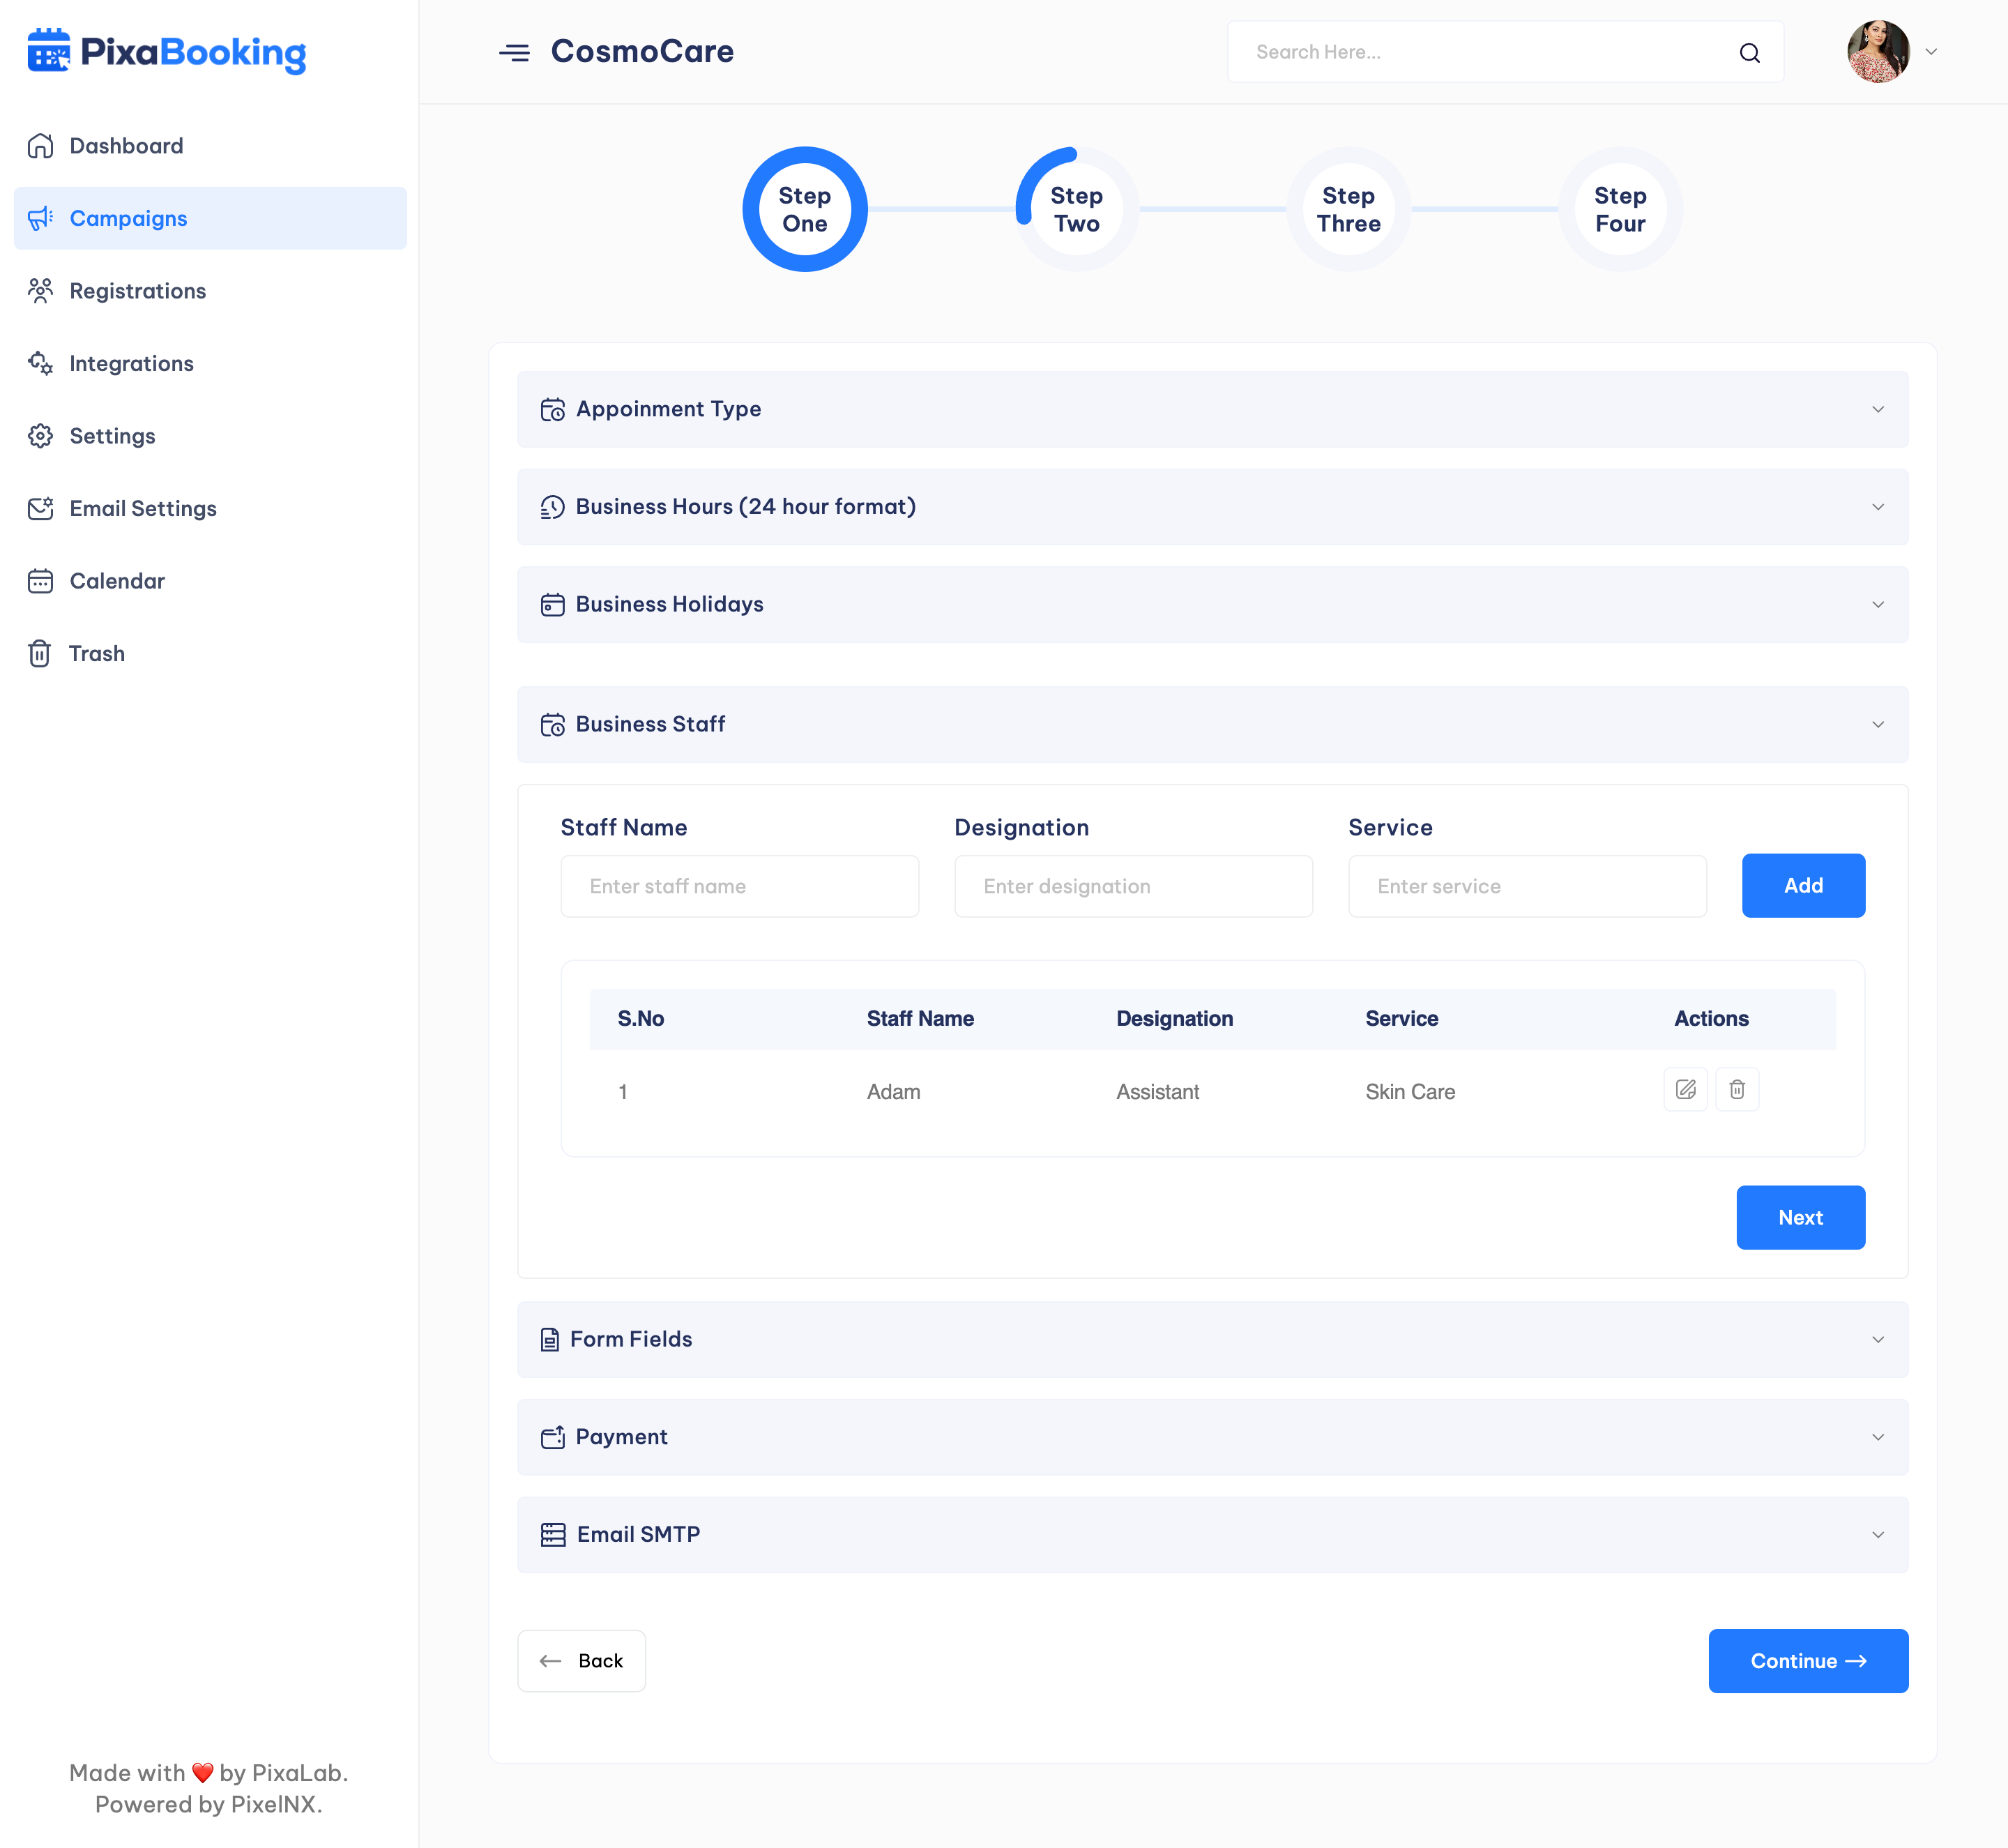
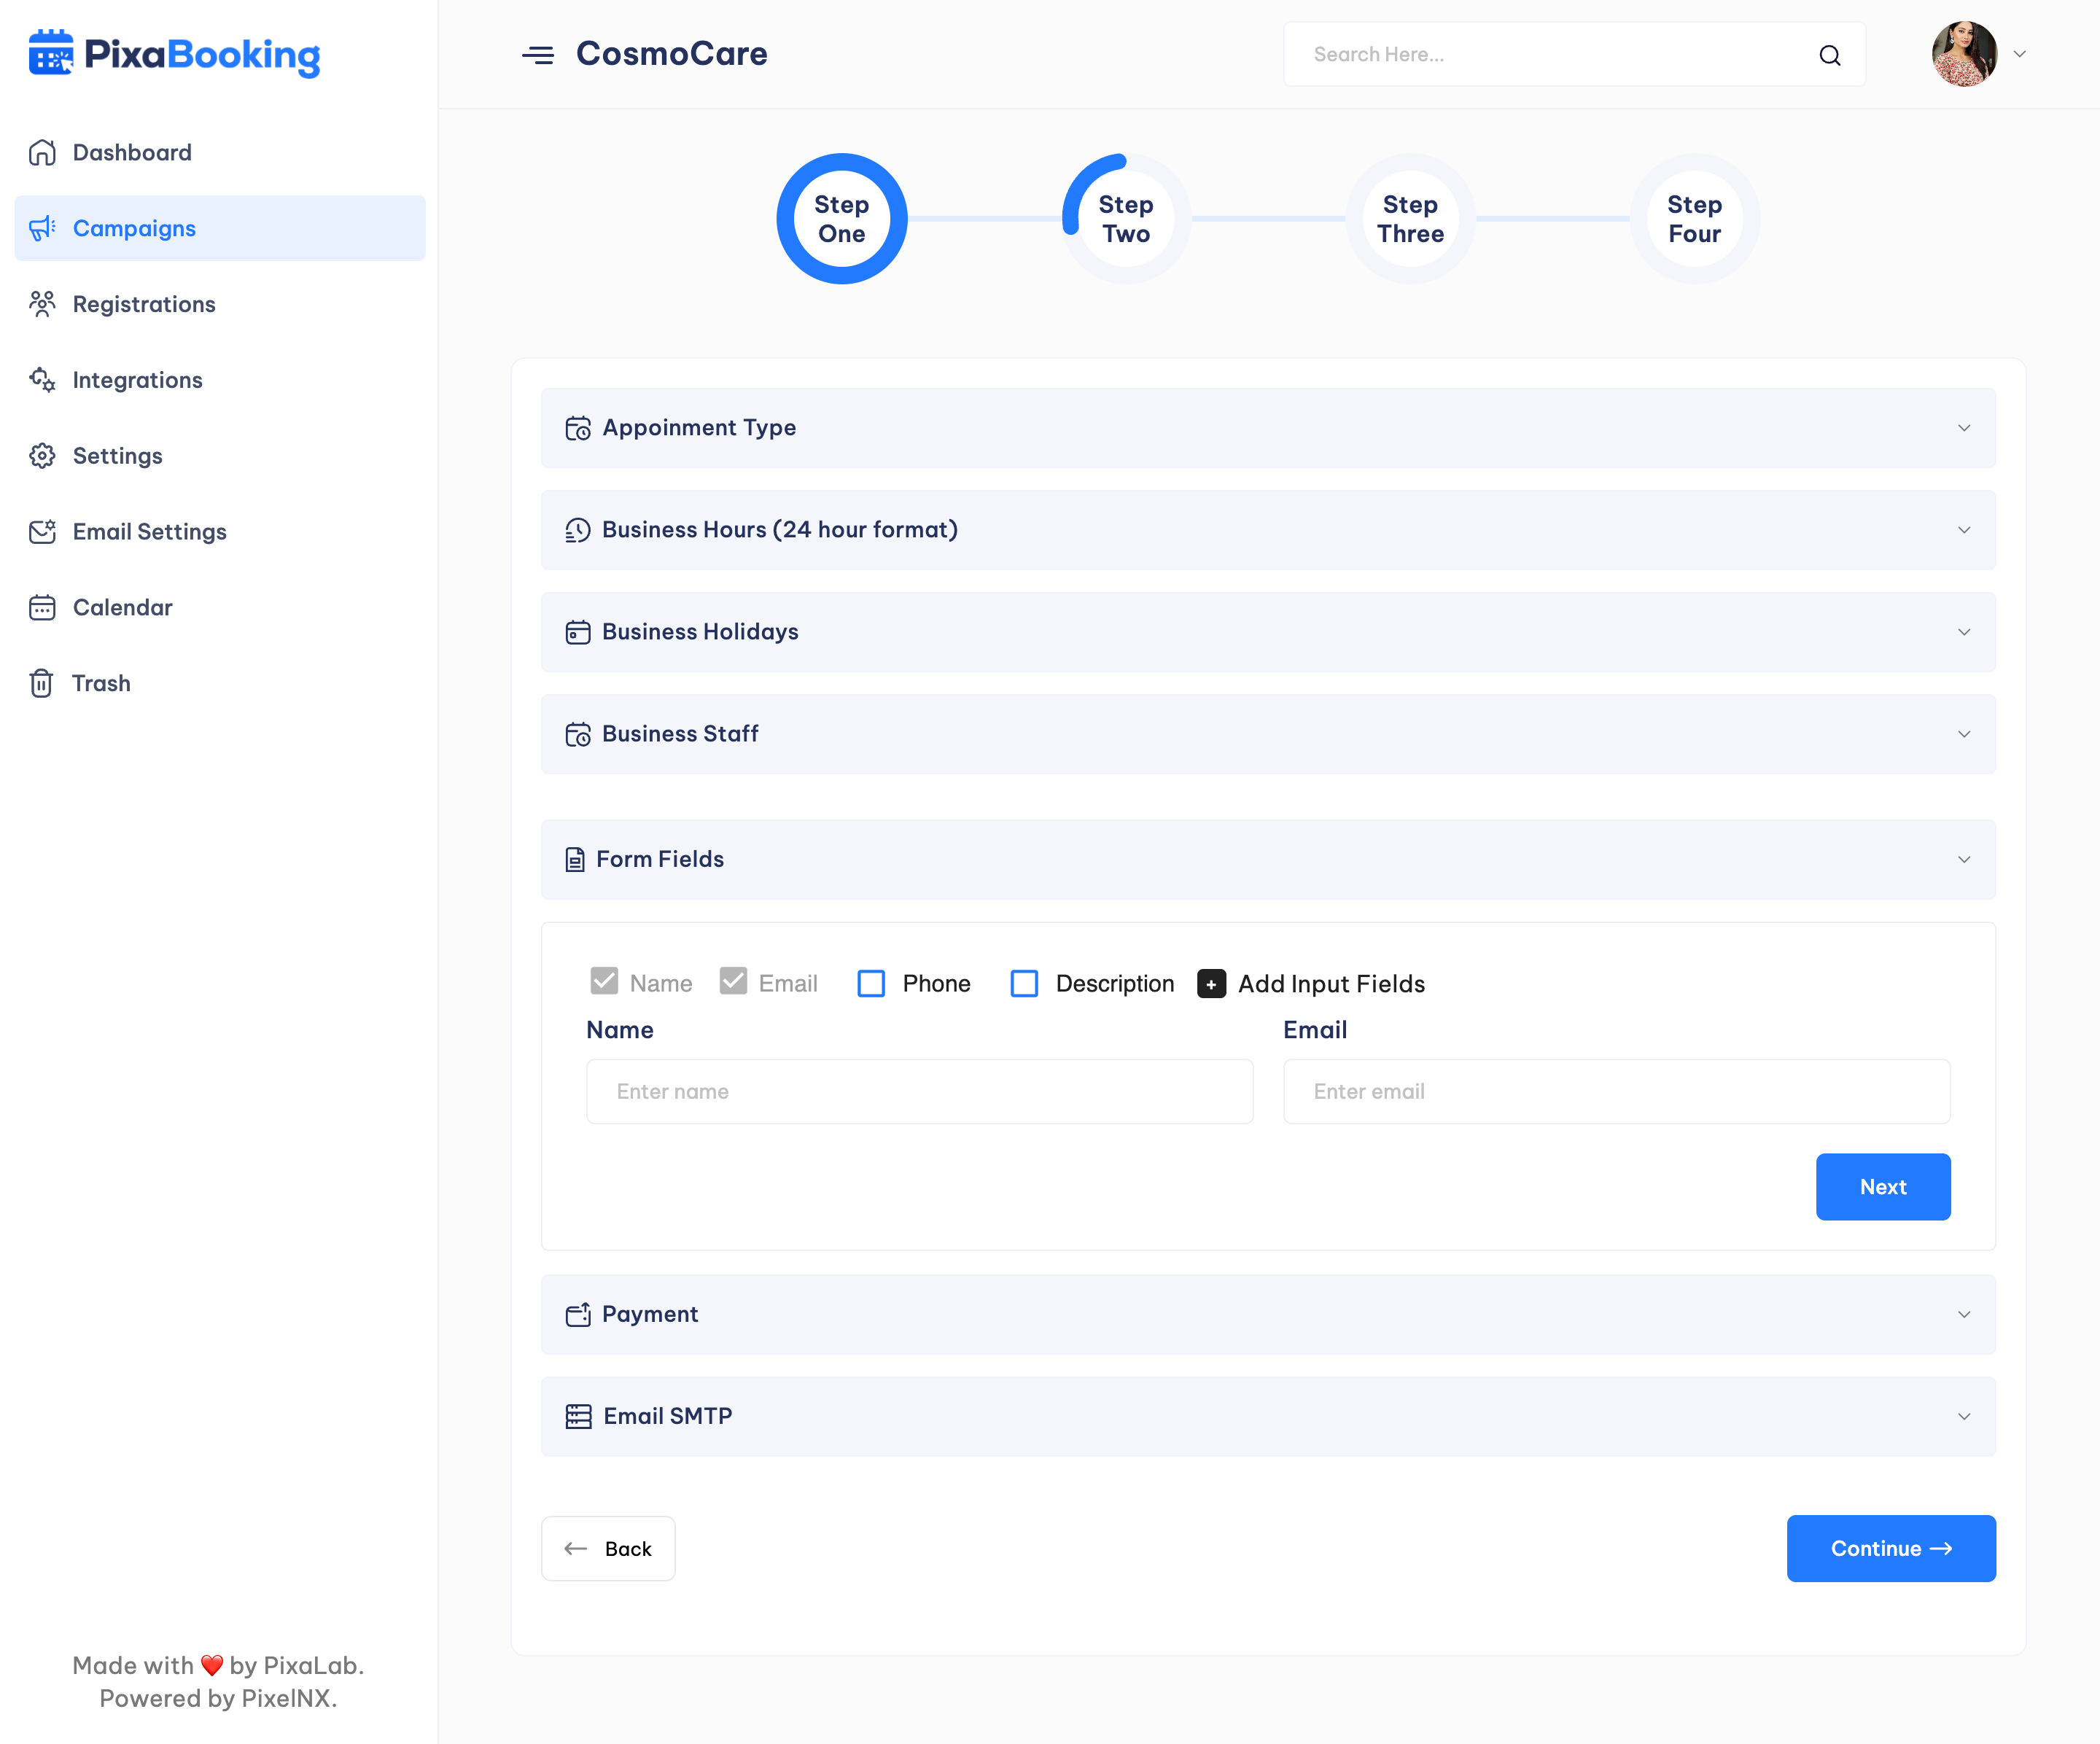
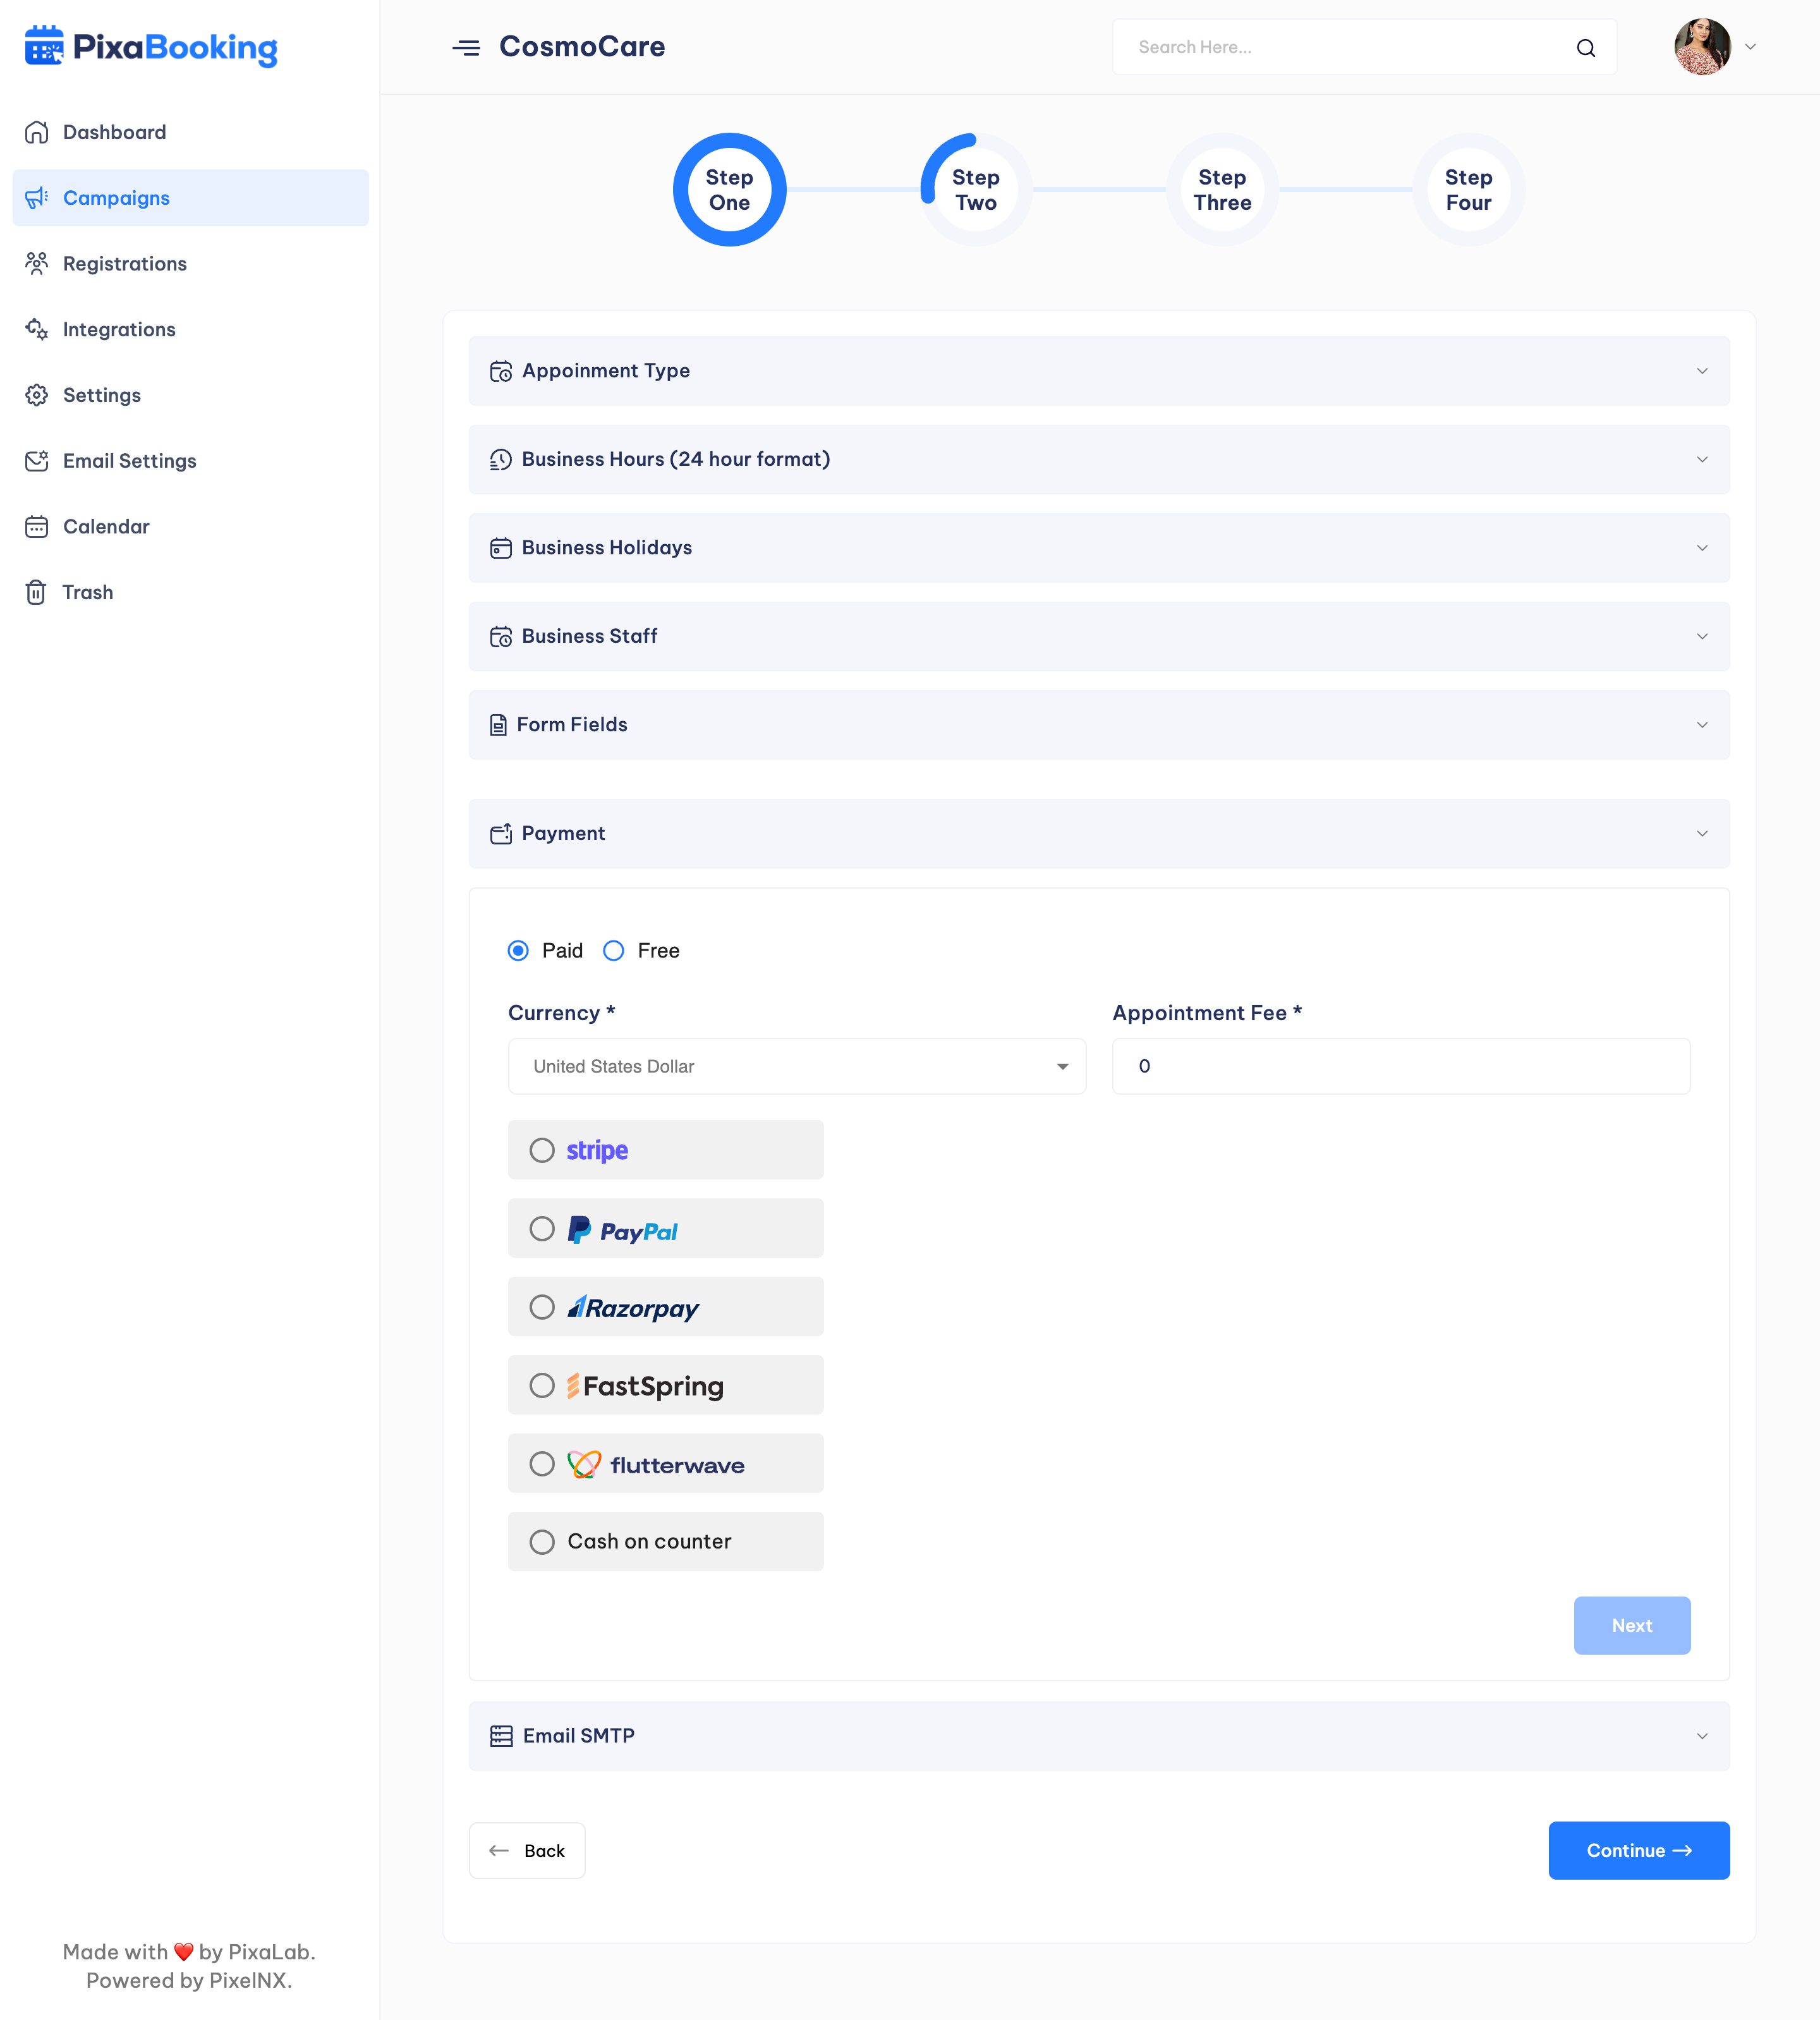
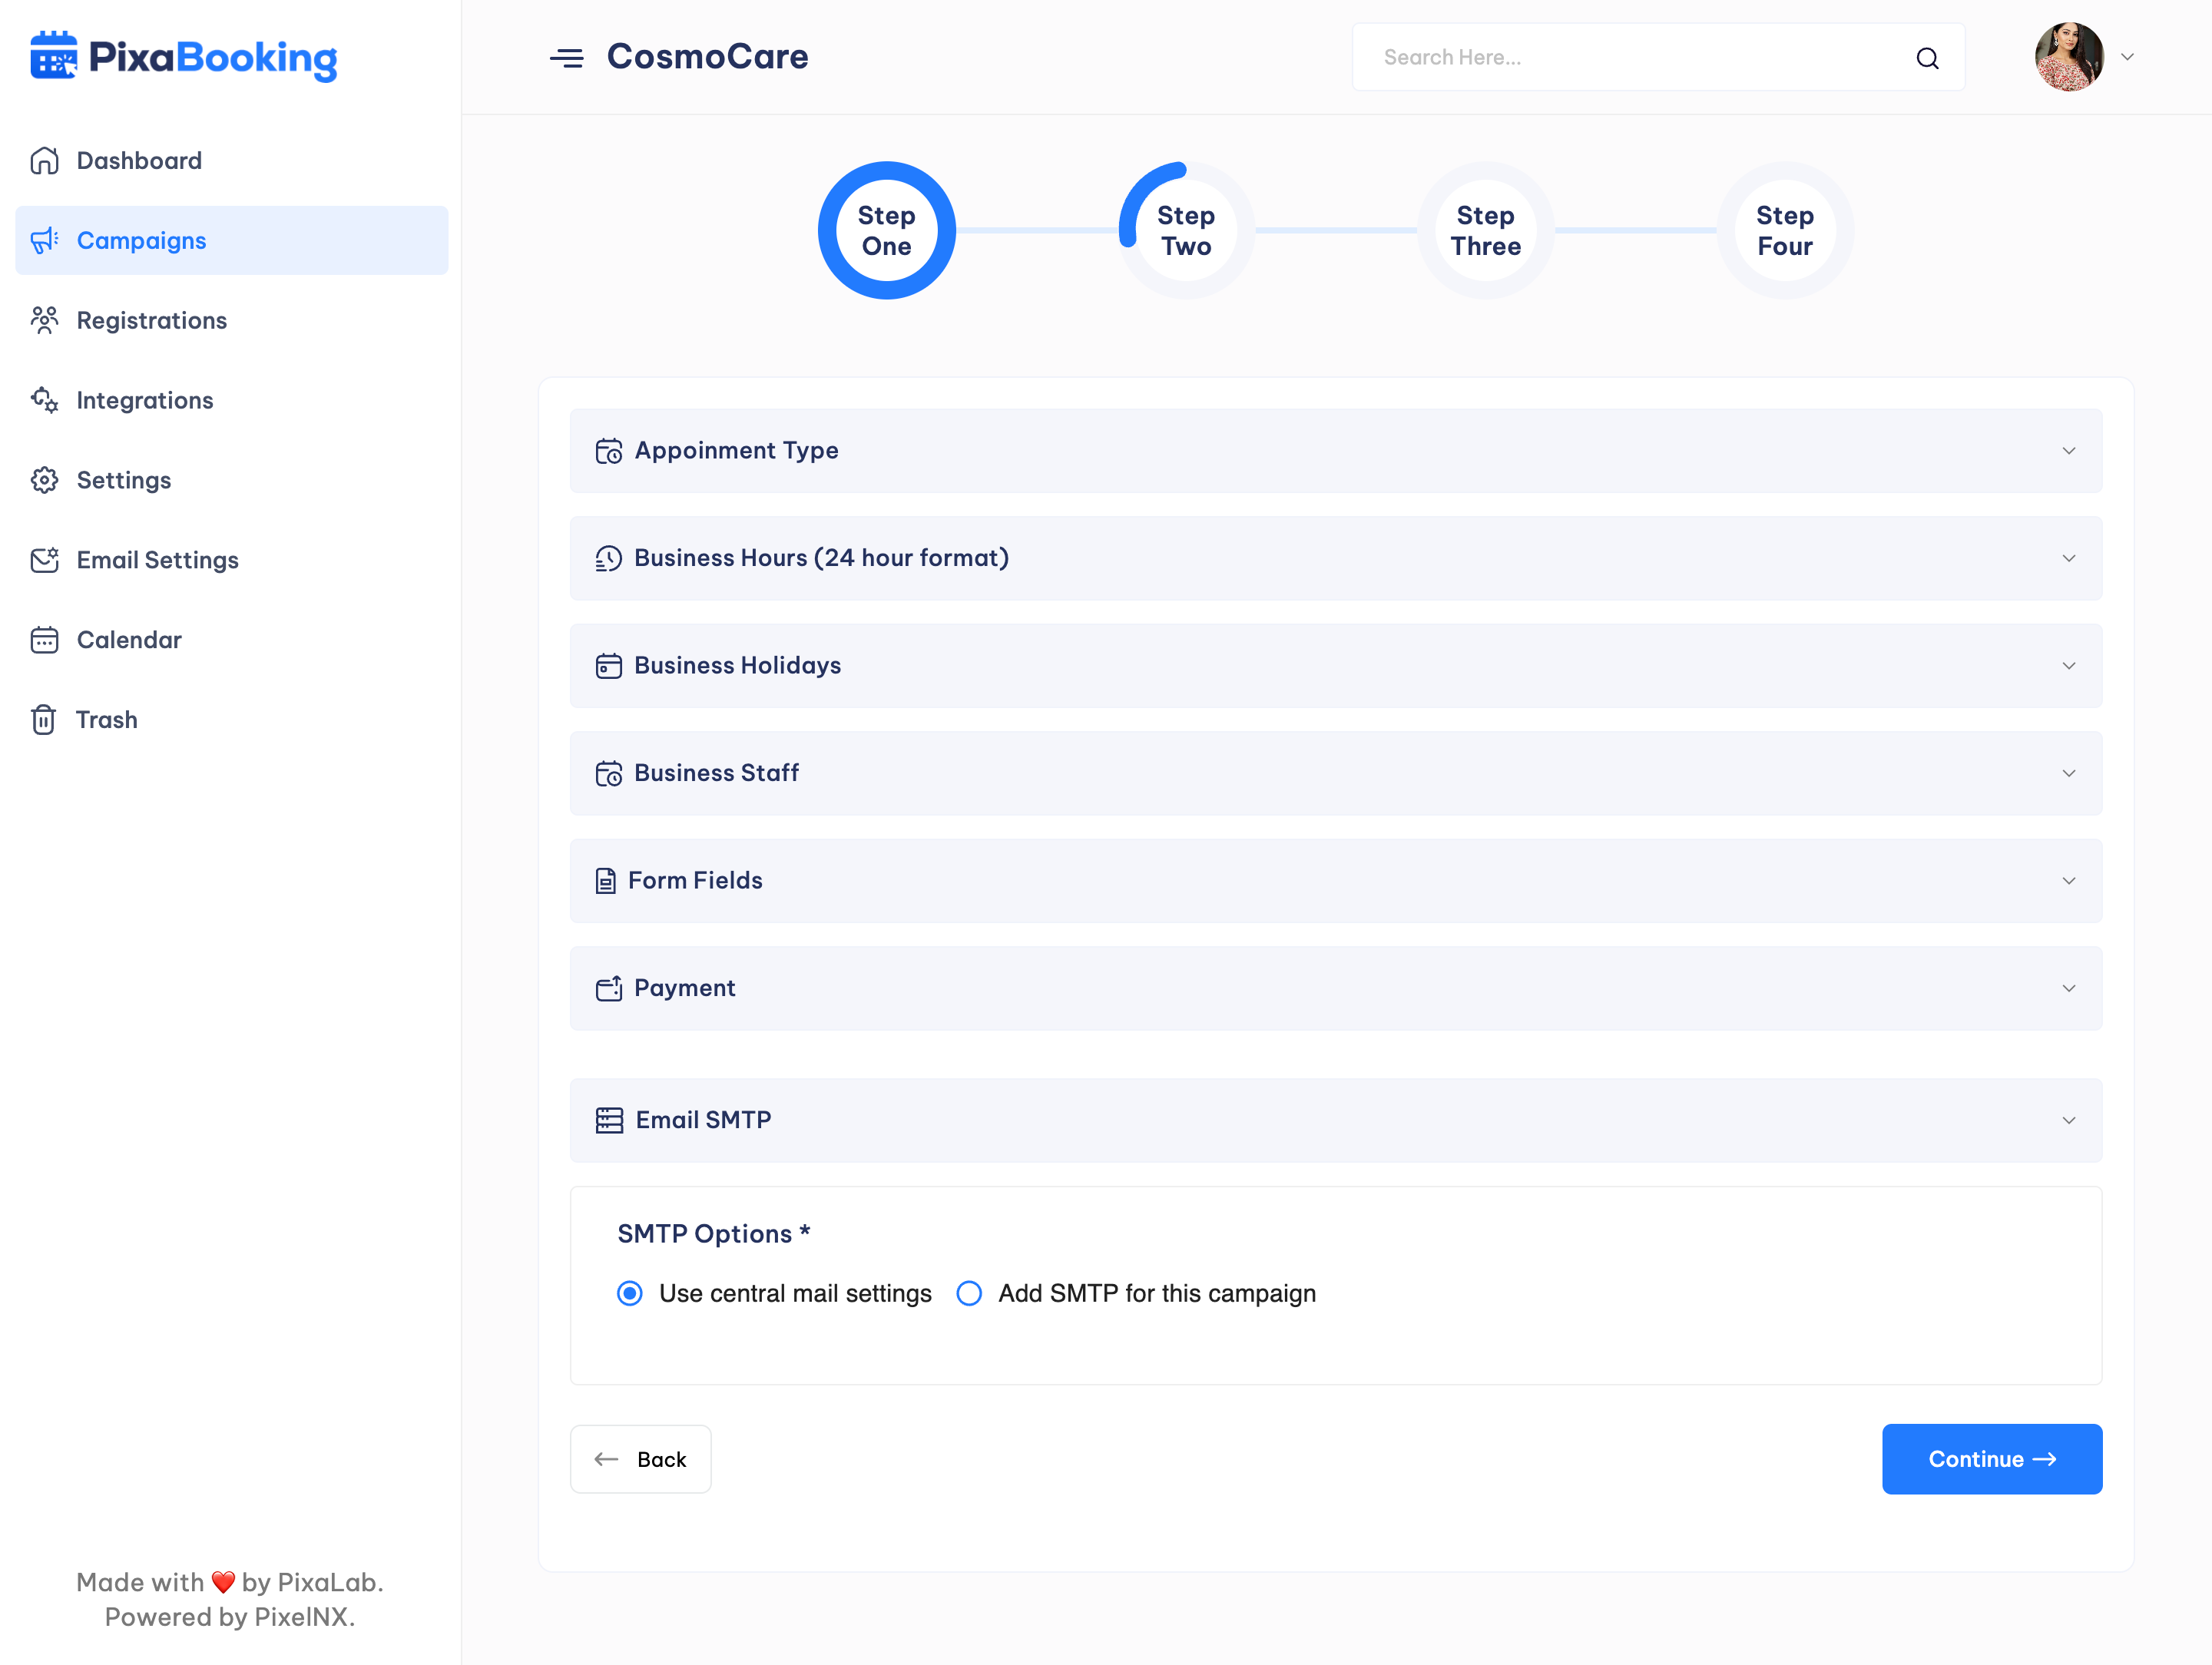
Step 2 - Here user can select Appointment Type, set Business Hours, Business Holidays, Business Staff, Form Fields, Payment Details and Email SMTP.
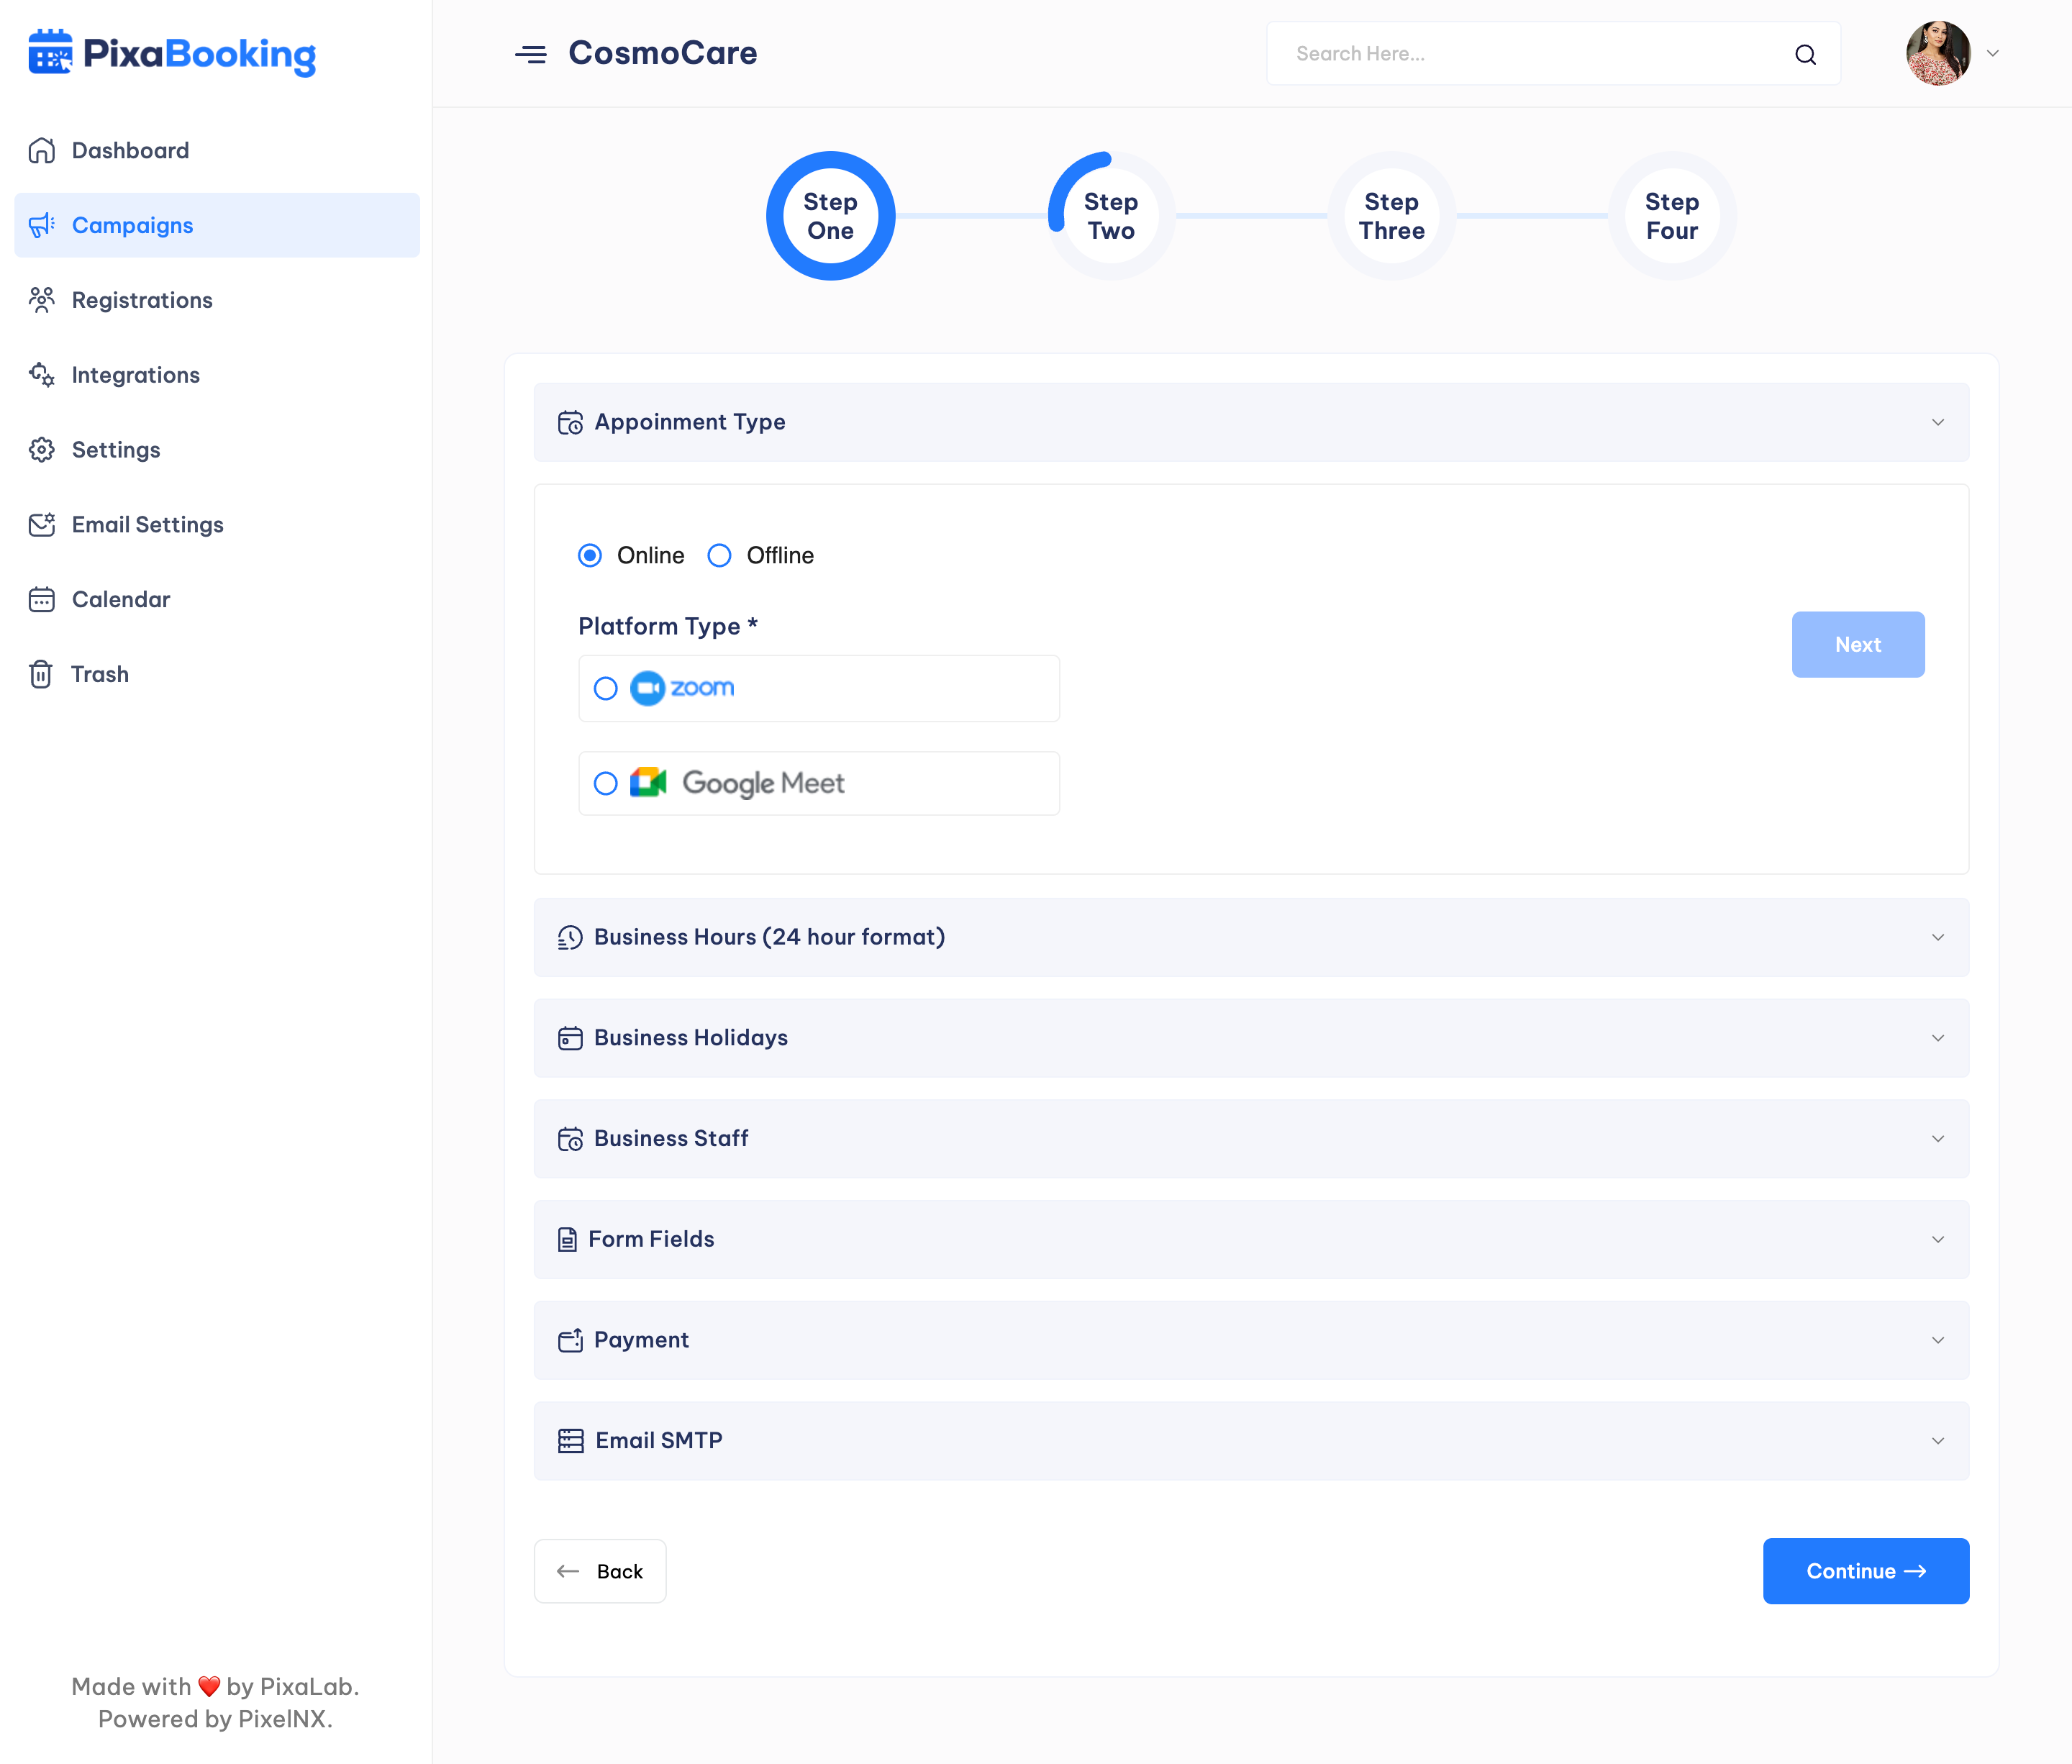
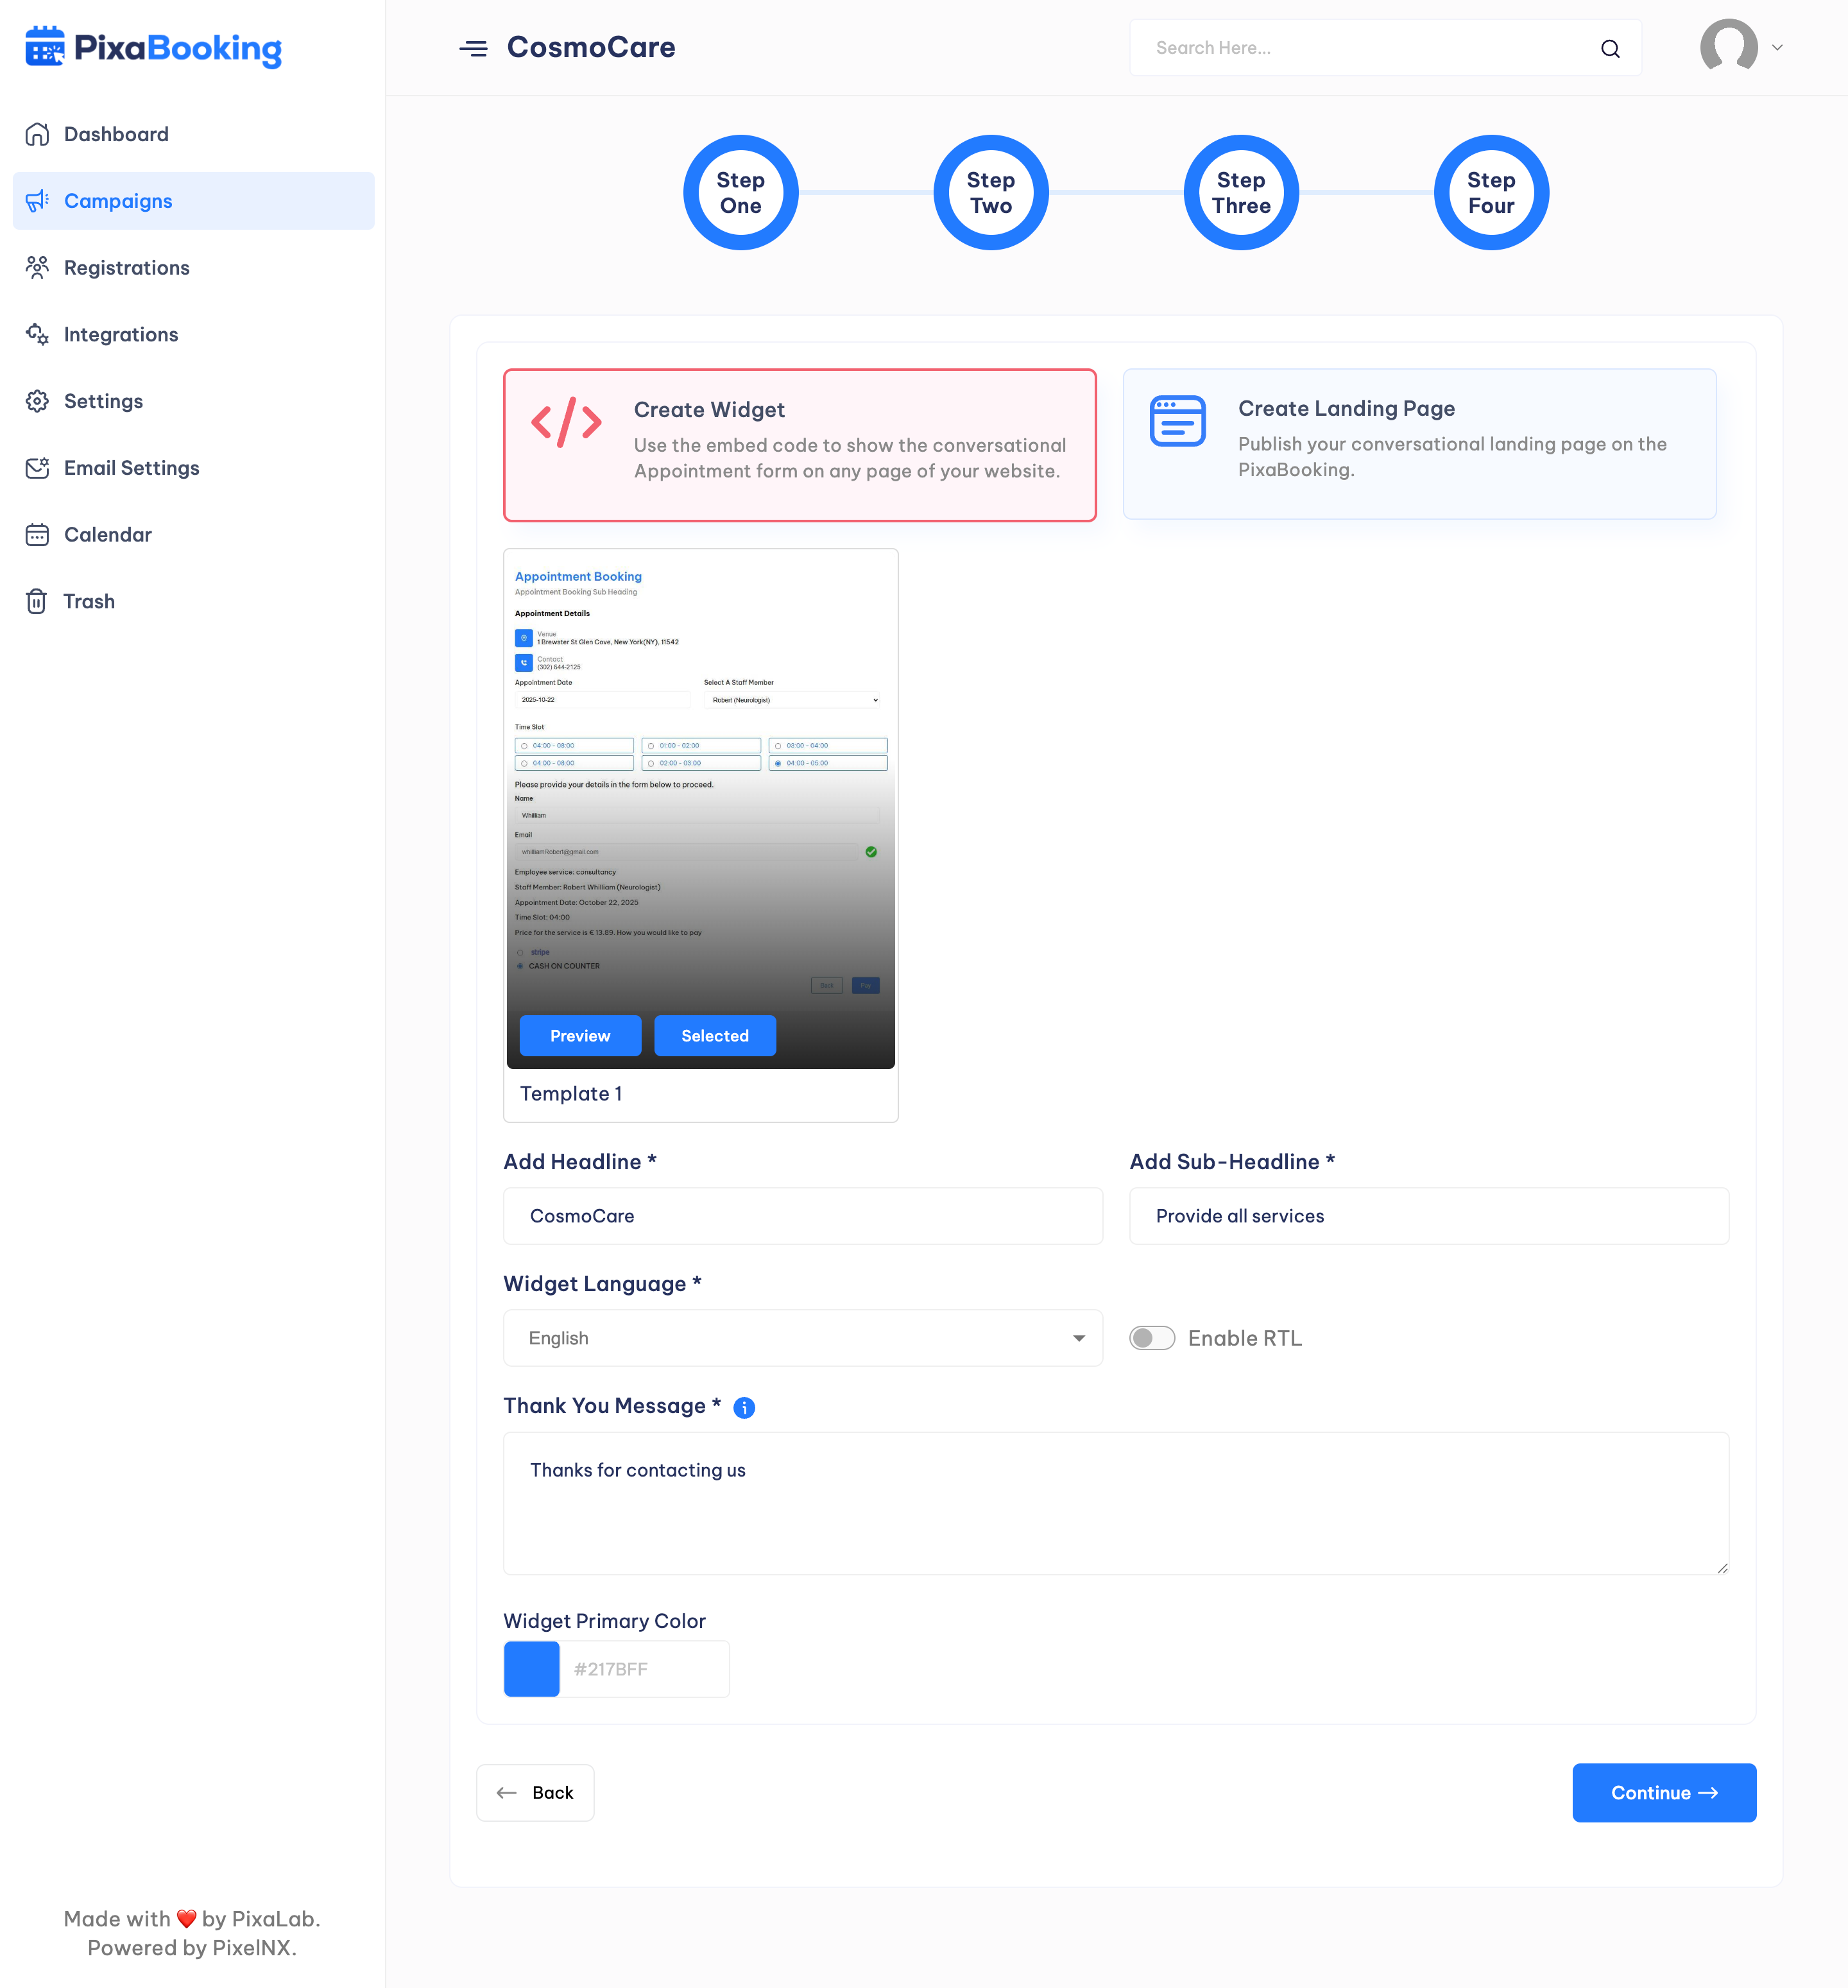
Step 3 - In this step, user can select either Widget style or create landing page to show the appointment form. Along with this, user can preview thumbnail image and get settings related to the selected option.
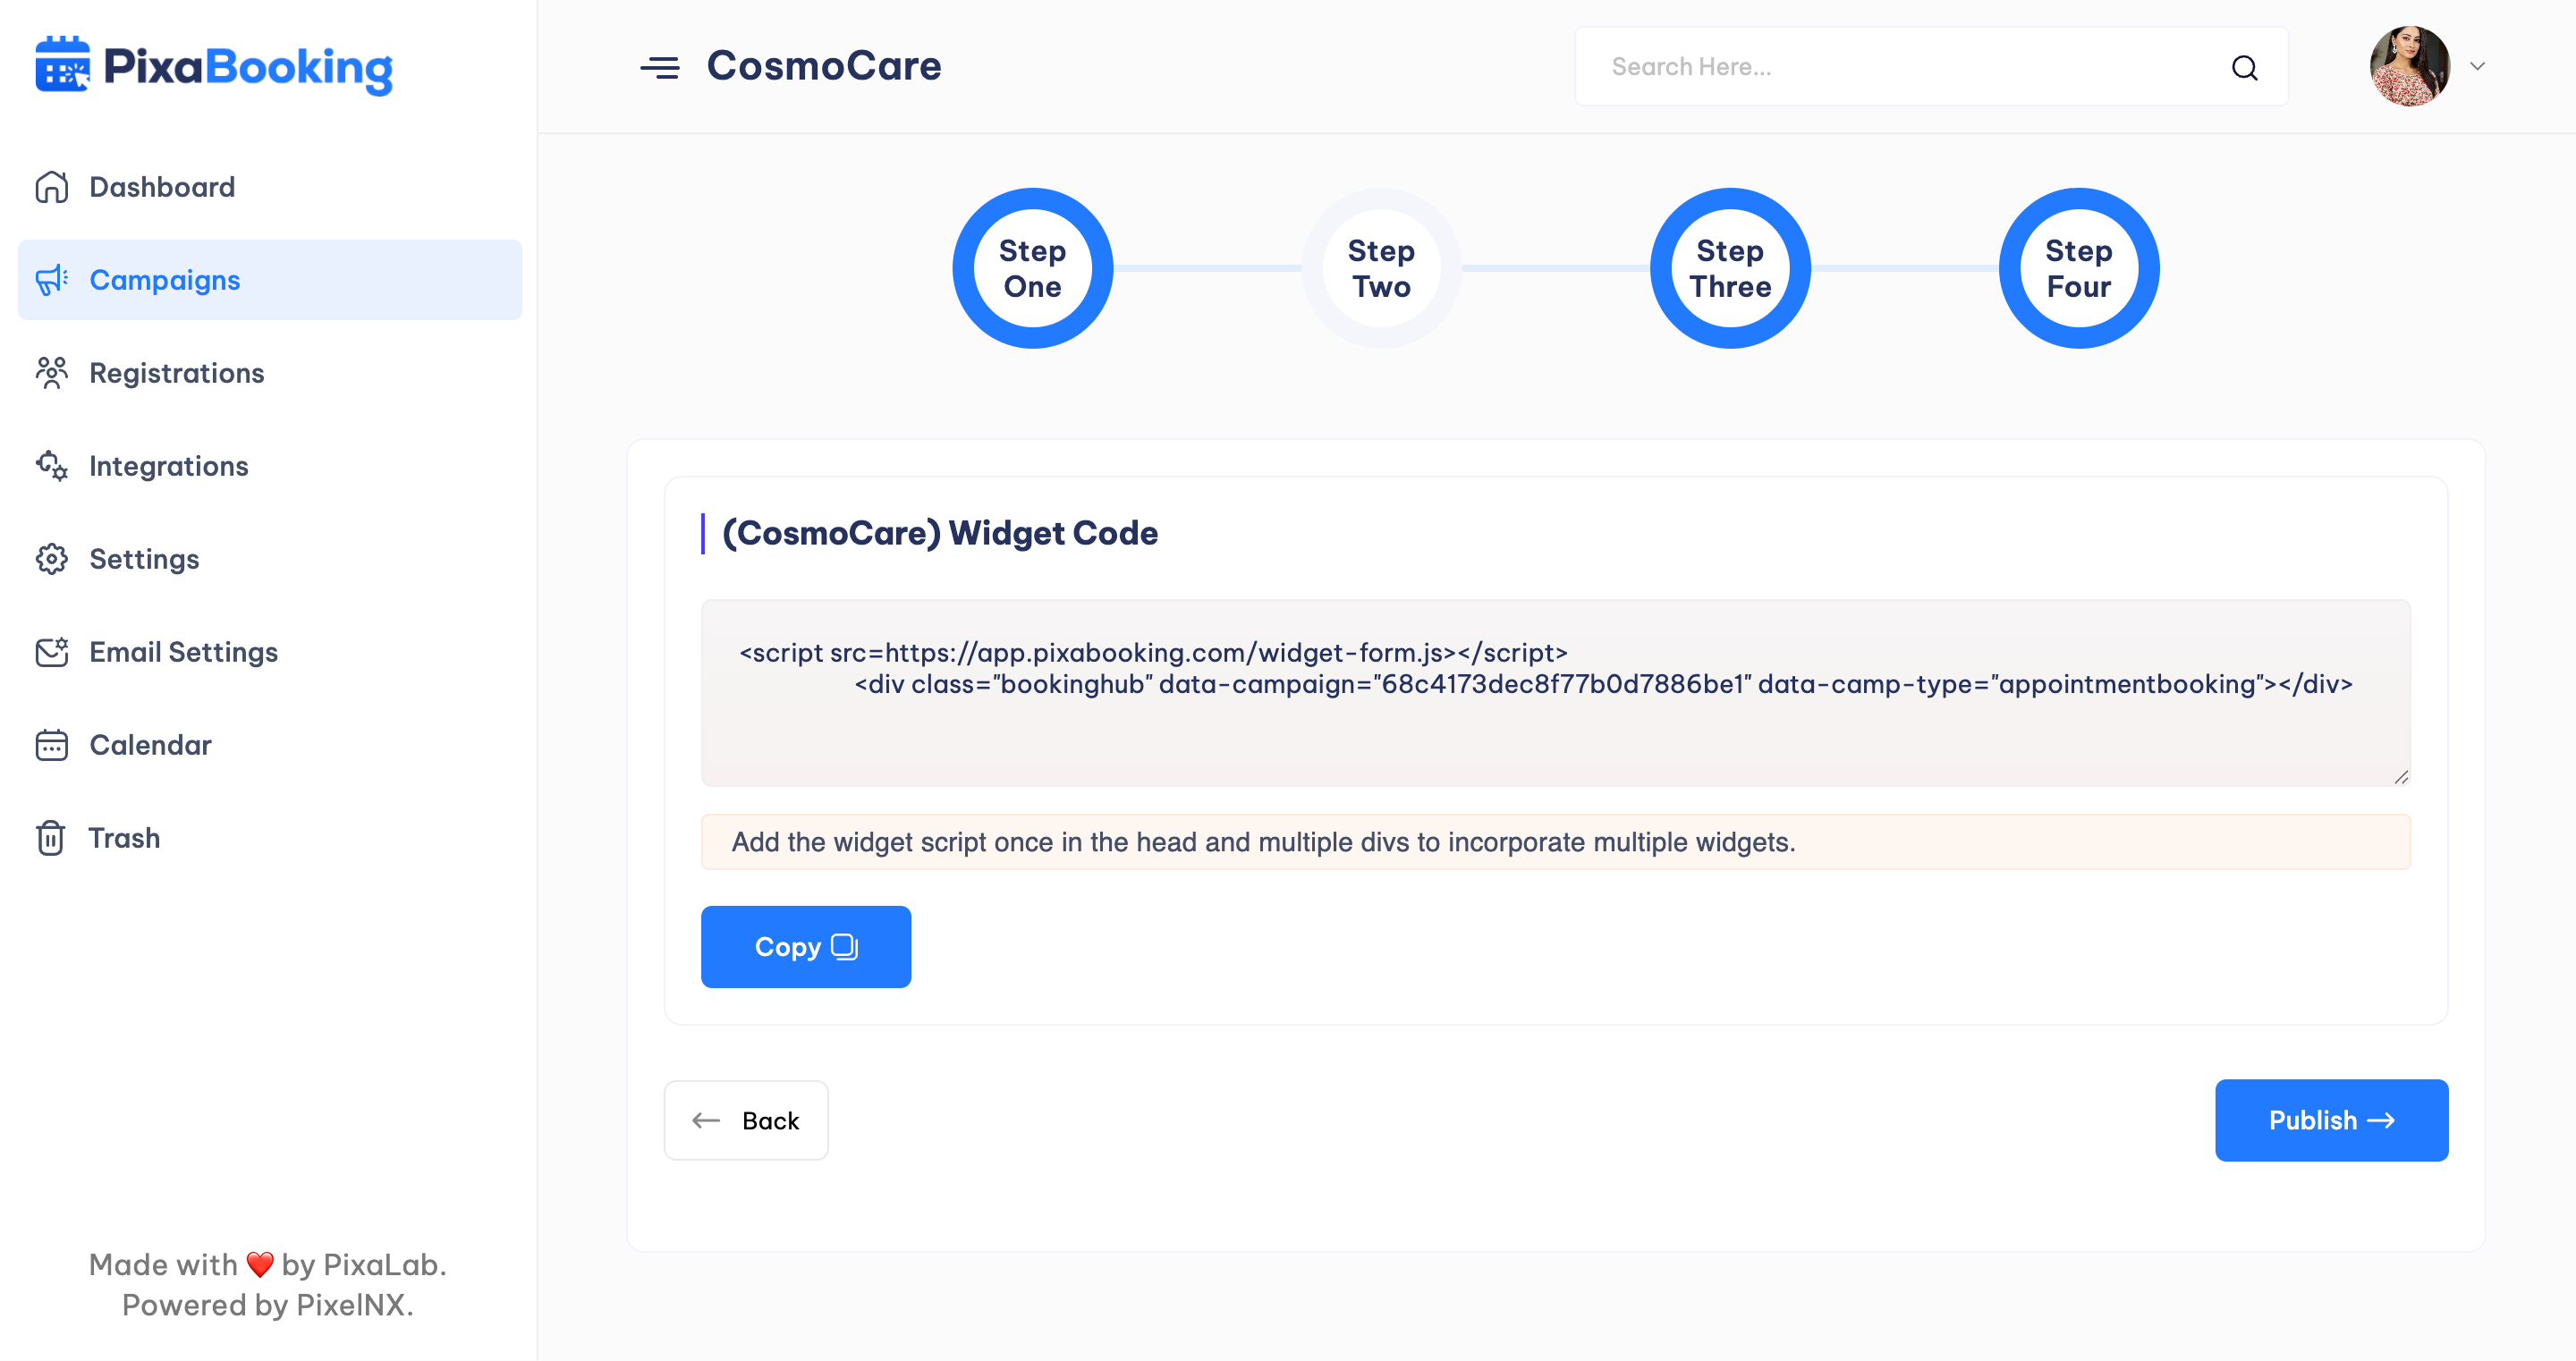
Step 4 - In last step, user will get the Widget code and can publish the campaign.
Help and Support
In order to receive a technical support assistance, you need to have a valid purchase code. To get the code, please navigate to your Codecanyon "Downloads" page and click on the plugin download link.
After getting the Purchase code, please follow the steps mentioned on the link Click Here to get your product verified. And then share your Purchase code and token ID with the support team.
If you have any questions that are beyond the reach of this help file, feel free to contact us. We will respond as soon as possible (within 24 – 48 hours, usually faster). We are open from 10:00am to 07:00pm (IST), from Monday till Friday.
NOTE: As authors of this script we do provide support only for the script-related features.
Outro
Thank you for your purchase. If you have any questions that are beyond the scope of this help file, please contact us through support@pixelnx.com
Once again, thank you so much for purchasing this script. As I said at the beginning, I'd be glad to help you if you have any questions relating to this script. No guarantees, but I'll do my best to assist. If you have a more general question relating to the script, you might consider visiting the forums and asking your question in the "Item Discussion" section.